


Remove the front door trim and moisture-proof film (see Removal the front door trim).
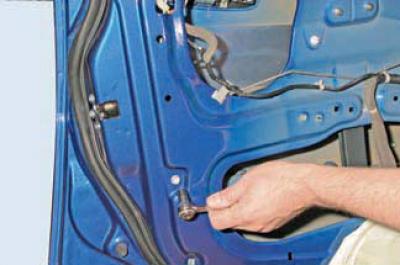
Using a 10 mm head, unscrew the bolt securing the guide to the inner door panel.
Through the technological window in the inner door panel we remove the rubber door seal from the glass guide groove'
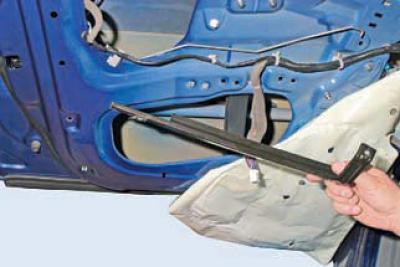
and remove the glass guide.
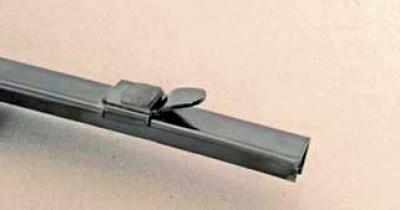
Please note that when installing the guide, its protrusion should be inserted into the corresponding hole in the door amplifier.
Disconnect the outer door handle (see Removal the lock cylinder and the outer handle of the front door) and an internal handle (see Removal the inside front door handle).
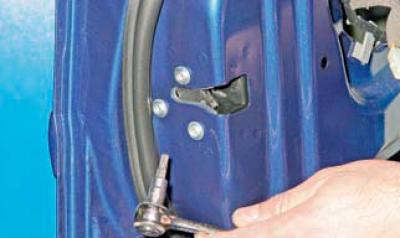
Using a Torx T-30 key, unscrew the three screws securing the door lock…
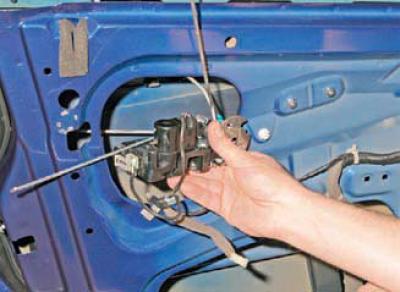
…and we bring it out assembled with the electric drive and four rods through a technological hole in the inner door panel.
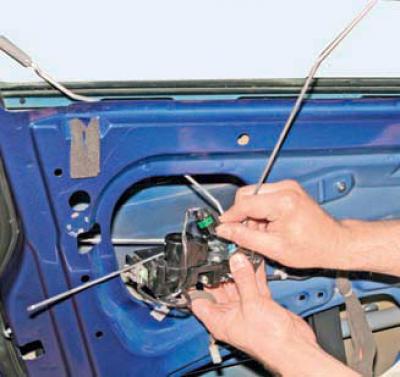
After pressing the lock, we disconnect the wiring harness block from the electric drive of the lock.
Similarly, we disconnect the wiring block from the contact group.
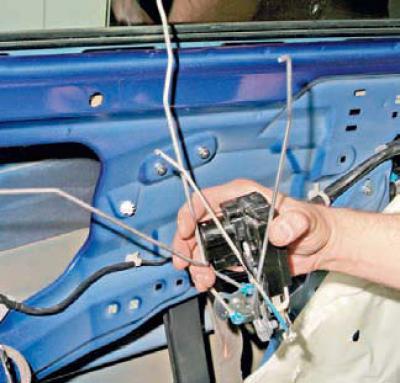
We remove all the rods from the door cavity and remove the lock.
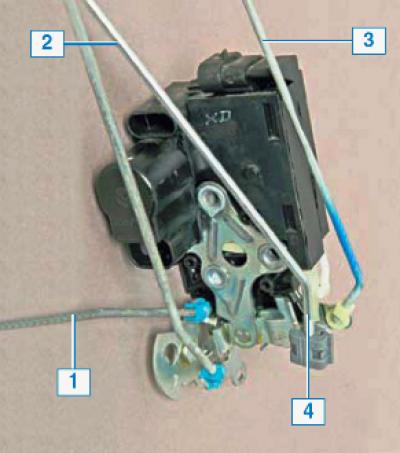
Location of door lock rods: 1 - inner handle rod; 2 - outer handle rod; 3 - lock cylinder rod; 4 — lock button rod.
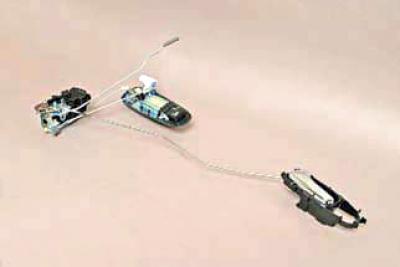
Front door lock with electric locking drive, external and internal handles. We install the door lock, external and internal handles in the reverse order.
Before installing the door trim, check the functionality of the door lock mechanism.
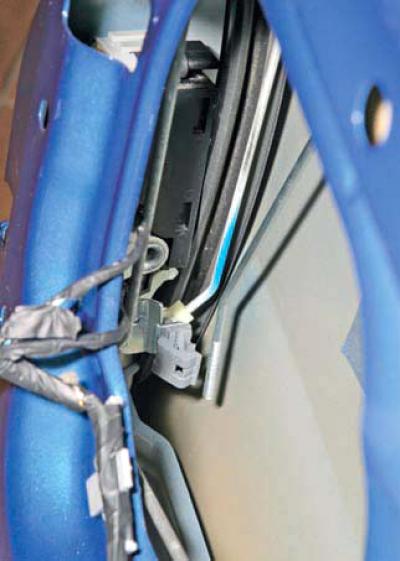
If the outer door handle does not work correctly, you should adjust the length of its rod by installing a plastic rod holder in the required area.
[The original article can be found on the resource: «CHEVYMAN»]