
In a sedan, the additional brake light is installed on the rear shelf of the passenger compartment, and in a hatchback, on the trunk door.
In a sedan car
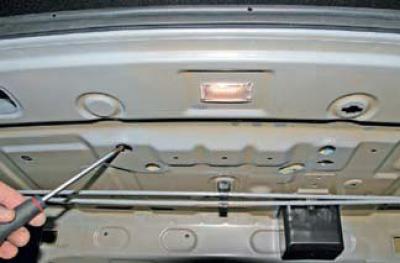
open the trunk and use a Phillips screwdriver to unscrew the four screws that secure the additional brake light.
In the car interior, using a screwdriver, we remove the additional signal clips from the rear shelf upholstery.
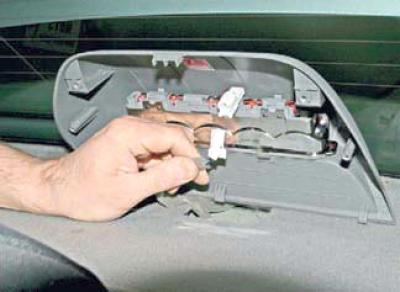
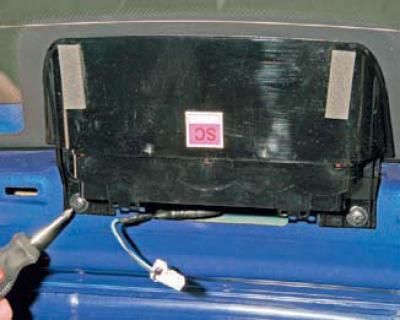
By pressing the connector lock, we disconnect the signal wire connector from the wiring harness connector.

Using a Phillips screwdriver, unscrew the two screws
and remove the signal housing from the visor.
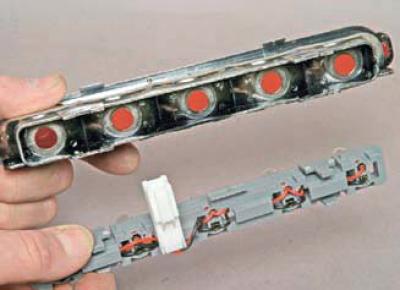
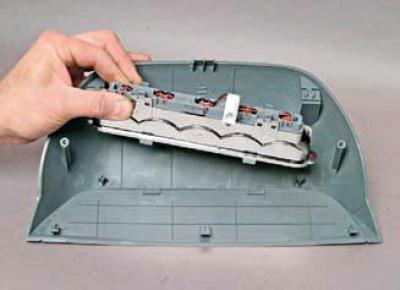
By squeezing the four clamps, we remove the lamp holder.
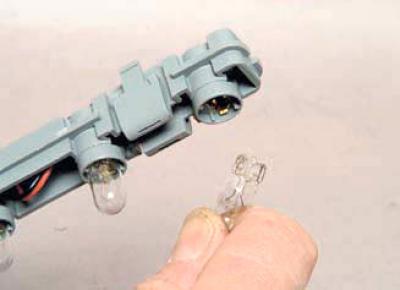
We take the lamp out of the holder.
We install the new W5W lamp in the reverse order.
On a hatchback car
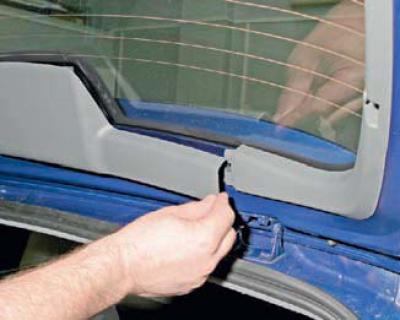
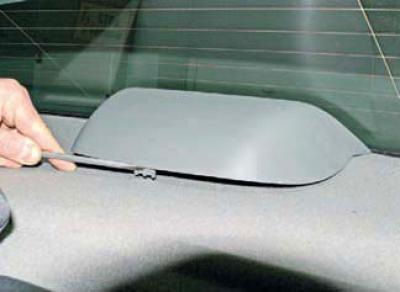
we open the trunk door, using our hand we lift the edge of the upper door trim
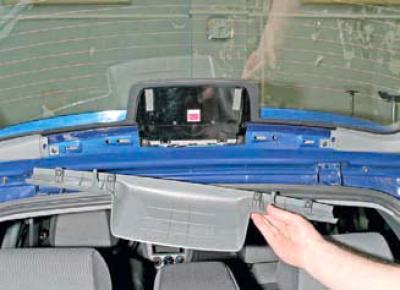
and remove the trim, disengaging its four fasteners from the door panel.
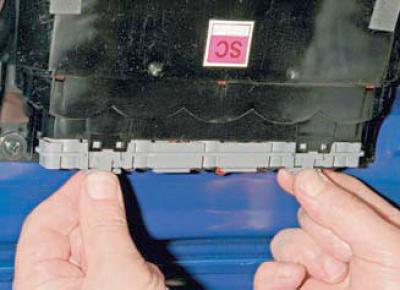
We squeeze the four clamps
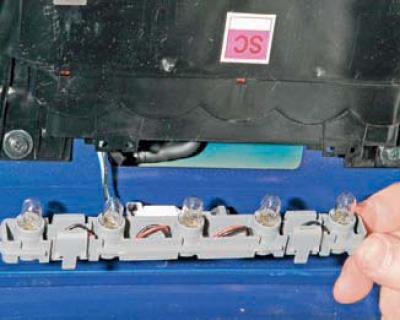
and remove the lamp holder.
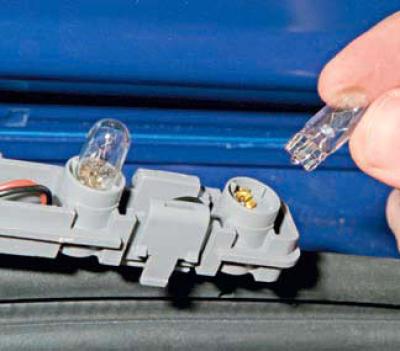
We take the lamp out of the holder.
We install the new W5W lamp in the reverse order.
If you need to remove the lamp holder
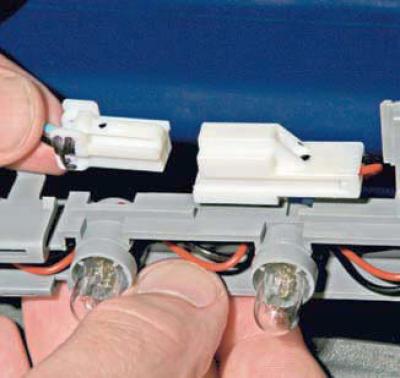
we disconnect the holder wiring block from the wiring harness block.
To remove the additional signal housing
using a Phillips screwdriver, unscrew the two screws.
We install the additional brake signal in the reverse order.