
We carry out the work on the right lamp, and on the left lamp we perform the same operations.
In a sedan car…
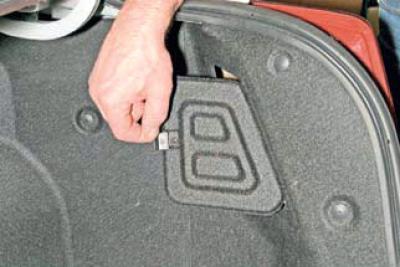
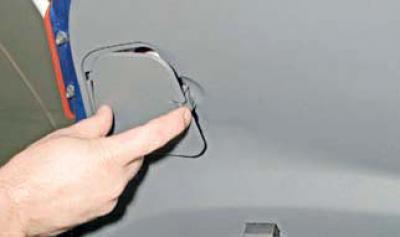
…by pressing the latch, we open the cover in the trunk trim.
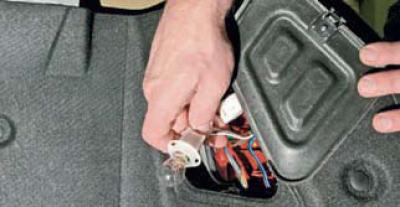
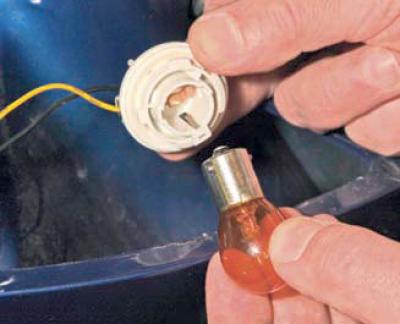
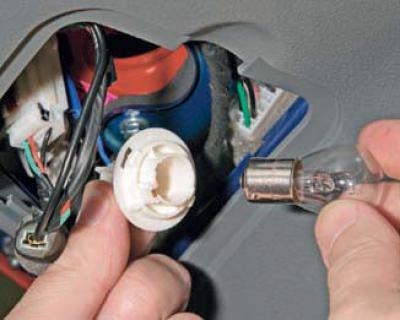
Turning it counterclockwise, we remove the socket with the reversing light bulb from the lamp housing.
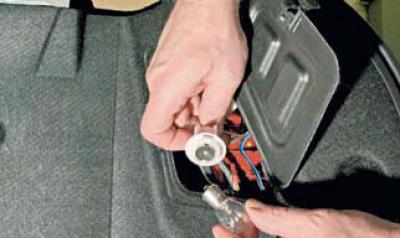
Press on the lamp, turn it counterclockwise and remove the lamp from the socket.
Install the new P21W bulb in the reverse order. The combined brake light and side light bulb has two protrusions located at different levels. When installing the P21/5W bulb, its protrusions must fit into the corresponding slots in the socket.
We replace the remaining lamps in the same way.
To remove the rear light…
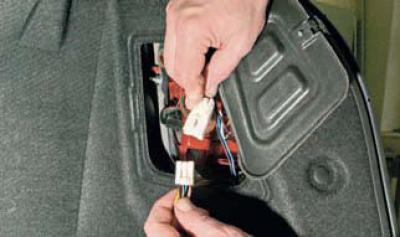
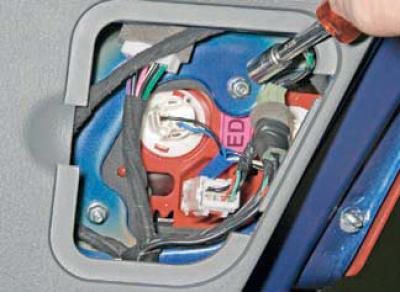
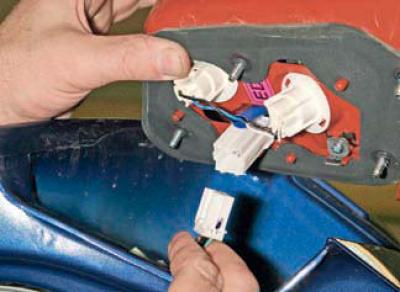
...by pressing the connector lock, we disconnect the wiring connector from the light connector.
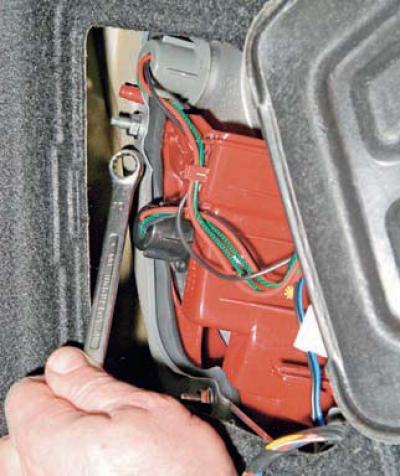
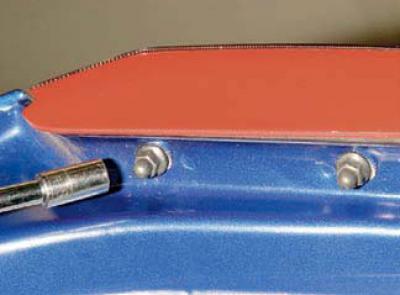
Using a 10 mm spanner, unscrew the three nuts securing the light (the third nut is not visible in the photo)…
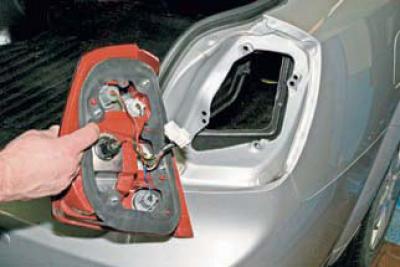
…and remove the lantern.
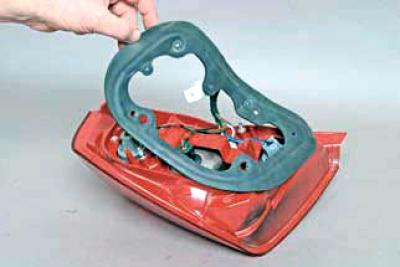
We remove the rubber gasket from the lantern.
Replace a torn or lost elastic gasket with a new one.
We install the rear light in the reverse order.
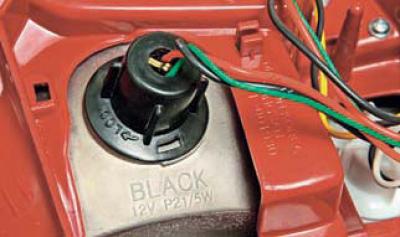
On the body of the flashlight, near each socket, the socket color and lamp power are indicated.
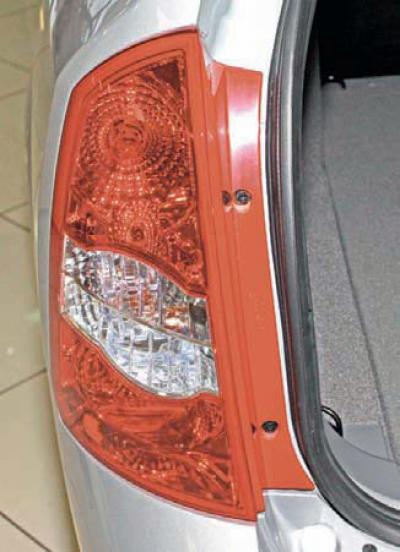
On a hatchback car, to replace the bulb in the rear wing light, you need to remove the light.
Open the trunk door
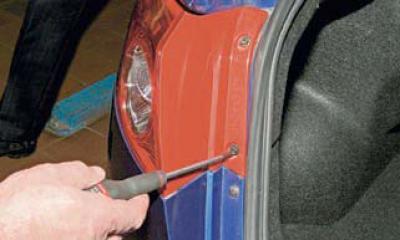
and using a Phillips screwdriver, unscrew the two screws that secure the light.
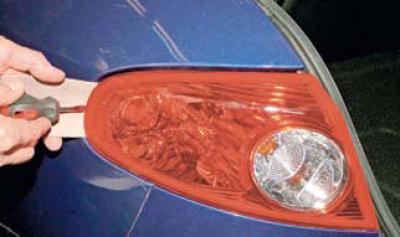
Using a screwdriver, we move the lantern
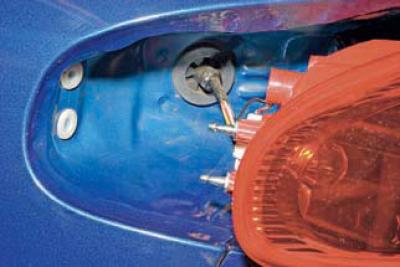
and we remove the mounting pins of the light from the plastic bushings on the body.
Turning it counterclockwise, we remove the socket with the turn signal lamp from the lamp housing.
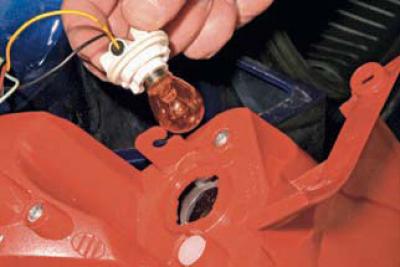
Press on the lamp, turn it counterclockwise and remove the lamp from the socket.
We install the new PY21W lamp in the reverse order.
To replace the lamp in the tailgate light
press the lid lock
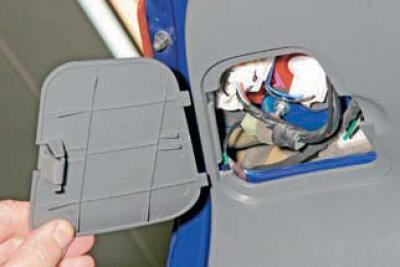
and remove the door trim cover.
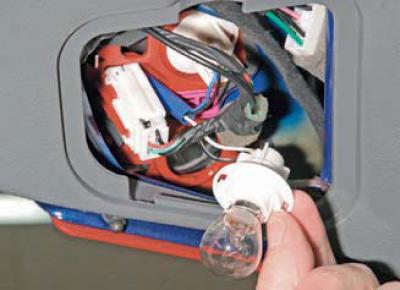
Turning it counterclockwise, we remove the socket with the reversing light bulb from the lamp housing.
Press on the lamp, turn it counterclockwise and remove the lamp from the socket.
We install the new P21W lamp in the reverse order.
We replace the remaining lamps in the same way.
To remove the tailgate light
using an 8 mm socket head, unscrew the two nuts of the outer mount of the light
and two internal fastening nuts.
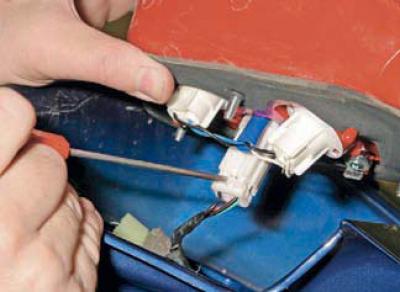
After removing the light, use a screwdriver to press on the socket retainer
and disconnect the headlight wiring harness from the wiring harness.
If necessary, change the lamp gasket. Install the rear lamp in the reverse order.
On a station wagon, you need to remove the taillight to replace the bulbs.
Open the trunk door
using a Phillips screwdriver, unscrew the two screws securing the light and remove the light, removing the light's mounting pins from the plastic bushings on the body. Replace the bulbs in the same way as in the light on the rear wing of a hatchback car. Install the rear light in the reverse order.
[The original source of the article is the website «ChevyMan.ru»]