


Disconnect the wire terminal from the negative terminal of the battery.
Remove the glove box (see Removal the glove compartment) and the lower trim of the instrument panel (see Removal the lower instrument panel trim).
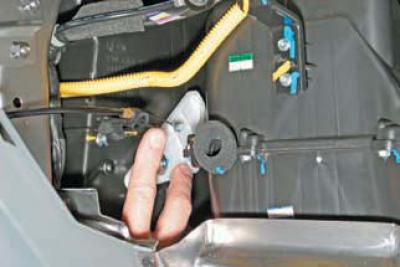
We turn the lock of the temperature regulator rod casing with our finger and disconnect the rod from the damper lever.
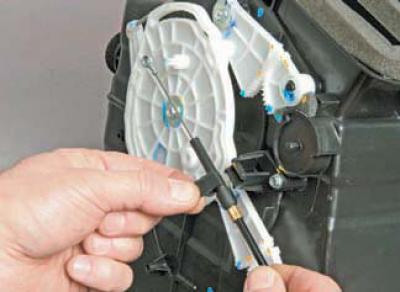
By turning the lock of the distribution flap rod casing, we disconnect the rod from the flap drive (for clarity, shown on a removed heater).
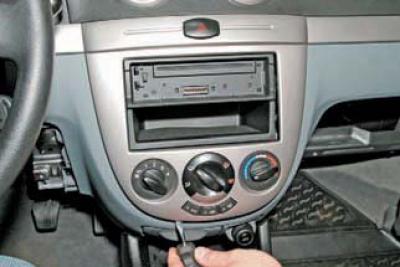
Using a slotted screwdriver, press the two latches on the central trim of the instrument panel.
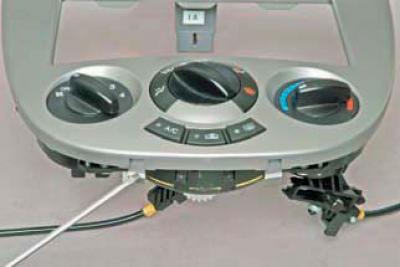
Location of latches on the center trim
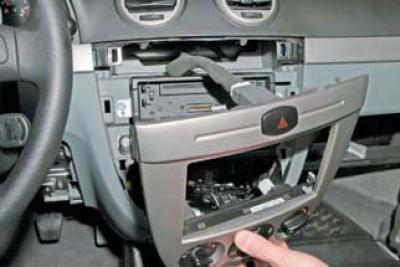
We remove the trim, overcoming the resistance of the spring clamps.
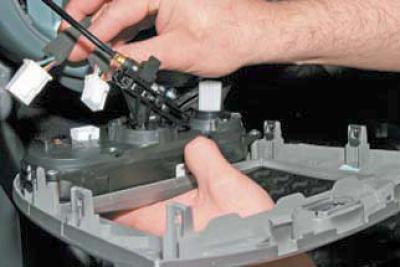
By pressing the lock, we disconnect the wiring block from the hazard warning switch.
By pressing the clamps of the pads, we disconnect the two pads of wires from the control unit of heating, ventilation and air conditioning
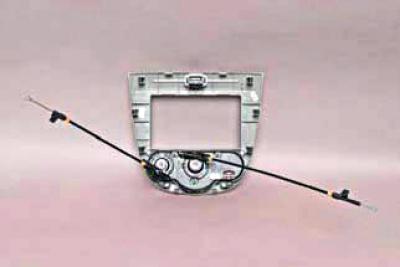
and remove the central trim of the instrument panel with the control unit.
To replace the backlight lamp…
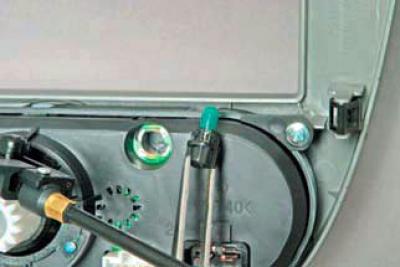
…we use tweezers to turn and remove the lamp from the block.
We remove the light filter from the lamp, move it to a new W1.4W lamp and install the lamp in the reverse order. We change the other lamps in the same way.
To replace the traction
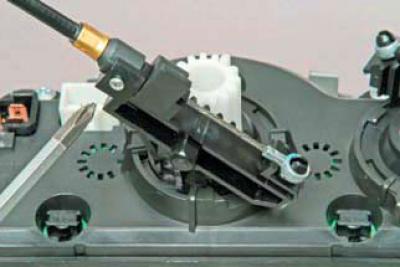
using a Phillips screwdriver, unscrew the screw that secures the traction casing retainer.
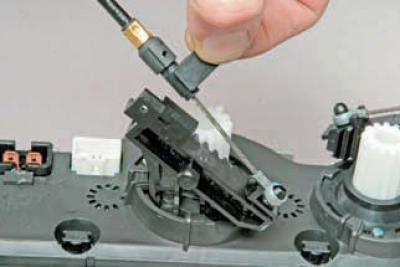
We turn the shell retainer.
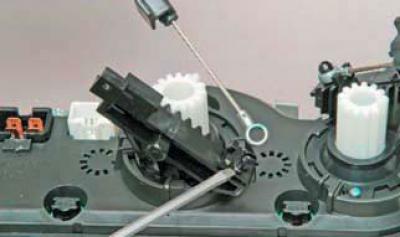
Using a screwdriver, we disconnect the rod from the block lever.
We install a new rod in the reverse order. We change the other rod in the same way.
To replace the control unit, remove both rods from it.
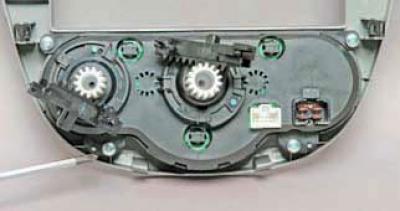
Using a Phillips screwdriver, unscrew the four screws securing the block.
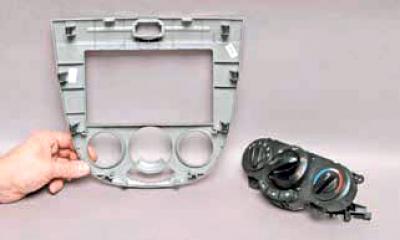
We remove the control unit from the central trim of the instrument panel.
We install the heating, ventilation and air conditioning control unit in the reverse order.
The original article can be found on the resource chevyman.ru