
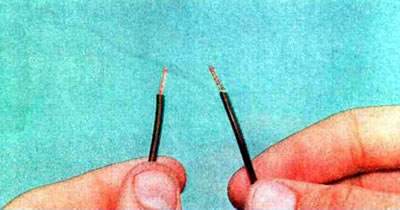
1. We strip the ends of the wires to be connected so that the stripped part is equal in length to half of the connecting sleeve.
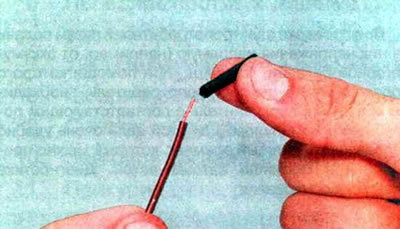
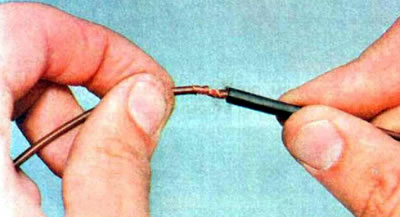
2. Place a heat shrink tube onto one of the wires, approximately 10 mm longer than the connecting sleeve.
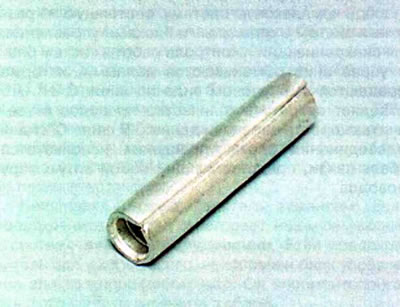
3. Insert the ends of the wires into the connecting sleeve.
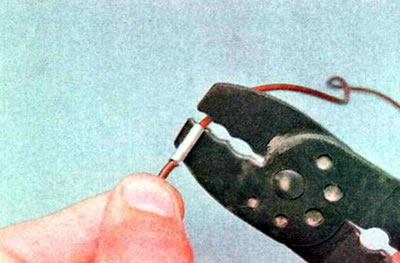
4. Using special pliers, crimp the connecting sleeve.
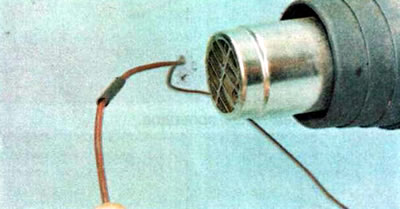
Warning. When performing the following operation, do not hold the heat gun too close to the heat-depositing tube, as it may melt.
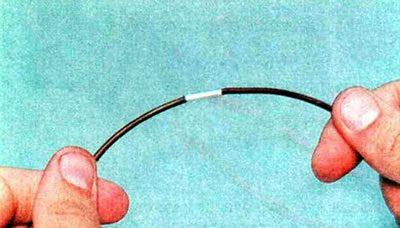
5. Move the heat-depositing tube onto the connecting sleeve and heat it evenly with a heat gun.
If there is no connecting sleeve, the wires can be connected by twisting.
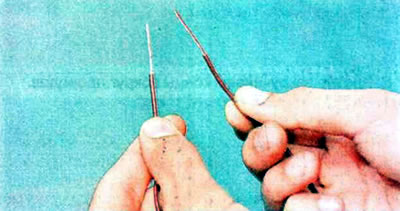
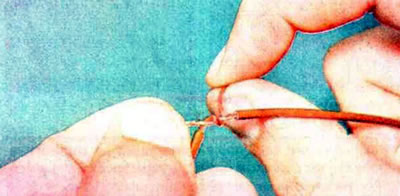
1. Strip the wires to be connected by approximately 20–25 mm.
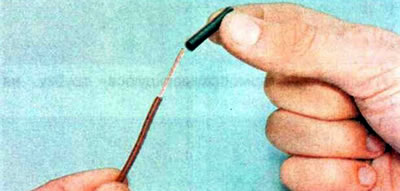
2. Place a heat-depositing tube approximately 25 mm long on one of the wires.
3. Cross the wires and wrap the first wire one turn around the second.
4. Perform a similar operation with the second wire.
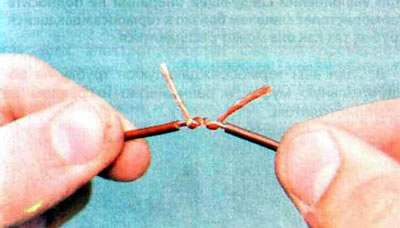
5. Cross the ends of the wires.
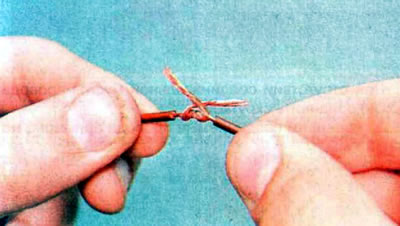
6. Twist the ends tightly around the wires.
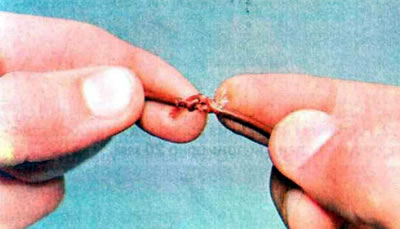
7. Move the heat-depositing tube onto the twist.
Warning: When performing the following operation, do not hold the heat gun too close to the heat-depositing tube, as it may melt.
10. Heat the heat-depositing tube evenly with a heat gun.
