


Remove the gearbox (see Removal the gearbox).
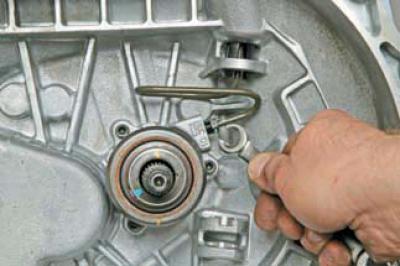
Using a special 10 mm wrench, unscrew the fitting of the tube supplying liquid to the cylinder…
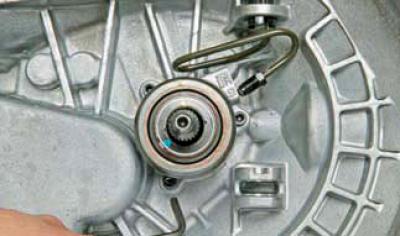
…and we remove the tube from the cylinder hole.
Using a 5 mm Allen key, unscrew the three screws securing the working cylinder housing to the clutch housing.
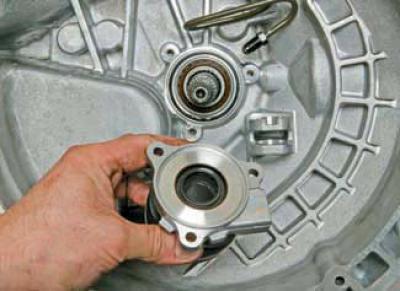
We remove the slave cylinder and clutch release bearing assembly.
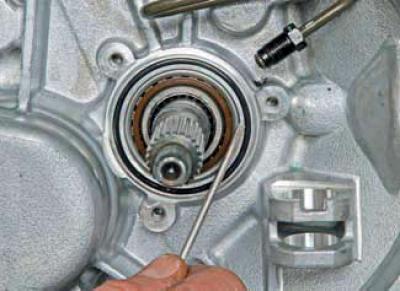
Using a screwdriver, pry off the rubber sealing ring…
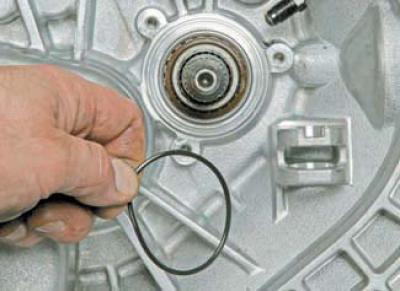
…we remove it from the groove of the clutch housing.
If, based on diagnostic results, the hydraulic drive slave cylinder and clutch release bearing do not require replacement, and only the gearbox primary shaft seal is damaged, then…
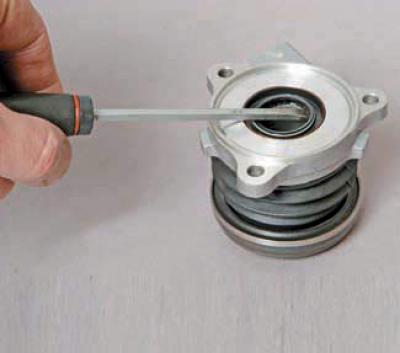
…we pry the seal with a screwdriver and remove it from the cylinder body socket.
We press the new seal into the cylinder body socket using a tool head of a suitable size.
Having replaced the rubber sealing ring, we install the slave cylinder and clutch release bearing unit in the reverse order. We tighten the screws that secure the cylinder body to the clutch housing to the specified torque (see Appendices).
If it is necessary to replace the fluid supply tube to the clutch hydraulic drive working cylinder, disconnect it from the cylinder (see above).
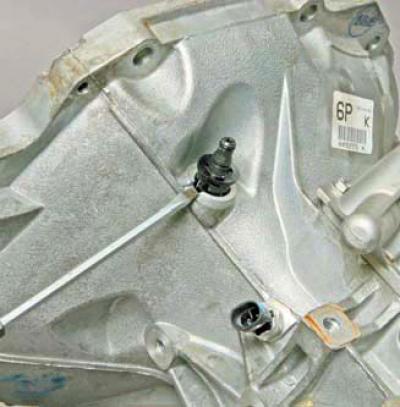
We use a screwdriver to pry up the centering plastic sleeve of the tube tip and, squeezing its clamps…
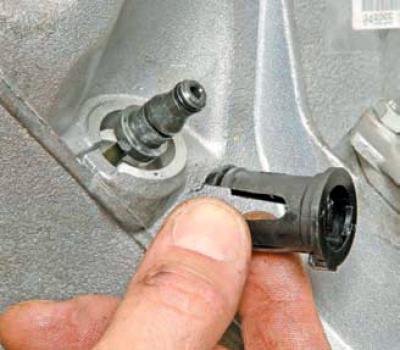
…we remove the bushing from the hole in the clutch housing.
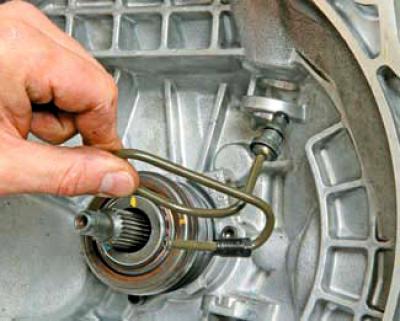
We remove the fluid supply pipe to the working cylinder.
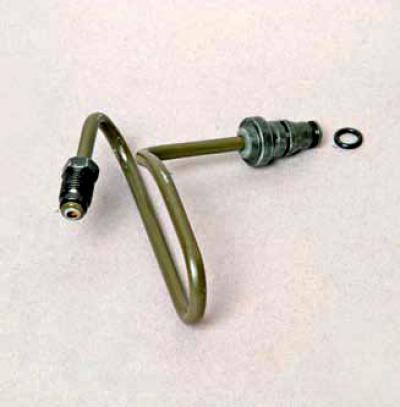
The connection of the tube tip with the clutch hydraulic hose adapter is sealed with a rubber ring.
We install the fluid supply pipe to the clutch hydraulic drive working cylinder in the reverse order.
After installing the gearbox, bleed the clutch hydraulic drive (see Bleeding the clutch hydraulic drive).