


In the engine compartment…
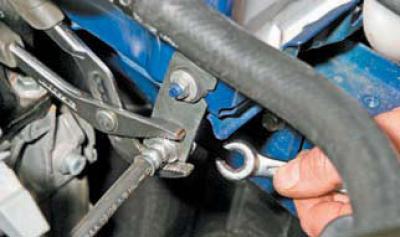
...with a special "10" key, unscrew the nipple of the fluid supply tube to the clutch hydraulic drive hose. At the same time, hold the end of the hose from turning by squeezing the two bracket antennae with sliding pliers, covering the edges of the hexagon of the end of the hose.
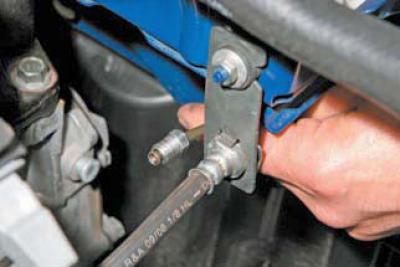
We remove the tube from the hole in the hose tip.
To prevent leakage of the working fluid, we plug the opening of the tube, for example, with a cap of the hydraulic drive bleed nipple.
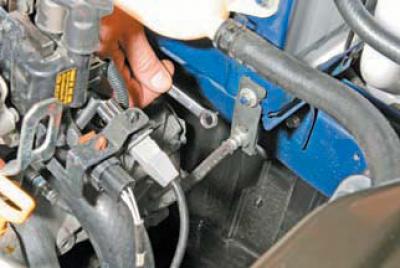
Using a 10 mm open-end wrench, unscrew the nut securing the hose bracket to the battery shelf…
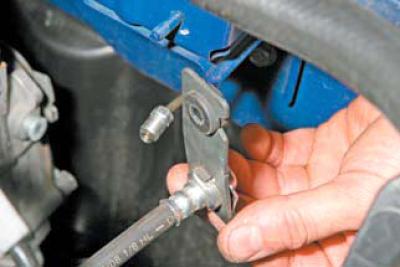
…and remove the hose bracket from the stud.
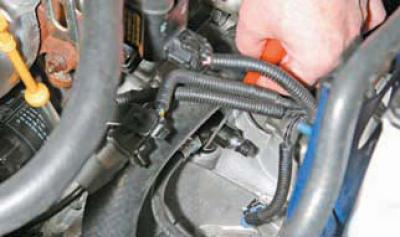
We use a screwdriver to pry up the spring clamp of the hose adapter.
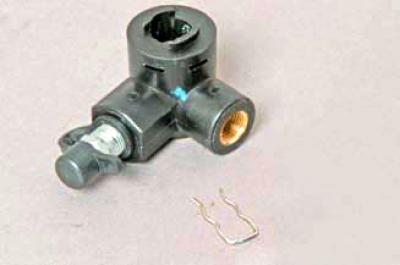
We take out the retainer (for clarity, we show it on a dismantled hose adapter)… …and remove the hose adapter from the tip of the clutch slave cylinder tube.
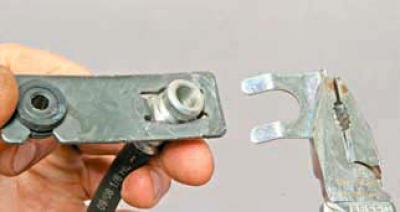
Using pliers, remove the hose tip bracket..
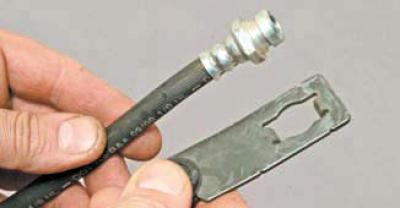
…and we remove the hose tip from the hole in the bracket.
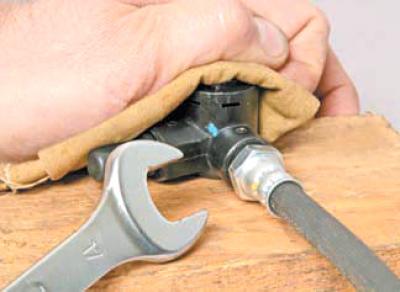
Pressing the plastic body of the hose adapter against a wooden block, use a 17 mm wrench to loosen the other end of the hose.
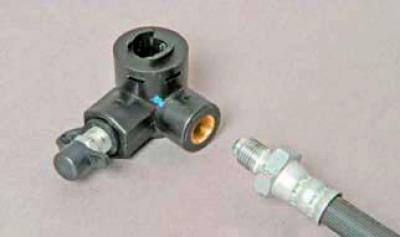
We unscrew the tip of the hose from the threaded hole of the adapter.
Having replaced the damaged hose with a new one, we assemble it with the adapter and bracket in the reverse order. So that during further installation (connection with the working fluid supply pipes) the hose didn't twist..
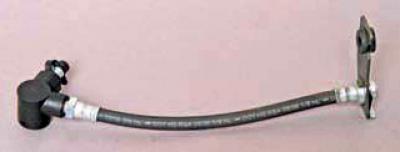
…when assembling, orient the adapter, hose and bracket as shown in the photo.
We attach the hose adapter to the tip of the clutch slave cylinder tube, and the bracket to the battery shelf.
We bleed the clutch hydraulic drive (see Bleeding the clutch hydraulic drive).
The text of the article was obtained from the website: «CHEVYMAN.RU»