


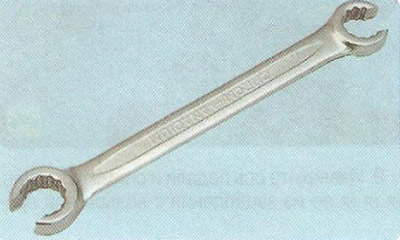
...and a special "10" key for pipeline fastening nuts.
Note: Access to the clutch release hydraulic line from above, from the engine compartment, is difficult, so we recommend working from underneath the vehicle, placing it on a ramp, lift or inspection pit.
1. Remove the cap of the brake master cylinder reservoir and pump out, for example, using a large medical syringe, the brake fluid from the section of the brake master cylinder reservoir that supplies the clutch release hydraulic drive.
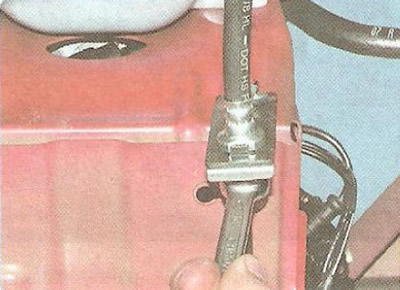
2. Unscrew the nut securing the tube to the hose tip and move the tube to the side.
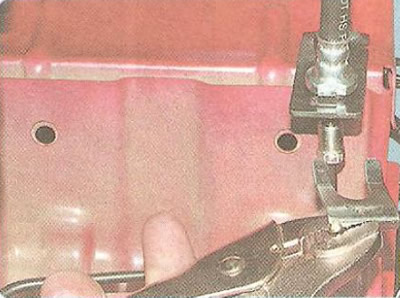
3. Remove the retaining clip...
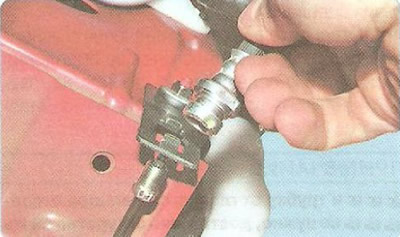
4. ...and remove the hose tip from the bracket.
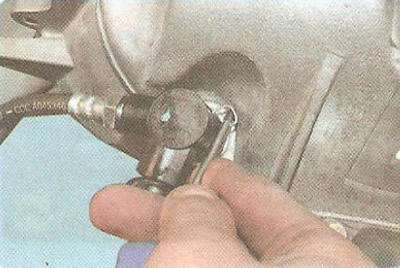
5. Using a screwdriver, pry...
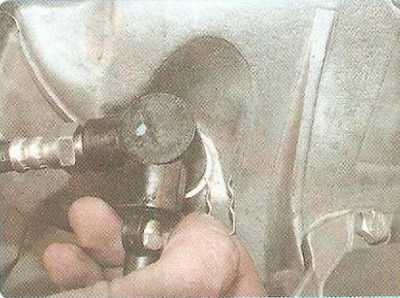
6. ...remove the retainer from the hose adapter...
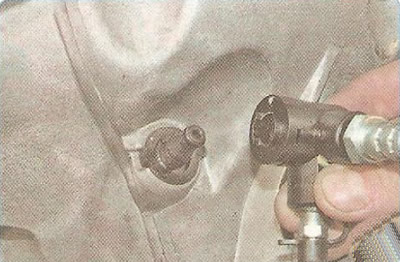
7. ...and, having removed the adapter from the tip of the intermediate hydraulic drive tube...
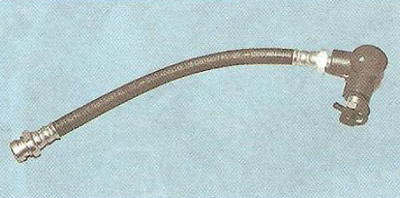
8. ...remove the hose from the vehicle.
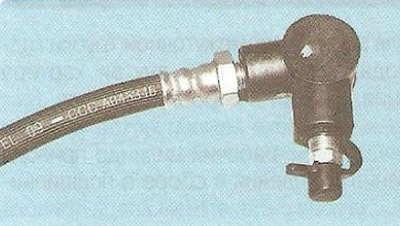
9. If it is necessary to replace the hose, disconnect the adapter from it by clamping the adapter in a vice and unscrewing the hose tip from it, and then install it on the new hose.
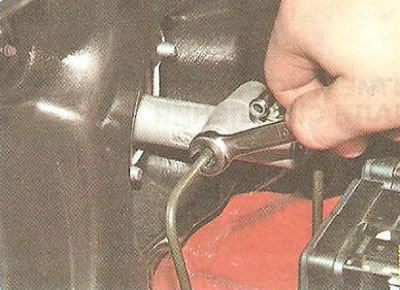
10. To replace the main hydraulic drive tube, unscrew the nut securing the tube to the master cylinder, disconnect the tube from the hydraulic drive hose (see point 2 above in this subsection)...
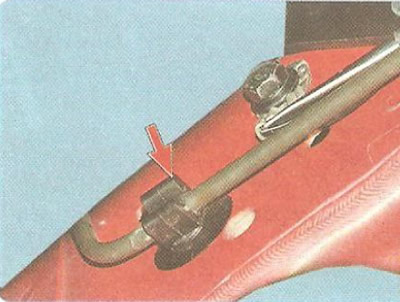
11. ... remove the tube from the rear...
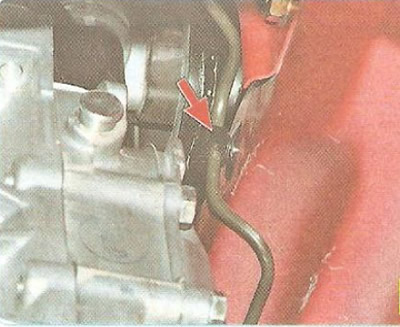
12. ...and the front holders on the body side member and remove the tube.
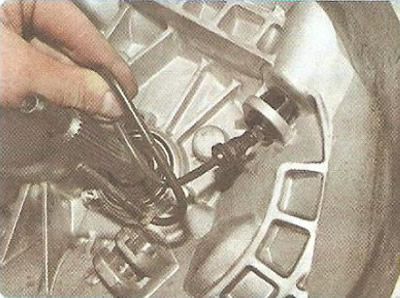
13. To replace the intermediate hydraulic tube installed inside the clutch housing, remove the gearbox (see "Removal and installation of a manual gearbox"), clutch release drive slave cylinder assembled with bearing (Ohm. "Replacing the clutch release drive slave cylinder with the clutch release bearing"), remove the tube tip from the bushing in the clutch housing and remove the tube.
14. Install the parts in the reverse order of removal and bleed the hydraulic drive (see "Bleeding the clutch release hydraulic drive").
(The article is reprinted from the website «chevyman.ru»)