


- elevated (compared to the usual) noise:
- difficult gear shifting;
- spontaneous disengagement or unclear engagement of gears;
- oil leakage through seals and gaskets.
In addition, the gearbox is removed to replace the clutch, flywheel and rear crankshaft oil seal of the engine.
An automatic transmission is removed for almost the same reasons as a manual transmission, except for the need to replace the clutch and flywheel, which are absent in this case. The methods for removing and installing manual and automatic transmissions are almost the same and are described using a manual transmission as an example. The difference lies in the design of the transmission control drive.
Helpful Hints: Removing and installing the gearbox is a very labor-intensive job, so make sure beforehand that its malfunctions are not caused by other reasons (insufficient oil level, clutch drive defects, loose gearbox mounts, etc.).
The gearbox is quite heavy and its shape is not convenient for holding, so we recommend removing the gearbox with an assistant.
You will need: wrenches "12", "14", "19", pliers.
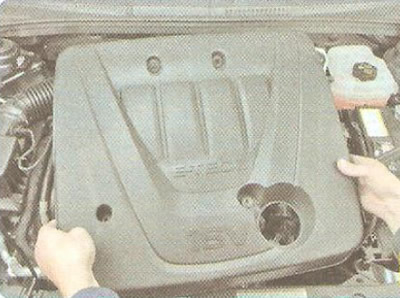
1. Remove the decorative engine cover (see "Removal and installation the decorative engine cover").
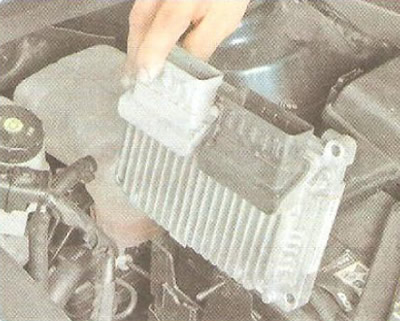
2. Remove the engine control unit (see "Removal and installation of the electronic engine control unit").
3. Remove the fuse and relay mounting block (see "Removal and installation of mounting blocks").
4. Remove the battery (see "Removal and installation the battery").
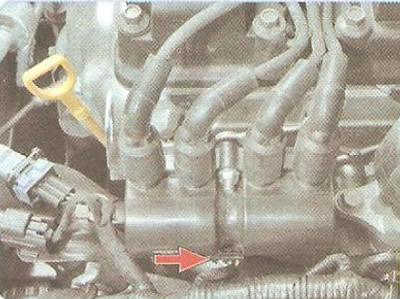
5. Disconnect the wiring harness connector from the ignition coil terminals.
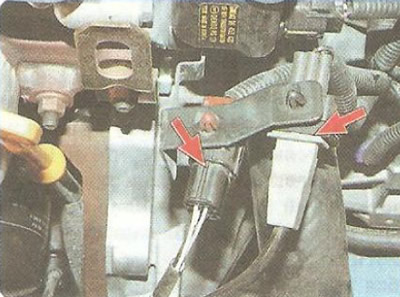
6. Disconnect the connectors of the crankshaft position sensor and oxygen sensor wiring harnesses. Remove the connectors from the bracket on the gearbox by squeezing the tabs of their holders.
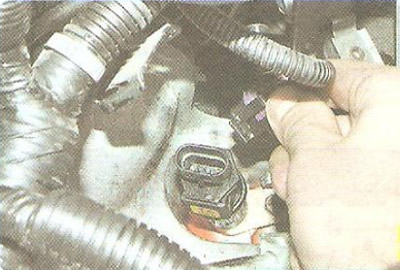
7. Squeeze the fastening clamps and disconnect the wiring harness connectors from the speed sensor...
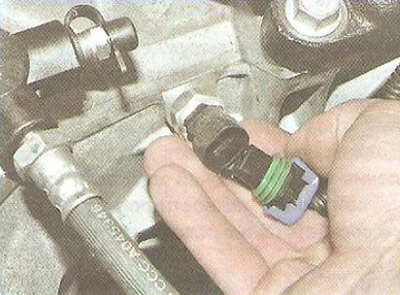
8. ...and the reverse light switch.
9. Drain the coolant (see "Replacing the coolant").
10. Drain the oil from the gearbox (see "Checking the level, topping up and replacing oil in a manual transmission").
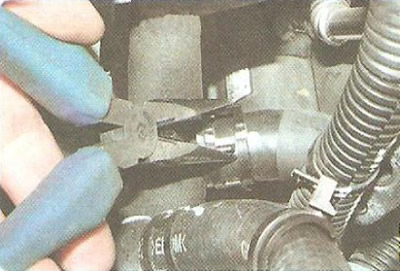
11. Squeeze the tabs of the clamp securing the heater radiator outlet hose to the distribution pipe, slide the clamp along the hose...
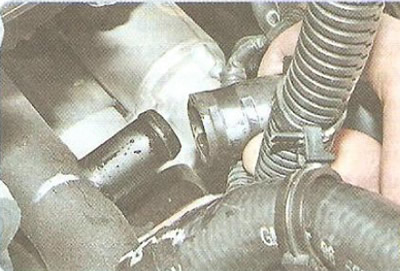
12. ...and disconnect the hose from the pipe.
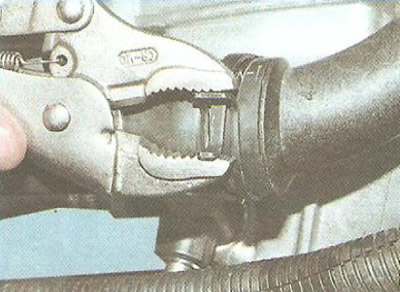
13. Squeeze the tabs of the clamp securing the radiator outlet hose to the distribution pipe, slide the clamp along the hose...
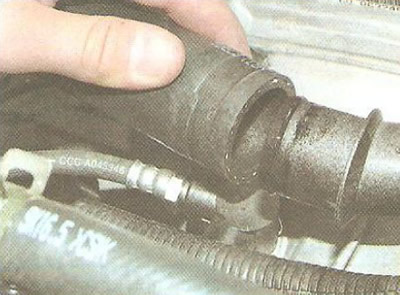
14. ...and disconnect the hose from the pipe.
Note: The radiator coolant hoses must be disconnected from the water distribution pipe to gain access to the upper transmission mounting bolts.
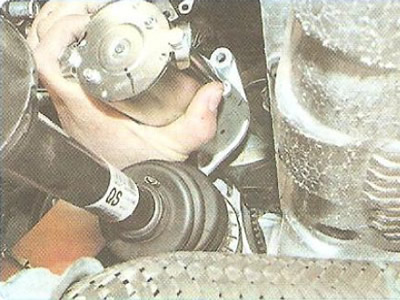
15. Remove the starter (see "Removal and installation the starter").
16. Move aside the wiring harness located on the left side of the engine compartment so that it does not interfere with further work.
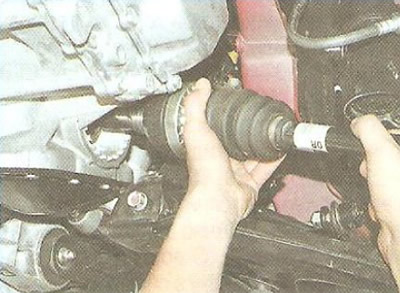
17. Remove the front wheel drives (see "Removal and installation front wheel drives").
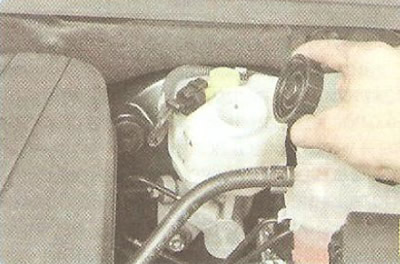
18. Remove the plug of the brake master cylinder reservoir and pump out, for example, using a large medical syringe, the brake fluid from the section of the brake master cylinder reservoir that supplies the clutch release hydraulic drive.
Note: The reservoir, common to the brake and clutch master cylinders, consists of three separate sections: two for the separate brake hydraulic circuits and one for the clutch hydraulic circuit.
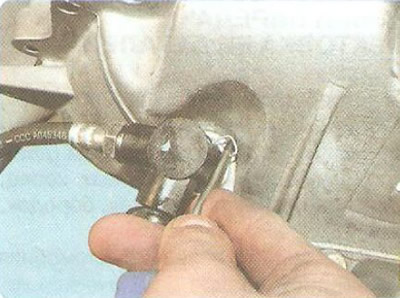
19. Using a screwdriver, pry...
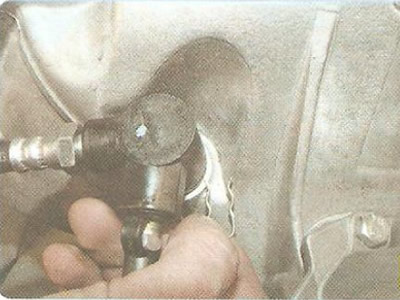
20. ... remove the retainer from the hose adapter...
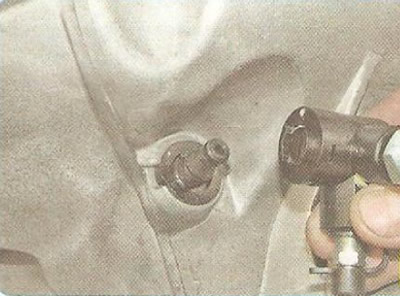
21. ...and remove the adapter from the end of the intermediate pipe of the clutch hydraulic drive.
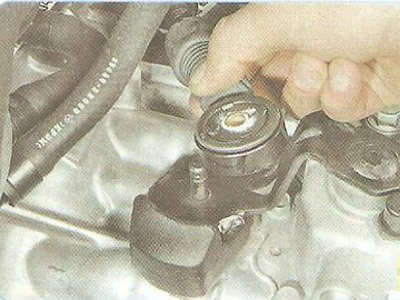
22. Remove the gear shift cable end from the gear shift lever shaft.
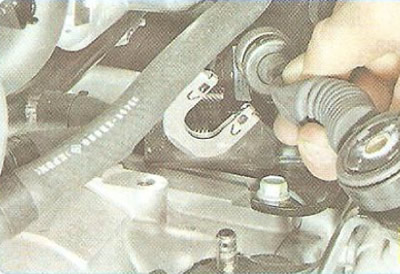
23. Remove the end of the cable sheath from the slot in the bracket on the gearbox. Move the gear shift cable to the side.
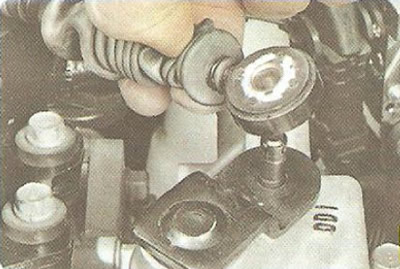
24. Disconnect the second gear shift cable in the same manner.
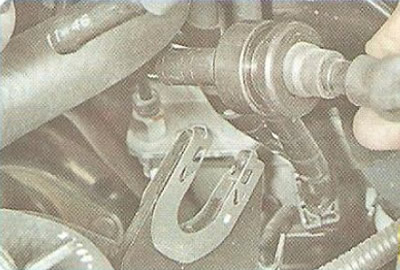
25. Remove the end of the cable sheath from the slot in the bracket on the gearbox. Move the gear selection cable to the side.
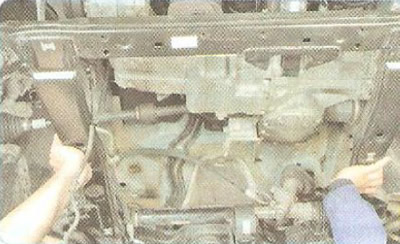
26. Remove the front suspension subframe (see "Removal and installation the front suspension subframe").
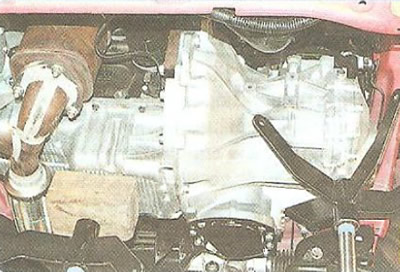
27. Install supports under the engine oil pan, using a piece of board as a spacer, and under the gearbox.
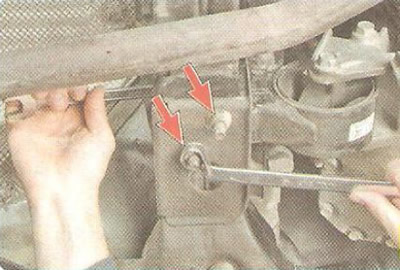
28. Unscrew the two nuts securing the support to the front suspension subframe and remove the bolts upward.
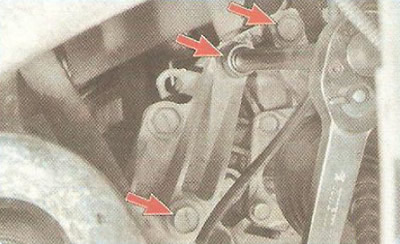
29. Remove the three bolts securing the rear support bracket to the gearbox housing.
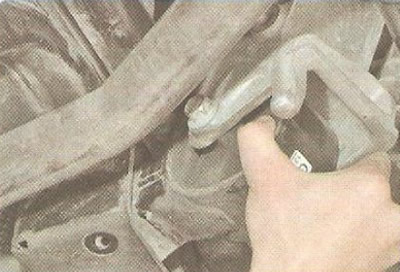
30. Remove the powertrain suspension support assembly with the bracket, moving it forward and to the right in the direction of vehicle travel.
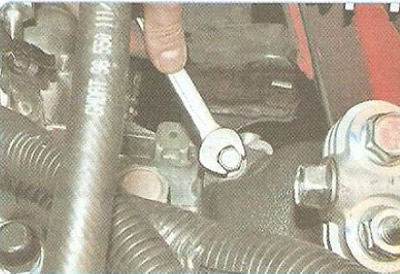
31. Remove the rear bolt.
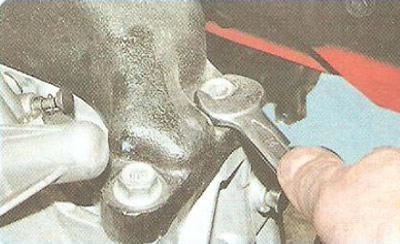
32. ...and two front bolts securing the bracket of the left support of the power unit suspension to the gearbox housing.
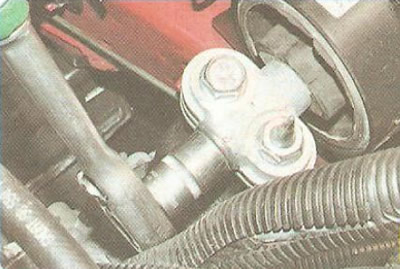
33. Unscrew the bolt securing the left powertrain suspension bracket to the support cushion and remove the bracket.
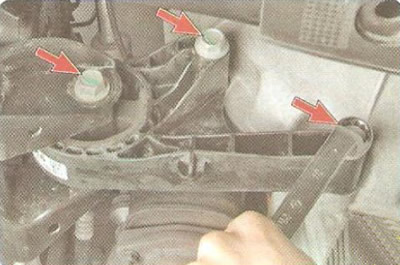
34. Remove the three bolts securing the front support of the powertrain suspension...
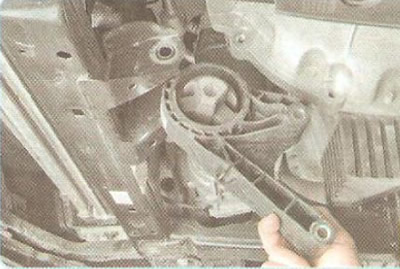
35. ...and remove the support.
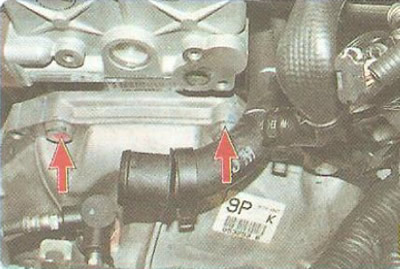
36. Remove the two bolts located at the top of the gearbox housing...
Note: For clarity, the ignition coil and EGR valve have been removed.
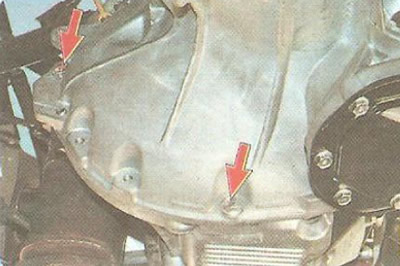
37. ...two bolts located at the bottom and on the left...
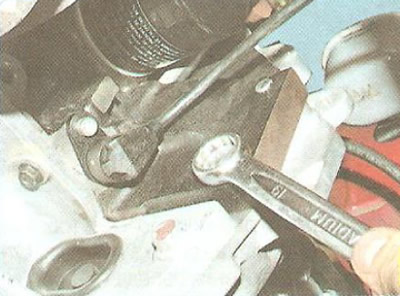
38. ...bolt located near the oil filter...
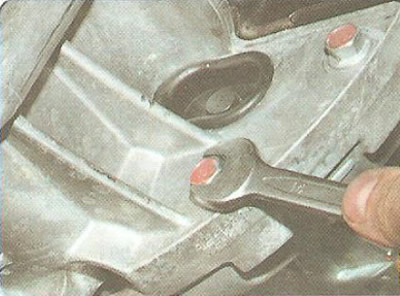
39. ...and four bolts securing the gearbox to the engine.
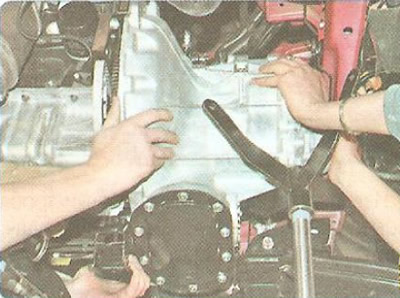
40. Move the gearbox as far back as possible (the primary shaft must disengage from the clutch driven disk hub), remove the support from underneath it and remove the box from the car.
Caution: When removing the gearbox, do not rest the end of the input shaft against the diaphragm spring petals to avoid deforming them.
41. Install the gearbox and all removed parts and assemblies in the reverse order of removal.
Helpful Hints: Before installing the gearbox, we recommend lubricating the splines of the primary shaft with a thin layer of high-melting grease. Check with a special mandrel how the driven clutch disc is centered (see Fig. "Removal and installation the clutch"). Before connecting the front wheel drives to the gearbox, replace the retaining rings on the splined tails of the inner joints with new ones. Otherwise, the drives may disconnect from the gearbox while driving.
42. Fill the gearbox with oil (see "Checking the level, topping up and replacing oil in a manual transmission").
43. Pour the working fluid into the reservoir of the master brake cylinder (in its section intended for supplying the hydraulic clutch release drive) and remove air from the clutch release hydraulic drive (see "Bleeding the clutch release hydraulic drive").
(For details, visit the website: «ChevyMan»)