
ChevyMan.ru
Mazda Mitsubishi Toyota Land Rover Honda Kia Nissan
English Русский
Български
Беларускі
Український
Српски
Hrvatski
Română
Polski
Slovenský
Magyar
|
Articles | Sitemap | Contacts |


Home   Aveo   Captiva   Cruze   Lacetti   Lanos   Niva   Tahoe   Others  
Cruze 1 (2008-2016)
  • Home
  • Cruze
  • J300 (2008-2016)
  • Transmission
  • Car gearbox
  • Secondary shaft repair

Secondary shaft repair (Chevrolet Cruze J300)

            0

You will need: a snap ring plier, a screwdriver, round-nose pliers, a universal puller.

You will need: a snap ring plier, a screwdriver, round-nose pliers, a universal puller.


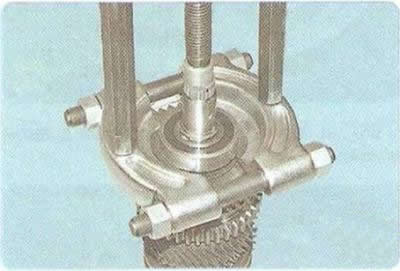
1. Press the rear bearing off the secondary shaft...

2. ...and take it off.
2. ...and take it off.


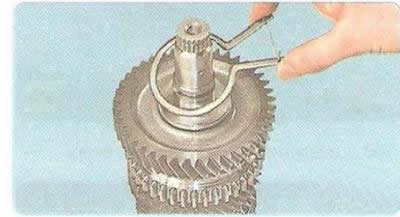
3. Squeeze the tabs, remove the snap ring...
3. Squeeze the tabs, remove the snap ring...


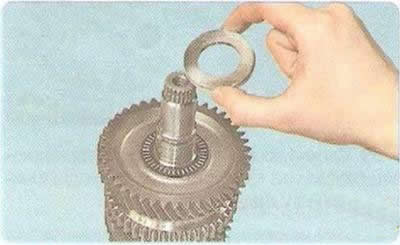
4. ... support washer..
4. ... support washer..


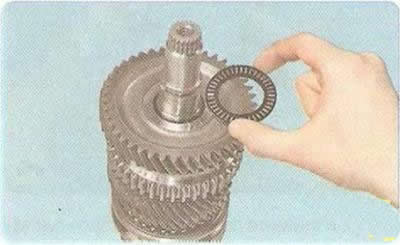
5. ... thrust needle bearing...
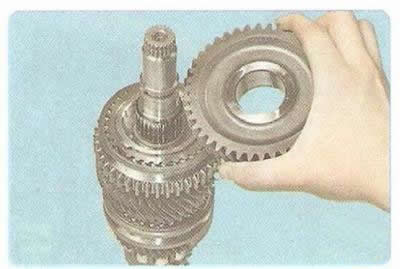


5. ... thrust needle bearing...


6. ... driven gear of 1st gear...
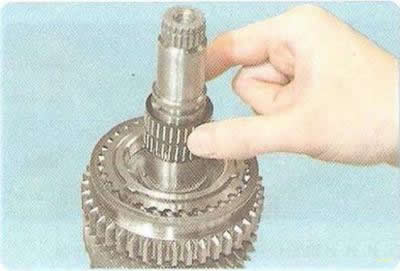
6. ... driven gear of 1st gear...


7. ... needle bearing of the driven gear of the 1st gear...
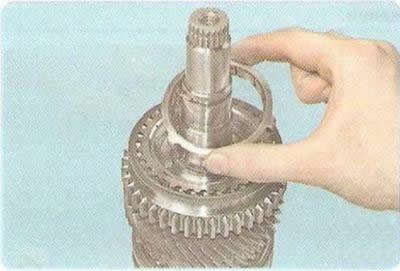
7. ... needle bearing of the driven gear of the 1st gear...


8. ...internal blocking ring...
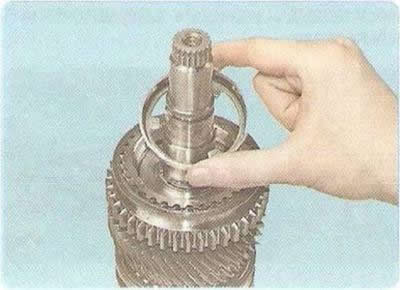
8. ...internal blocking ring...


9. ...intermediate ring...
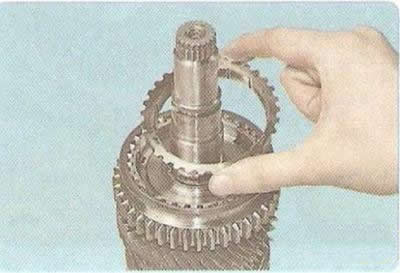


9. ...intermediate ring...


10. ...and the outer locking ring of the 1st gear synchronizer.
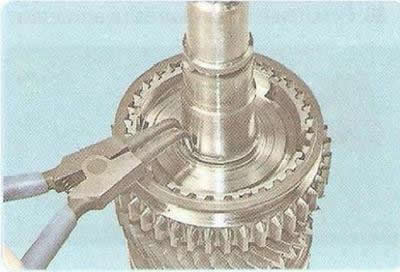
10. ...and the outer locking ring of the 1st gear synchronizer.


11. Use a puller to loosen...
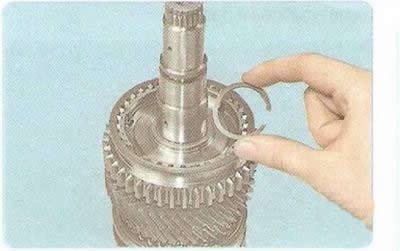
11. Use a puller to loosen...


12. ...and remove the retaining ring.
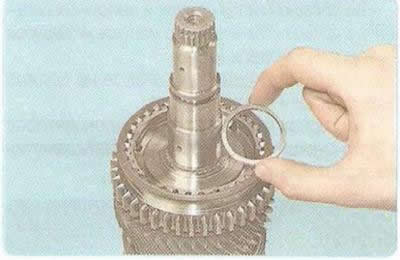
12. ...and remove the retaining ring.


13. ...and a thrust washer.
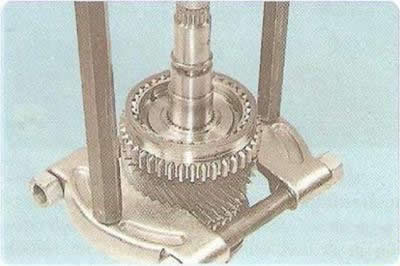


13. ...and a thrust washer.


14. Press the synchronizer of the 1st and 2nd gears together with the driven gear of the 2nd gear from the shaft splines, applying force to the end of the gear...
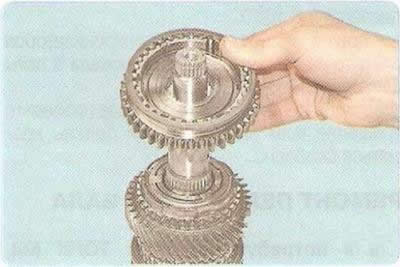
14. Press the synchronizer of the 1st and 2nd gears together with the driven gear of the 2nd gear…


15. ...and remove the synchronizer from the shaft.
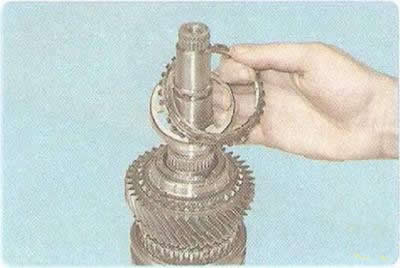
15. ...and remove the synchronizer from the shaft.


16. Remove the outer locking ring, intermediate ring...
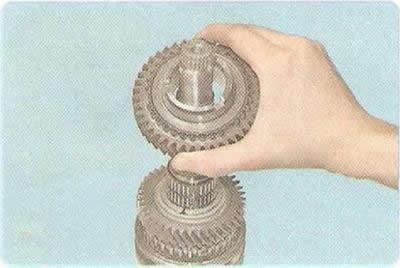
16. Remove the outer locking ring, intermediate ring...


17. ...internal locking ring of the 2nd gear synchronizer...


18. ...and the driven gear of the 2nd gear.
18. ...and the driven gear of the 2nd gear.


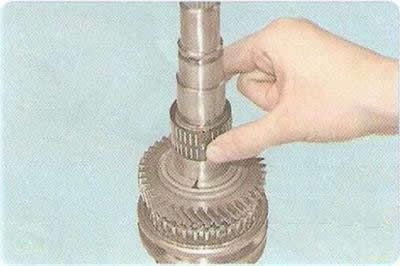
19. Remove the needle bearing of the 2nd gear driven gear.
19. Remove the needle bearing of the 2nd gear driven gear.


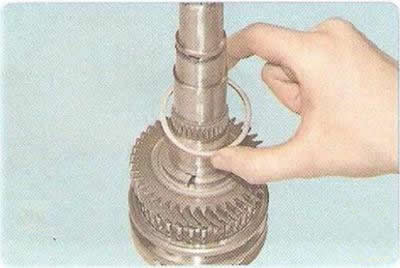
20. Remove the retaining ring.
20. Remove the retaining ring.


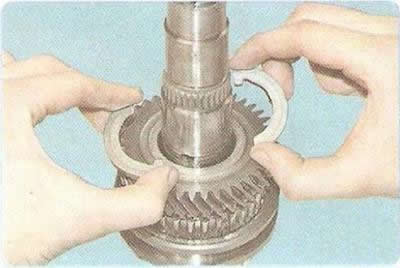
21. ...and two thrust half rings.
21. ...and two thrust half rings.


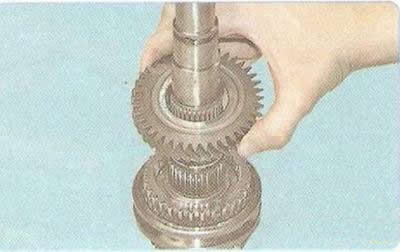
22. Remove the driven gear of the 3rd gear from the shaft...
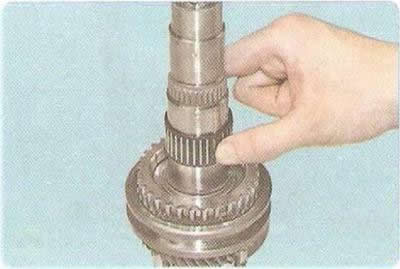


22. Remove the driven gear of the 3rd gear from the shaft...


23. ... needle bearing of the driven gear of the third gear...
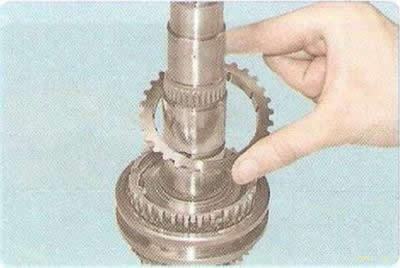
23. ... needle bearing of the driven gear of the third gear...


24. ...and the locking ring of the synchronizer of the third gear.
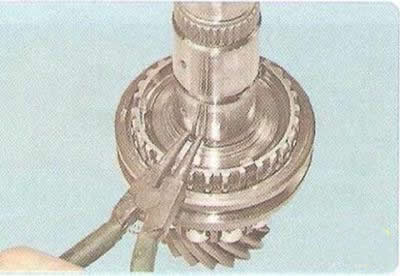
24. ...and the locking ring of the synchronizer of the third gear.


25. Use a puller to loosen the retaining ring of the synchronizer hub for III and IV gears...
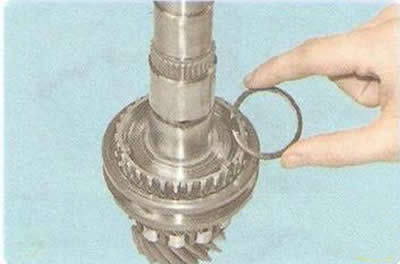
25. Use a puller to loosen the retaining ring of the synchronizer hub for III and IV gears...


26. ... remove the retaining ring from the shaft...
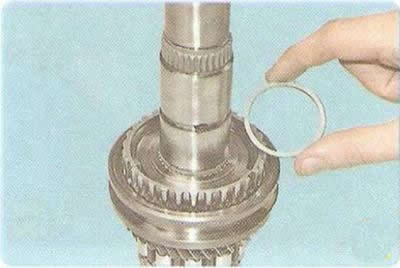
26. ... remove the retaining ring from the shaft...


27. ...and a thrust washer.
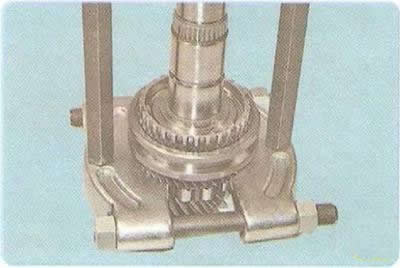
27. ...and a thrust washer.


28. Press the synchronizer of the III and IV gears off the shaft splines, applying force to the end of the driven gear of the IV gear.
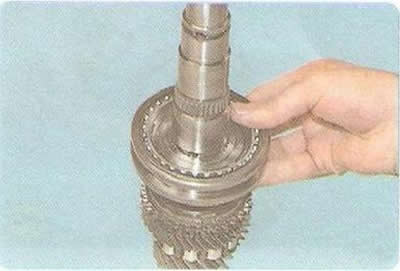
28. Press the synchronizer of the III and IV gears off the shaft splines, applying force to the end…


29. Remove the synchronizer of III and IV gears from the shaft...
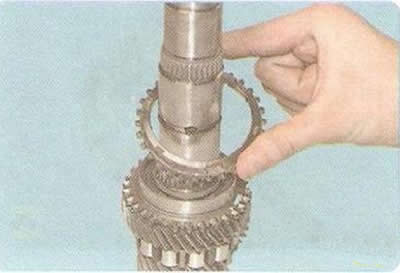
29. Remove the synchronizer of III and IV gears from the shaft...


30. ...synchronizer locking ring...
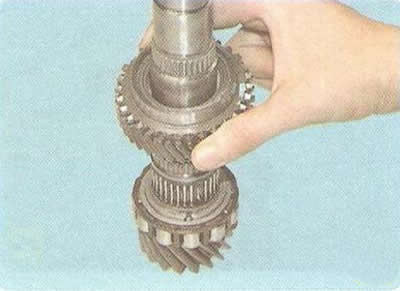
30. ...synchronizer locking ring...


31. ...driven gear of the 4th gear...
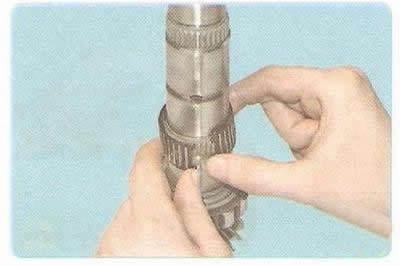
31. ...driven gear of the 4th gear...


32. ...and a split needle bearing of the driven gear of the 4th gear.
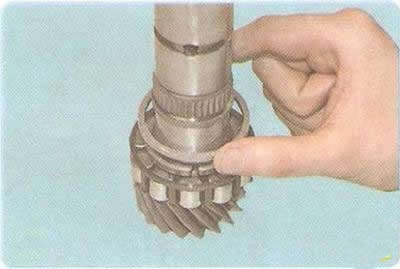
32. ...and a split needle bearing of the driven gear of the 4th gear.


33. Remove the retaining ring from the shaft...
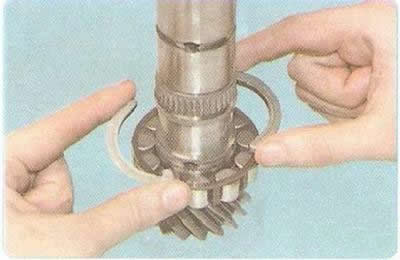
33. Remove the retaining ring from the shaft...


34. ...two half rings...
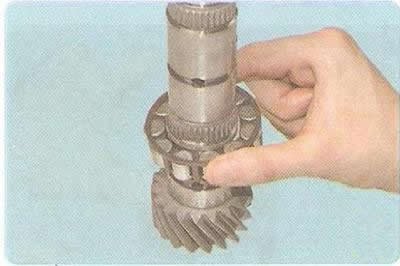
34. ...two half rings...


35. ...and the secondary shaft rear roller bearing.

36. Inspect the secondary shaft and its parts:
  • there should be no signs of fatigue damage on the journals for needle bearings, and no nicks or crushing on the splines for installing synchronizer clutches;
  • there should be no signs of wear or scoring on the end surfaces of the thrust half rings and locking rings;
  • there should be no nicks or signs of wear on the synchronizer hubs;
  • there should be no dents or chipping on the ends of the splines of the synchronizer clutches and blocking rings:
  • when installing the synchronizer locking ring on the cone of the corresponding gear, the gap between the ends of the ring and the gear ring must be at least 1 mm. Otherwise, replace the locking ring.

37. Assemble the secondary shaft in the reverse order of disassembly, taking into account the following:
  • before pressing onto the shaft, heat the synchronizer hubs in an oil bath to a temperature of 100°C;
  • when pressing on the synchronizer hubs, make sure that the crackers fit into the grooves of the locking rings;
  • after assembling the secondary shaft, check the rotation of all gears: they should rotate freely.

The article was checked: Vladimir Romannikov
This article is available at russian, bulgarian, belarusian, ukrainian, serbian, croatian, romanian, polish, slovak, hungarian

Share information:

Previous articles
Cruze 1: Car gearbox
Next articles

Disassembly, assembly of gearbox, defect detection of parts
Removal and installation of a manual gearbox
Replacing gearbox drive seals
Checking the level and adding working fluid to the automatic transmission
Checking the level, topping up and replacing oil in a manual transmission
Primary shaft repair
Gearbox synchronizer repair
Gearbox differential repair
Replacing manual transmission control cables
Removal and installation the gearbox control lever joint


See similar articles on the topic of Chevrolet cars:
Tubeless tire repair Chevrolet Aveo T300 (2012-2018)
Wheel drive shaft — repair Chevrolet Captiva 1 (2006-2018)
Tools used in car repair Chevrolet Lacetti 1 (2002-2009)
Safety precautions during maintenance and repair Chevrolet Lanos T150 (2002-2009)
Engine running-in after repair Chevrolet Niva 1 (2002-2016)
Balance shaft — removal and installation (V6 engines since 1994) Chevrolet Tahoe 1 (1992-2000)
Checking the condition of the axle shaft boots (every 3000 miles or 3 months) Chevrolet Lumina 1 (1989-1994)
Link in different formats to this page


Visitor comments

No comments yet


How much will 11 + 29 =


Cruze 1 (2008-2016) 
  • General information
  • User manual
  • Troubleshooting
  • Maintenance
  • Power unit
  • Engine repair
  • Lubrication system
  • Cooling system
  • Exhaust system
  • Supply system
  • Control system
  • Transmission
  • Clutch
  • Car gearbox
  • Front wheel drives
  • Chassis
  • Front suspension
  • Rear suspension
  • Steering
  • Brake system
  • Body
  • Exterior (external elements)
  • Interior (internal elements)
  • Doors, covers and windows
  • Heating and air conditioning
  • Security systems
  • Electrical equipment
  • Equipment and devices
  • Power devices
  • Lighting and signaling
  • Electrical circuits


ChevyMan.ru © 2017-2026 · Mobile version · Feedback · Site search · Interesting to read · Sitemap: EN BG BY UA RS HR RO PL SK HU

Aveo 2003-2008 · Aveo 2006-2011 · Aveo 2012-2018 · Captiva 2006-2018 · Cruze 2008-2016 · Lacetti 2002-2009 · Lanos 2002-2009 · Niva 2002-2016 · Tahoe 1992-2000 · Tahoe 2000-2014 · Lumina 1 1989-1994 · Trailblazer 1 2001-2008 · Orlando 1 2010-2018 ·
🛡️ For your security and to improve our service, this site uses cookies. You can disable them in your browser.