
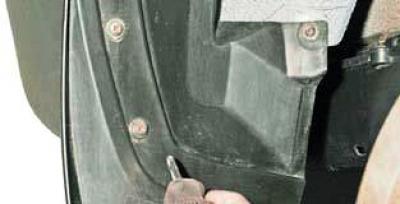
Using a Phillips screwdriver, unscrew the two screws that secure the upper rear mudguard to the bumper (the rear wheels have been removed for clarity)…
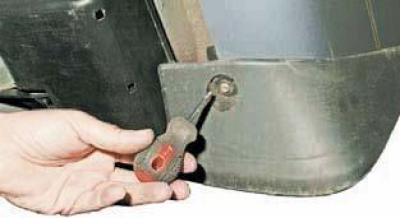
…and one self-tapping screw for the lower mudguard mount.
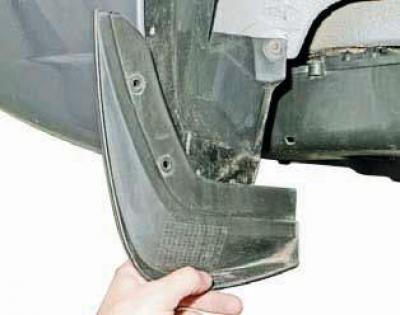
Remove the mudguard.
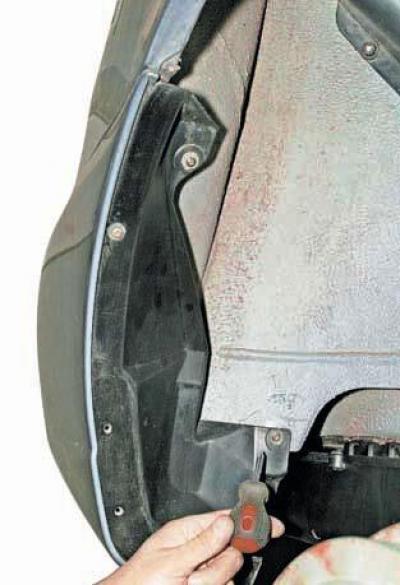
Using a Phillips screwdriver, unscrew the three screws securing the rear mudguard…
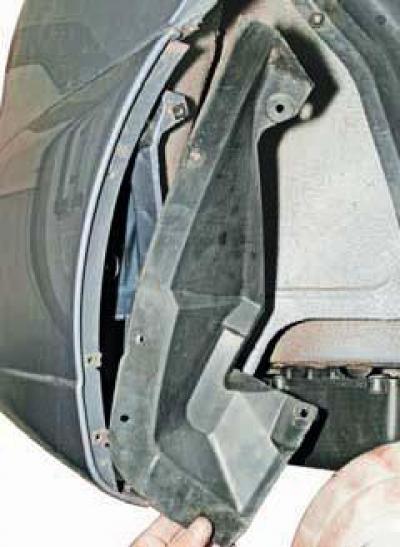
…and remove the fender liner.
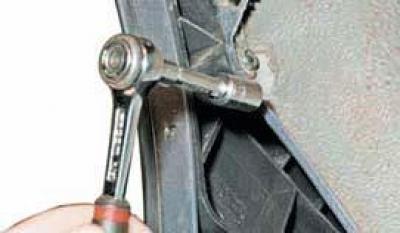
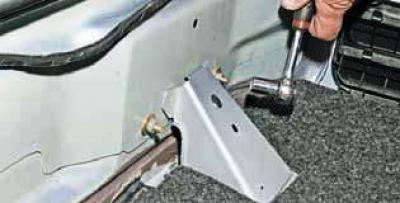
Using a 10 mm socket head, unscrew the screw that secures the bumper to the body bracket.
We perform similar operations on the other side of the car.
In the luggage compartment…
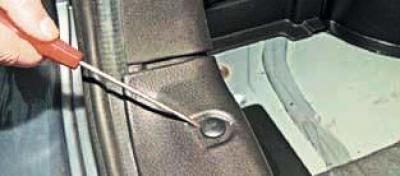
…we use a slotted screwdriver to pry up the rear panel trim mounting pin…
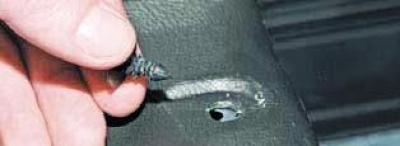
…and we remove the piston from the socket.

We remove the remaining six pistons in the same way.
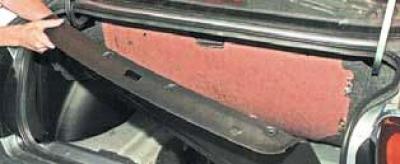
We remove the rear panel trim.
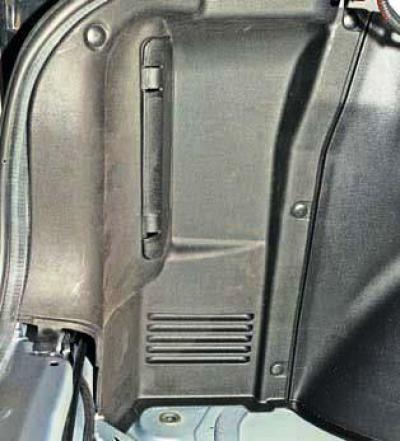
Using a screwdriver, we remove the five pins that secure the rear light trim.
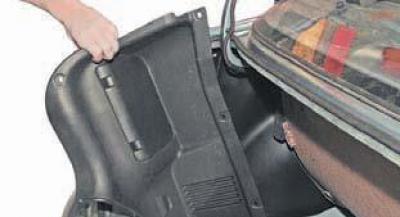
We remove the trim of the left rear light.
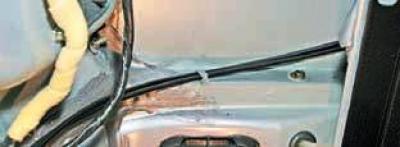
Using a 10 mm socket or wrench, unscrew nut 1 and screw 2 securing the bumper to the body.
We perform similar operations on the other side of the car.

Using a Phillips screwdriver, unscrew the four screws securing the upper bumper mount.

We remove the bumper assembly.
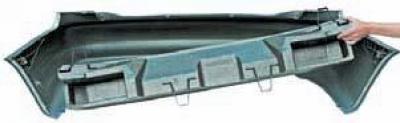
Using a 10 mm socket or wrench, unscrew the two nuts securing the energy-absorbing element to the body.

We remove the energy absorbing element.
We perform similar operations on the other side of the car.
To remove the rear bumper energy absorbing beam, use a Phillips screwdriver…
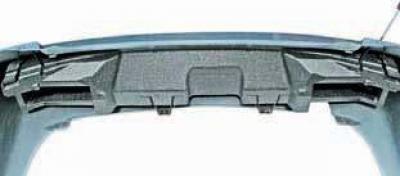
…we unscrew the four screws that secure the beam to the bumper…
…and we remove the beam.
We assemble and install the rear bumper in the reverse order.