
It is more convenient to perform the work of replacing the bumper cover with an assistant in the following order:
1. We prepare the car for maintenance and repair.
2. We lift the rear part of the car and remove the rear wheels.
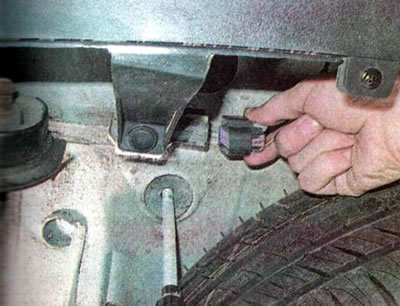
3. Pressing the lock, disconnect the wiring harness block located near the spare wheel from below.
4. If there is a parking radar, disconnect the wire connectors from the sensors.
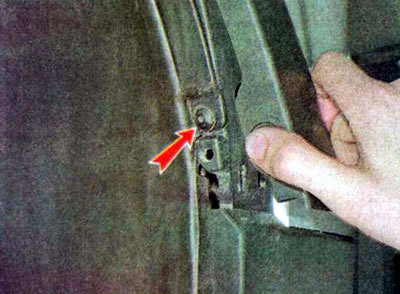
5. Pull out the clamps and remove the two holders.
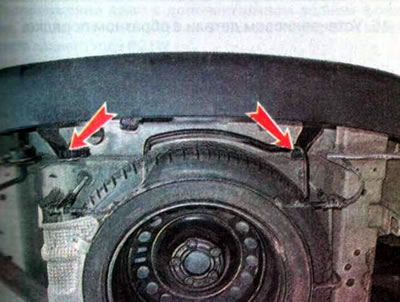
6. Using a 10 mm socket wrench, unscrew the two nuts securing the left mudguard.
7. Using a puller, remove the rear wheel arch lining holder.
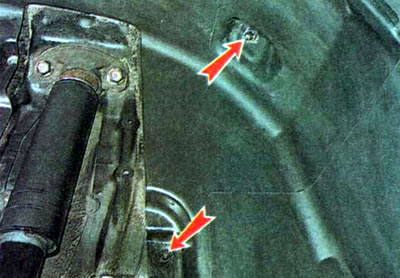
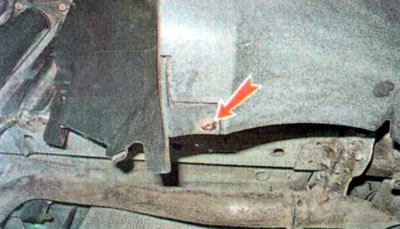
8. Using a TORX T20 key, unscrew two screws: one is located under the arch trim...
... and the second one is at the bottom of the fender liner.
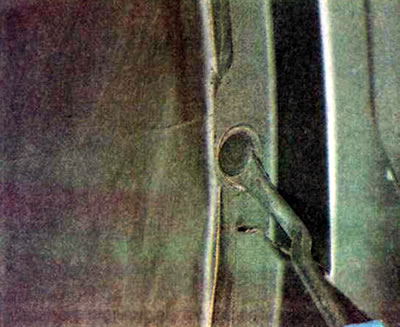
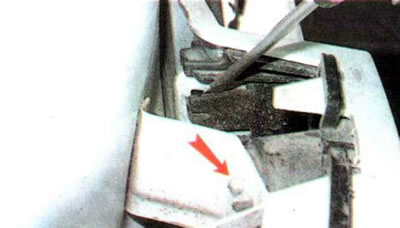
9. Bend the fender liner forward...
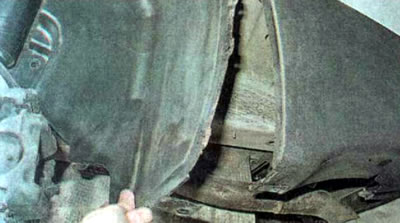
...and using a TORX T20 key, unscrew the screw securing the bumper trim to the body.
10. In the same way, we detach the fender liner on the right side and unscrew the right screw securing the bumper trim to the body.
11. Remove the outer sections of the rear lights.
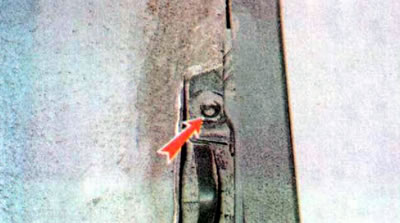
12. Using a slotted screwdriver or other suitable tool, disengage the bumper trim holder on the left.
13. Disconnect the left side of the bumper from the wing holders by pulling it to the left...
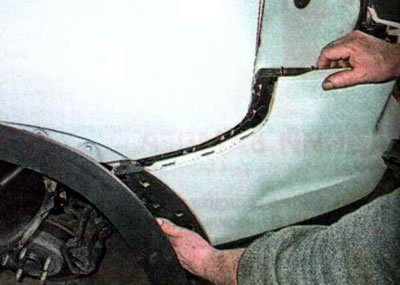
...and then back.
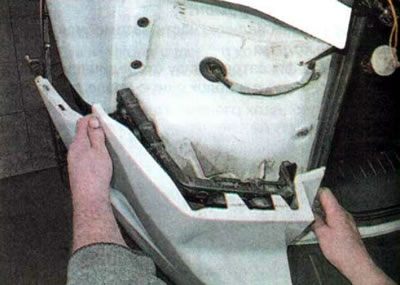
14. Similarly, detach the bumper cover on the right and remove it.
15. If necessary, remove the additional rear light.
Recommendation. In some cases, depending on the extent of damage, it is advisable to replace not the entire pad, but only its upper or lower part. To separate them, you need to use a Phillips screwdriver to unscrew 13 screws in the same way as described in the front bumper section.
16. Install the parts in reverse order.