
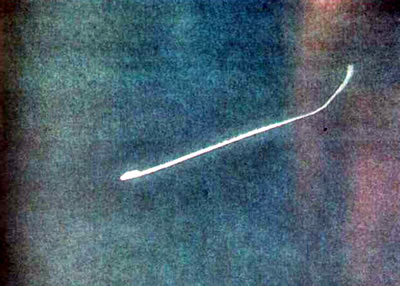
...and chips.
To mask such defects and to protect the car body part from corrosion in the damaged area, special touch-up pencils are sold.
For metallic paints, kits are sold consisting of a bottle with a color base and a bottle with a clear varnish.
Such kits can be original or produced by third-party companies specializing in the production of repair paints. Original kits are usually more expensive, but if you are sure that the car has factory paint, then buying an original kit is preferable: convenient selection by factory paint code guarantees full color matching.
Below is a description of the procedure for repairing a scratch using this original kit.
1. We prepare the car for maintenance and repair.
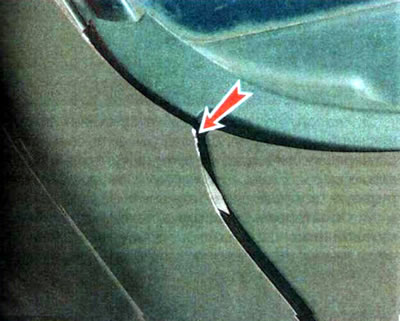
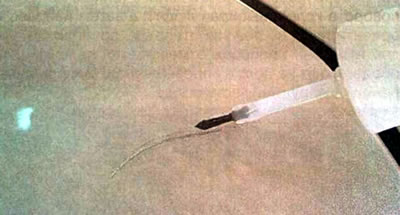
2. If necessary, clean the scratch from oxides and surface rust using a special device from the kit.
If you don't have such a device, you can clean out the scratch using a sharp knife.
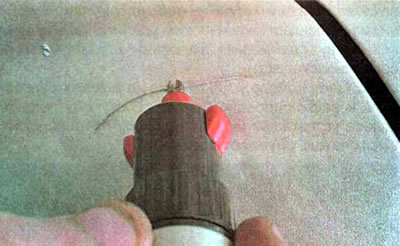
3. Shake the bottle with the color base thoroughly for several minutes and carefully paint over the scratch.
Don't apply too much paint at once, as it may run. It is better to apply several thin layers to compensate for the depth of the scratch. If a leak occurs, wipe it off immediately with a clean cloth.
4. Let the paint dry for half an hour.
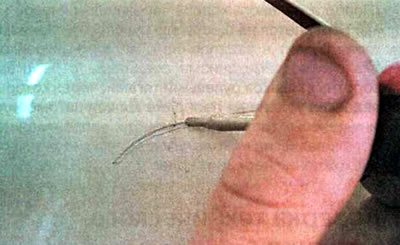
5. Apply a thin layer of clear varnish over the paint.
The recommendations for applying the varnish are the same as for applying the color base.
6. After a few days, you can polish the repaired area.