


2. Remove the screws securing the crossbar to the passenger side and driver side panel (see illustration).
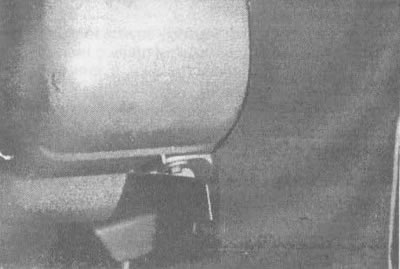
24.2. The screws are located on both sides of the ashtray
3. Remove the two rear screws located behind the ashtray (see illustration).
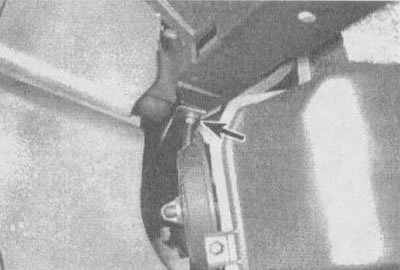
24.3 The rear screws are located behind the ashtray and can be reached from below (see arrow); for clarity, details have been removed
4. Unscrew the nut securing the bracket to the floor.
5. Unscrew the hidden nuts at the front of the unit (see illustration).
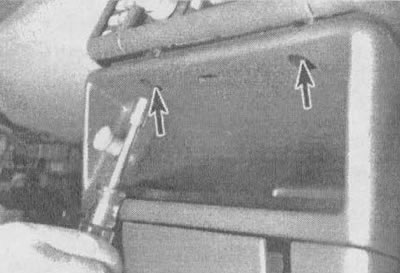
24.5. Unscrew the hidden nuts (indicated by arrows)
6. Lower the ashtray and disconnect the light bulb and the cigarette lighter wiring connector.
7. Remove the ashtray.
8. Installation is carried out in reverse order.