


Contents: Top panel ↧ Bottom panel ↧
Top panel
Removal
1. To remove the top panel, follow the steps shown in Illustrations 22.1a-d.
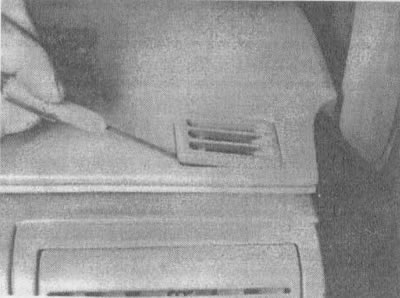
22.1a. Using a small screwdriver, carefully remove the small front deflector grille... |
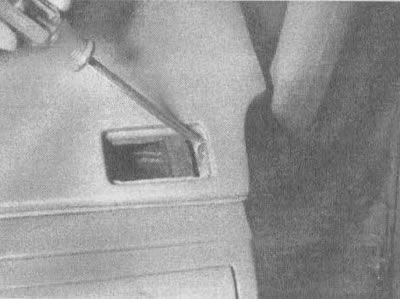
22.1b....and unscrew the screw |
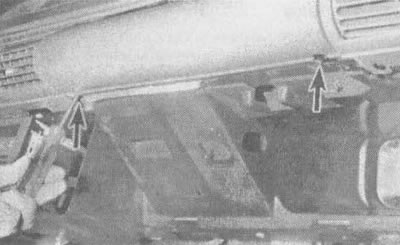
22.1v. Open the glove compartment and unscrew the screws (indicated by arrows) at the bottom |
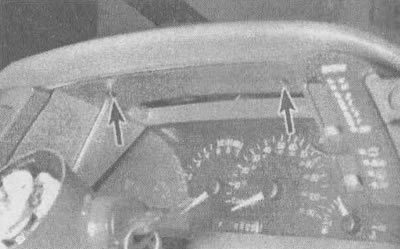
22.1g. Unscrew two screws (indicated by arrows), which secure the top panel to the frame |
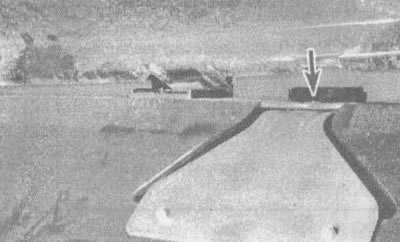
22.1d. Carefully remove the top panel from the bottom panel clips (indicated by arrows)
Installation
2. Installation is carried out in reverse order.
Bottom panel
Removal
Note: Due to the significant size and weight of the bottom panel, you will need an assistant to complete this task.
3. Disconnect the cable from the negative terminal of the battery (see note at the beginning of this chapter).
4. To facilitate access to the lower panel components, remove the front passenger seat (see section 23).
5. Remove the top panel (see the procedure described above).
6. Remove the ashtray (see section 24), left and right soundproofing panels (see section 25).
7. Working from the left side of the lower panel, disconnect and remove the parking brake handle and hood release handle.
8. Remove the lower side deflectors and disconnect all electrical connectors and wires connected to the frame. Be sure to label them clearly to make assembly easier.
9. Remove the outer supports and lower the steering column (see illustration). Let her lean against the driver's seat - remember to put a clean cloth on the seat to protect it.
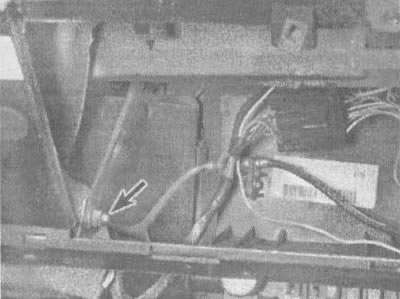
22.9. Unscrew this nut (indicated by the arrow)
10. Support the lower trim panel and remove the bracket located behind the speaker panel. Remove the lower mount.
11. From the engine compartment, push the wiring harness through the bulkhead grommet into the passenger compartment.
12. Remove the bottom panel.
Installation
13. Installation is carried out in reverse order.