
Contents: Exterior mirrors ↧ Interior mirror ↧
Exterior mirrors
1. Remove the door trim panel (see subsection 15). Remove the insulator located on the door (see illustration).
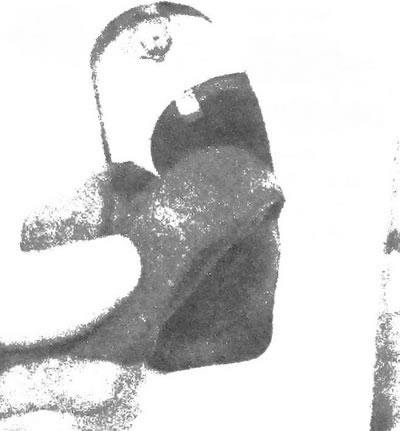
20.1 Remove the door insulator
2. Disconnect the mirror wire from the door and disconnect the electrical connector.
3. Unscrew the nuts and remove the mirror from the door (see illustration).
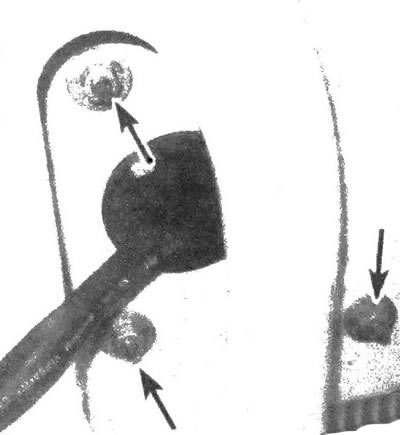
20.3. Unscrew the three nuts securing the outside mirror; on models electrical connector
4. Installation is carried out in the reverse order of removal.
Interior mirror
5. If necessary, disconnect the wire connector from the mirror.
6. Remove the screw and pull the interior mirror off the mounting base located on the windshield (see illustration).
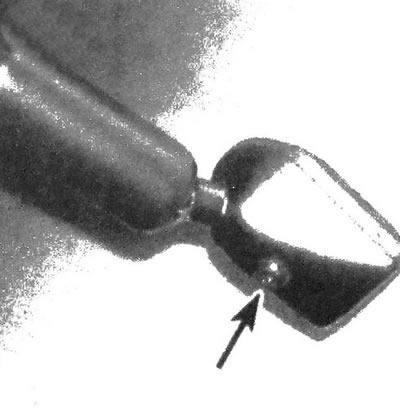
20.6 Using a hex screwdriver, remove the screw and pull the interior mirror off the mounting base
7. Installation is carried out in the reverse order of removal.
8. If the mirror mounting base has become detached from the windshield, install it using a special repair kit (which is freely available). Thoroughly clean the bonding surfaces of the base and windshield. When performing the operation, follow the instructions for use of the repair kit. Before installing the mirror, wait for the glue to harden for at least 6 hours.