


Warning: The vehicles described in this manual are equipped with a Supplemental Restraint System (SRS), also known as an air bag system. Before carrying out work in the area where the elements of this system are located, it is necessary to disconnect its power supply, since accidental deployment of the airbags can result in serious injury (see chapter 12).
Latch
1. Remove the radiator grille (see subsection 9). Unscrew the bolts and disconnect the latch (see illustration 10.10). Unhook the spring and, using pliers, disconnect the cable end from the latch (see illustration).
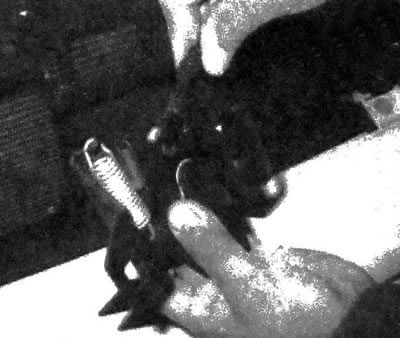
11.1 To disconnect the cable from the hood lock mechanism, pry the end of the cable and disconnect it from the latch. Using pliers, disconnect the end of the cable sheath located in the slot of the latch
2. Installation is carried out in the reverse order of removal. The latch should be installed in such a way that the lid is securely fixed and the bumpers are slightly compressed under the closed lid (see subsection 10).
Cable
3. Disconnect the cable from the hood lock as described in paragraph. 1
4. Disconnect the cable from the engine wiring harness. Tie a piece of wire to the existing cable to make it easier to install the new cable.
5. To gain access to the hood release cable and its handle, performing the procedure in the passenger compartment, remove the driver's door sill trim panel, as well as the front side trim panel located on the driver's side (see illustrations).
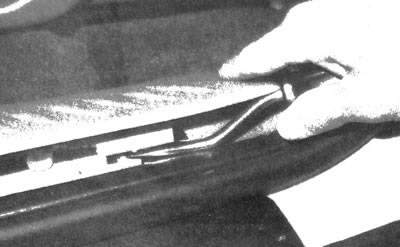
11.5a. Firmly grasp and pull the threshold trim
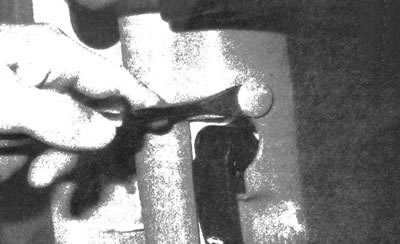
11.5b. Pry up and pull out the retainer, then pull back the driver's side trim panel, passing it through the slot in the bonnet release cable handle
6. Using pliers, pull the end of the cable sheath out of the protrusion on the handle frame (see illustration).
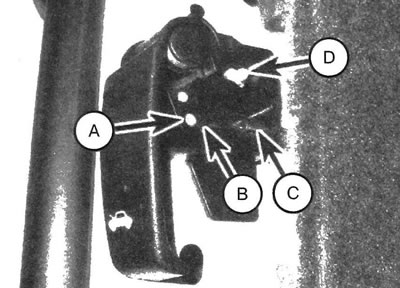
11.6. Remove the end of the cable sheath (A) from the protrusion (B), then, using pliers, turn the end of the sheath (C) and remove it from the bracket; to disconnect the cable handle, unscrew the nut (D)
Note: If the handle needs to be replaced, remove the single mounting bolt and remove it from the body panel.
7. Follow the direction of the cable until it enters the engine compartment bulkhead, then pry up and disconnect the rubber ring from the bulkhead. Pull the handle together with the cable into the passenger compartment.
8. Untie the piece of wire that was used as a guide from the old cable, then tie the wire to the new cable.
9. Pull the wire into the engine compartment so that the new cable reaches the hood latch. Insert the rubber ring into the partition so that it is securely fastened on both sides of the body panel. For correct installation into the partition, the rubber ring must be pushed in from the interior side with your fingers.
10. The rest of the assembly is carried out in the reverse order of the removal procedure.
The article is reprinted from the website: ChevyMan