
Contents: Removal ↧ Installation ↧
Note: The rear door is heavy, so at least two people will be required to perform these operations.
Removal
1. Disconnect the cable from the negative terminal of the battery (see note at the beginning of this chapter).
2. Removal of the rear door is shown in photographs 16.2a-g.
Installation
3. Installation is carried out in reverse order.
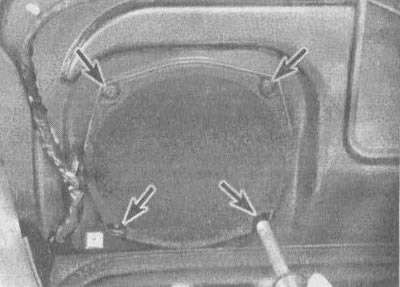
16.2a. Remove the four screws from each speaker (indicated by arrows) and... |
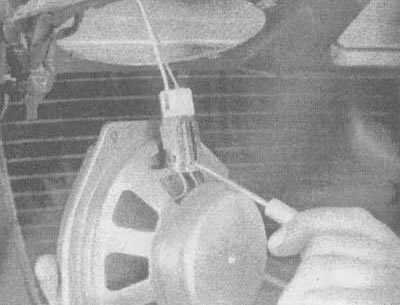
16.2b....disconnect the connector from the speaker |
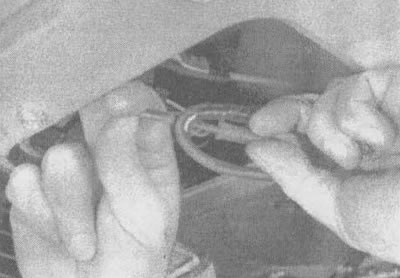
16.2v. Remove the rear window washer fluid supply pipe and disconnect its connector |

16.2g. Disconnect all electrical wiring connectors from the door |

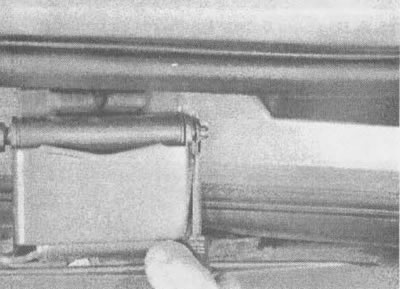
16.2d. Don't forget about the rear window defroster connector, which is hidden in the frame panel at the top of the door |
16.2e. Carefully pry the lock nut off the hinge pin with a small screwdriver (the nut may fly off, don't lose it) |
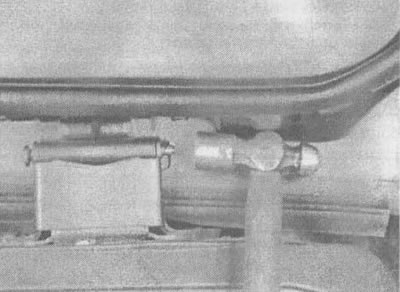
16.2g. Have an assistant hold the door while you knock out the hinge pins with a hammer and punch
(For details, visit the website: CHEVYMAN)