


2. To remove the upholstery, proceed in accordance with the illustrations 12.2a-g shown here, observing the order and not forgetting to read the accompanying inscriptions (see illustrations).
3. To install the side panel, perform the operations in reverse order. Make sure the Torx bolts securing the seat belts are tightened to the torque specified in technical data at the beginning of the chapter.
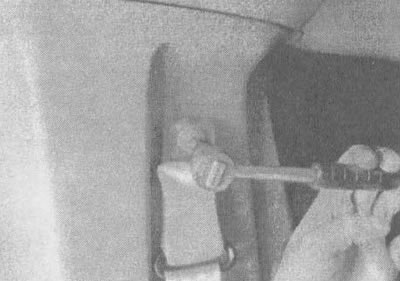
12.2a. Pull the plastic covers off the front seat belt mounting bolts and unscrew them; the bolts, both top and bottom, are Torx type, so you will need a special Torx head |
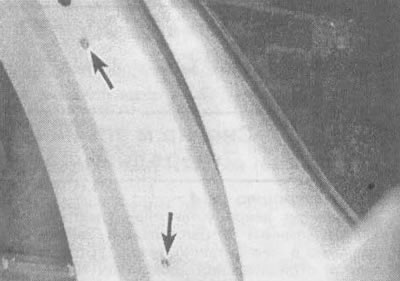
12.2b. Unscrew the panel screws (indicated by arrows) from the top... |
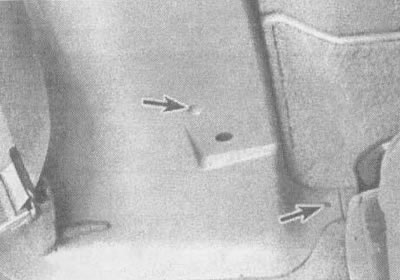
12.2v....and lower sections of the door pillar panel |
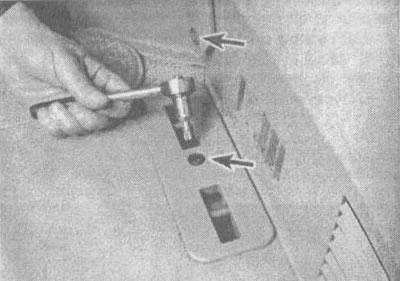
12.2g. Remove the middle row of seats (see section 23), then remove the cover and the lower bolt securing the middle row of seats; in both places (indicated by arrows) torx head required |
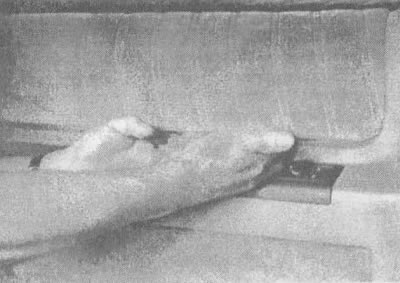
12.2d. Carefully separate the upholstery from the top of the panel, which is secured with clips. On vehicles equipped with rear heating/air conditioning systems, remove the rear control panel (see chapter 3, section 12) |
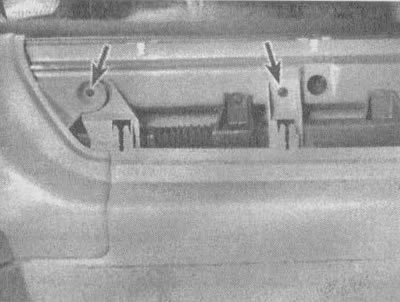
12.2e. Unscrew the bolts securing the top panel (indicated by arrows) (details of cars from recent years of production are shown. On earlier models, three bolts were screwed in) |
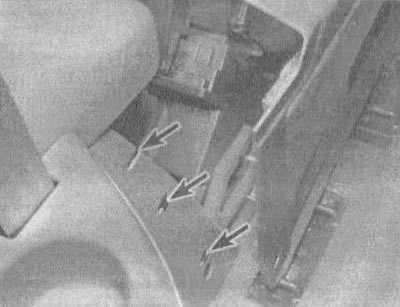
12.2g. Unhook the left side clips and release the panel