
Disconnect the wire terminal from the negative terminal of the battery.
Remove the steering wheel (see Removal the steering wheel).
Remove the steering column switches and their connector (see Removal the steering column paddle shifters, coil cable drum and switch connector).
When performing the following operations, be careful not to scratch or otherwise damage the plastic parts.
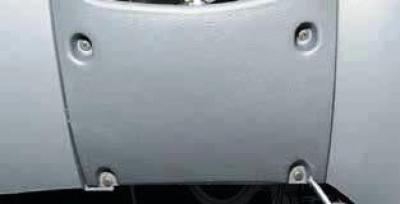
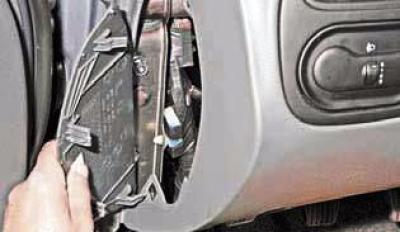
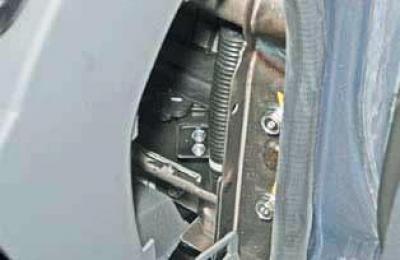
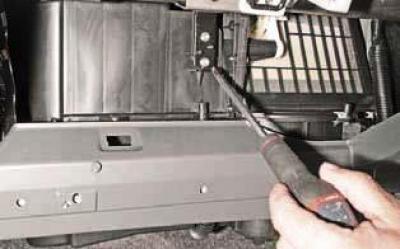
Using a Phillips screwdriver, unscrew the four screws securing the lower trim panel of the instrument panel…
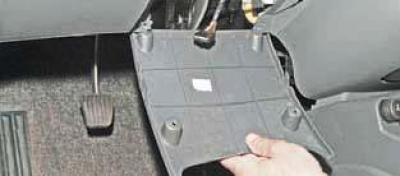
…and we take it off.
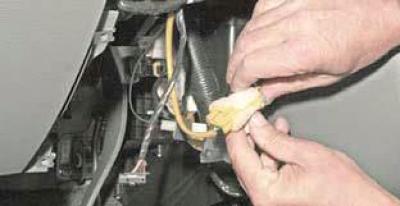
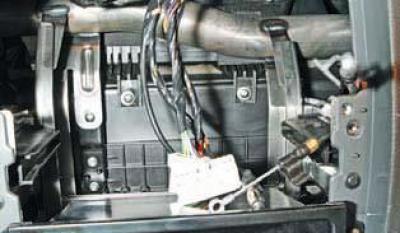
By pressing the airbag wire connector lock, we disconnect the airbag wire connectors and the instrument panel wire harness.
By pressing the lock of the horn wire connector, we disconnect the horn wire connectors and the instrument panel harness wires.

We remove the plastic holders of the instrument panel wire harnesses from the holes in the steering column bracket.
Disconnect the wiring harness connector from the ignition switch (see Removal the steering column).
We unscrew the nuts securing the steering column brackets to the front shield and lower the column (see Removal the steering column).
Remove the front part of the floor tunnel trim (see Removal the floor tunnel lining).
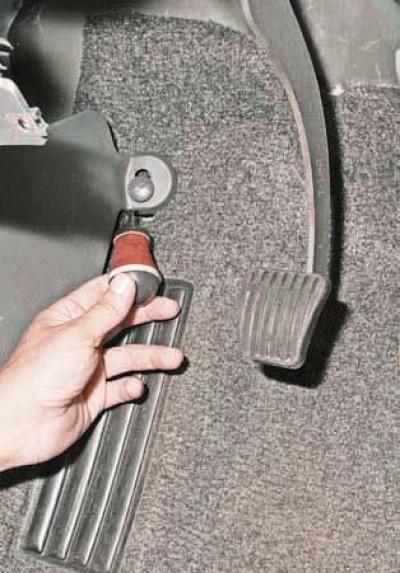
Using a screwdriver, pry up the pin securing the left side panel of the body..
…and we take it off.
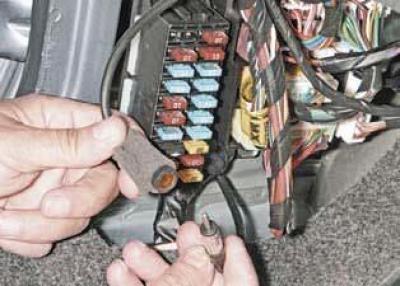
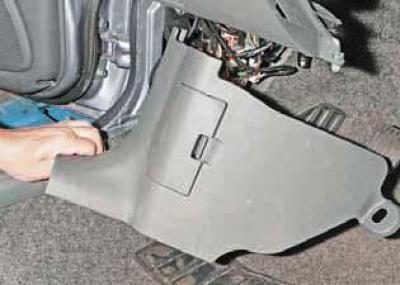
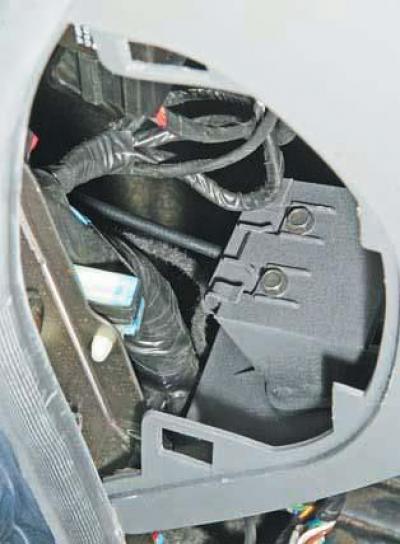
We remove the antenna wire plug from the socket..

…and the instrument panel wiring harness blocks – from the relay and fuse mounting block.
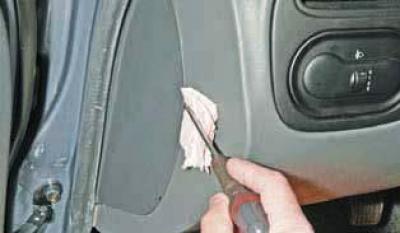
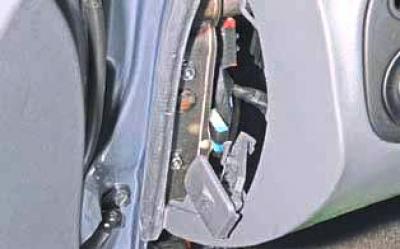
Putting a rag under the screwdriver, we pry up the side cover on the left side of the instrument panel and, having overcome the resistance of the clamps..
…we take it off.
Similarly, remove the cover from the right side of the instrument panel.
Using an 8 mm head, unscrew the two screws that secure the base of the hood opening handle…
…and place the handle with the base inside the instrument panel.
Using a Phillips screwdriver, unscrew the two screws securing the glove box to the instrument panel…
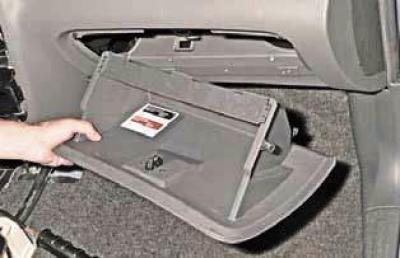
…and we take it off.
Using a screwdriver, pry up the piston and remove the trim on the right side of the body.
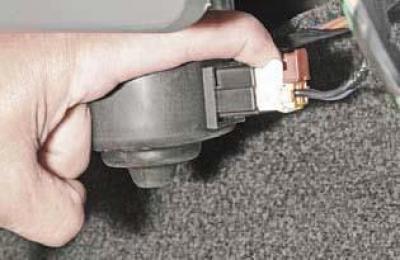
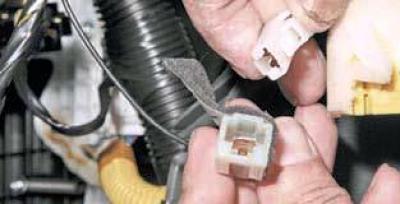
Press the locking device on the instrument panel wiring harness connector..

…and disconnect the wiring harness connector from the heater fan motor connector.
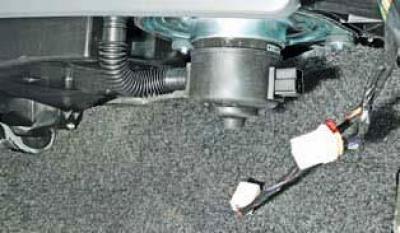
Disconnect the wiring harness connector from the additional heater fan resistor (the connection point of the shoe is not visible in the photo).

By pressing the connector lock, we disconnect the connector of the instrument panel wiring harness from the connector of the wiring harness located under the right side trim of the body.
Remove the heating, ventilation and air conditioning control unit (see Removal the heating, ventilation and air conditioning control unit).
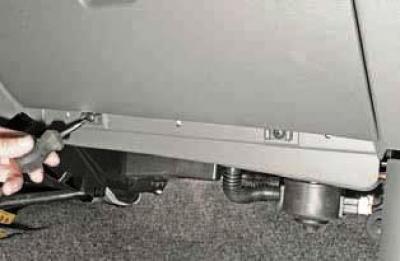
Using a 7 mm socket with an extension or a Phillips screwdriver, unscrew the seven screws that secure the instrument panel to the heater body..
…two screws on the right side…
…two screws – through the niche under the glove compartment…
…and three self-tapping screws – through the niche in the central part of the instrument panel.
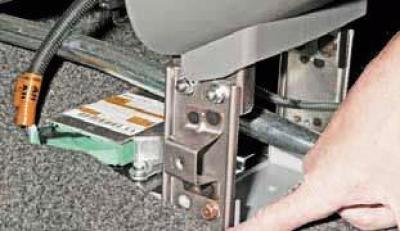
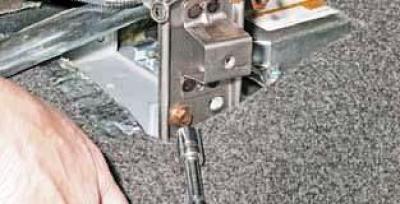
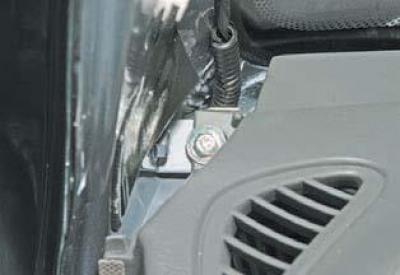
Using a 10 mm socket with an extension, unscrew the bolt and two nuts of the left bracket securing the instrument panel to the floor…
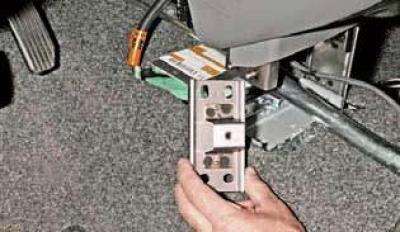
…and remove the bracket.
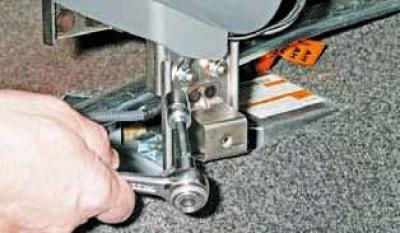
Using a 10 mm socket with an extension, unscrew the two nuts on the right bracket securing the instrument panel to the floor…
…and remove the three ground wires from the panel studs.
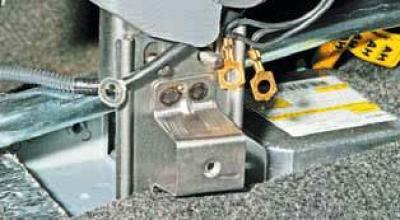
Using a 10 mm socket with an extension, unscrew the bolt securing the right bracket to the floor and remove the bracket.
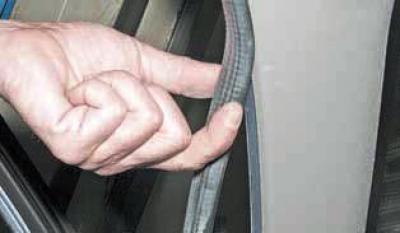
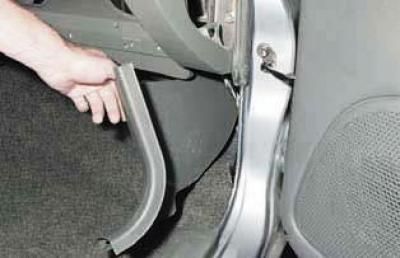
We remove the seal of the left front door in the area of the left front pillar trim…
…and, overcoming the resistance of the pistons, we remove the upholstery.
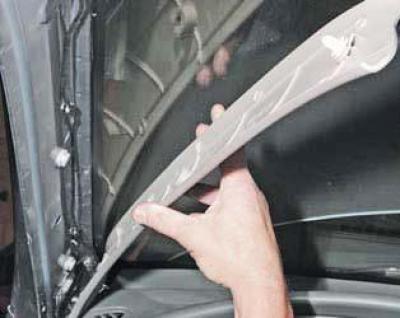
Similarly, we remove the trim of the right front pillar.
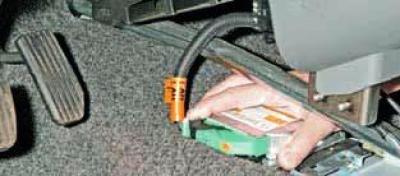
By turning the locking bracket of the instrument panel wiring harness connector…
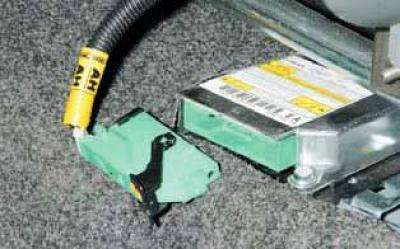
…disconnect the connector from the airbag control unit.
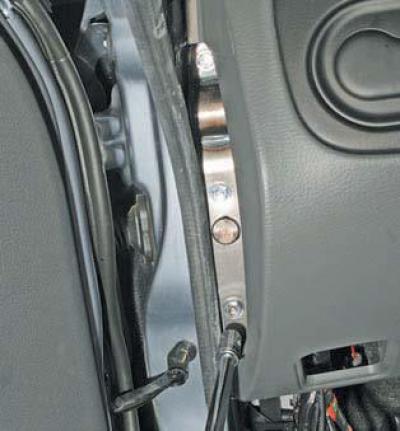
On the left side of the instrument panel, using a 12 mm socket with an extension, unscrew the three bolts that secure the lower mounting of the panel to the body…
…and with an 8 mm head – the upper mounting bolt.
Similarly, we unscrew the instrument panel mounting bolts on the right side..
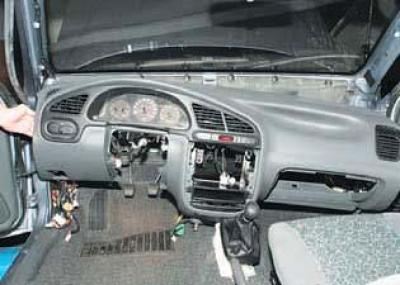
…and remove the instrument panel.
We install the instrument panel in the reverse order.

Instrument panel (front view)
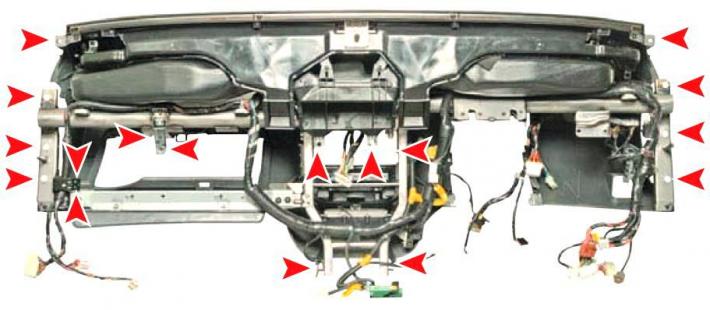
Instrument cluster mounting points (view from the back side)
[The article was reprinted from the website «chevyman»]