ChevyMan.ru
Mazda Mitsubishi Toyota Land Rover Honda Kia Nissan
English Русский
Български
Беларускі
Український
Српски
Hrvatski
Română
Polski
Slovenský
Magyar
|
Articles | Sitemap | Contacts |


Home   Aveo   Captiva   Cruze   Lacetti   Lanos   Niva   Tahoe   Others  
Orlando 1 (2010-2018) Trailblazer 1 (2001-2008, petrol) Lumina 1 (1989-1994)
  • Home
  • Chevrolet
  • Lumina 1
  • Body
  • Doors, covers and windows
  • Removal and installation interior door panels

Removal and installation interior door panels (Chevrolet Lumina 1)

            0

Contents: Front door panel ↧ Sliding door panel ↧ Rear door interior panel ↧

Front door panel


Removal


1. On vehicles equipped with power windows, disconnect the negative battery cable (see note in section 1).

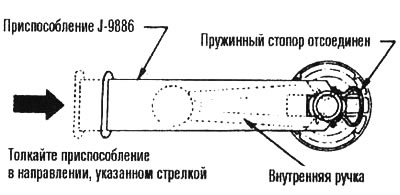
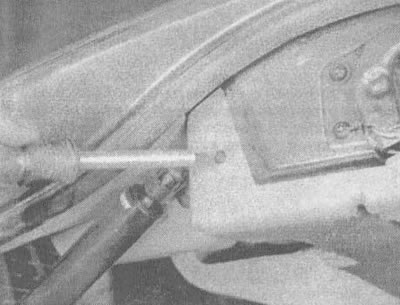
2. On vehicles with manual window opening, remove the window lowering handle by pressing on the plate and the door panel and pulling the spring stopper (clip) with a piece of bent wire (see illustration). There is a special device for this (see illustration), but you can do without it. After removing the stopper, remove the handle and support plate (base plate). To remove the panel, proceed as shown in illustrations 11.2c-l.
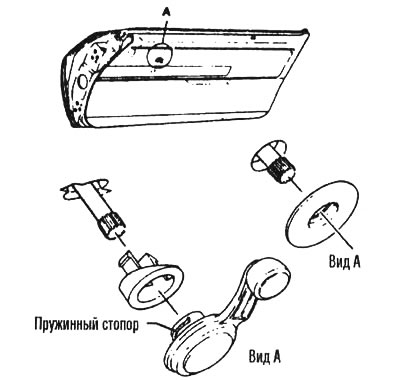
11.2a. To remove the front door inner panel, detach the spring retainer (clip) of the handle and…

11.2a. To remove the front door inner panel, detach the spring retainer (clip) of the handle and remove the unit from the door
11.2b. A special device can be used to detach the spring stopper, but a simple bent wire will also…

11.2b. A special device can be used to detach the spring stopper, but a simple bent wire will also do


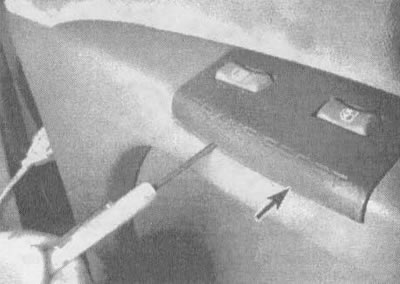
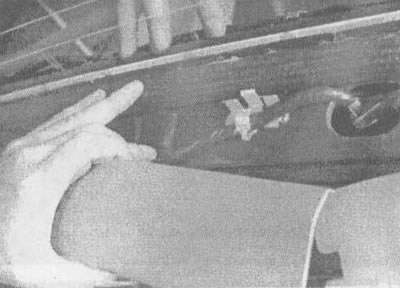
11.2v. If the car is equipped with electric windows and central locking, carefully push the control…

11.2v. If the car is equipped with electric windows and central locking, carefully push the control panel, releasing the hidden fasteners (arrow),...
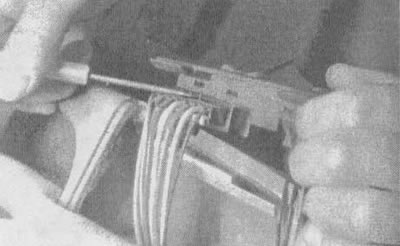
11.2g....then push out the locking tab and disconnect the connector from the back of the control…

11.2g....then push out the locking tab and disconnect the connector from the back of the control panel

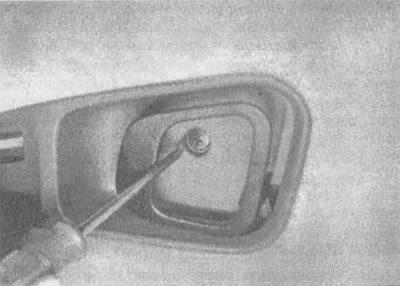
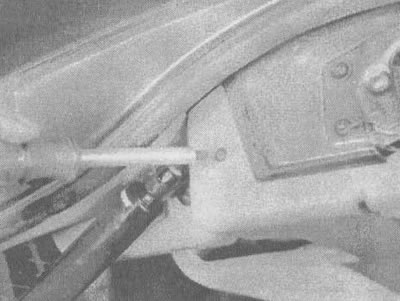
11.2d. Loosen this screw and pull out the rear plate of the door handle

11.2d. Loosen this screw and pull out the rear plate of the door handle
11.2e. Unscrew the screws located at the door recess (indicated by arrows)

11.2e. Unscrew the screws located at the door recess (indicated by arrows)


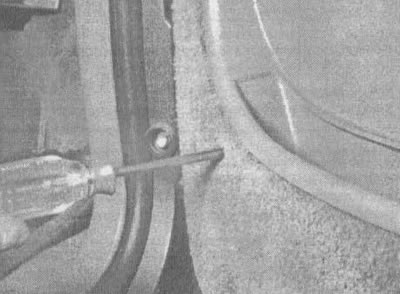
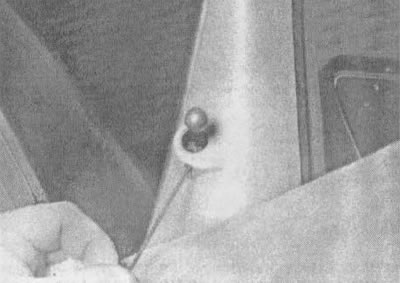
11.2g. Locate and remove the hidden screws that secure the bottom door panel to the door frame.…

11.2g. Locate and remove the hidden screws that secure the bottom door panel to the door frame. They are usually located in front of the door panel pocket, behind the door panel pocket...
11.2z....and in the upper right corner of the panel trim

11.2z....and in the upper right corner of the panel trim

11.2i. Carefully pry off the bottom panel, first using a small screwdriver (try not to scratch the…

11.2i. Carefully pry off the bottom panel, first using a small screwdriver (try not to scratch the paintwork), and then pulling with his hand
11.2k If there is a rear view mirror adjustment knob, unscrew it with an Allen key and carefully…

11.2k If there is a rear view mirror adjustment knob, unscrew it with an Allen key and carefully release the top panel, starting from the upper left corner


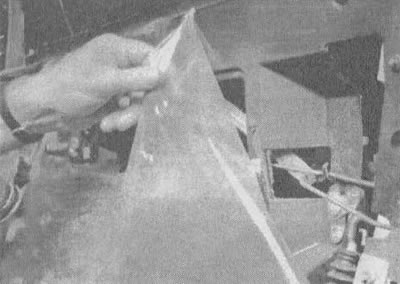
11.2L To access the parts inside the door, remove the protective plastic cover; if you do it…

11.2L To access the parts inside the door, remove the protective plastic cover; if you do it carefully, it can be used again


Installation


3. Installation is carried out in reverse order.

Sliding door panel


Removal


4. Loosen the door handle mounting screws and pull the rear plate out of the handle recess.

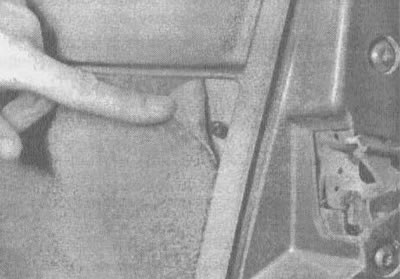
5. Remove the hidden screws located in the lower right corner of the panel (see illustration).
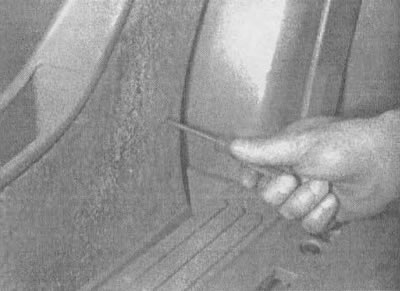
11.5 To remove the sliding door panel, remove the hidden screw; on cars of early years of…

11.5 To remove the sliding door panel, remove the hidden screw; on cars of early years of production it is located in the lower right corner (as shown in the illustration); on later production cars it is located on the same side, but higher


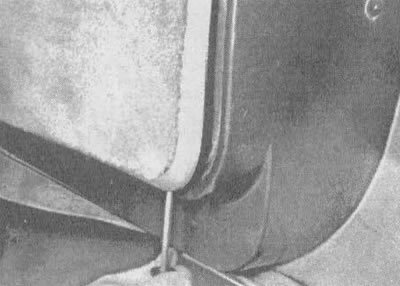
6. Remove the door panel; although there is a special device for this, you can do without it (see illustration).
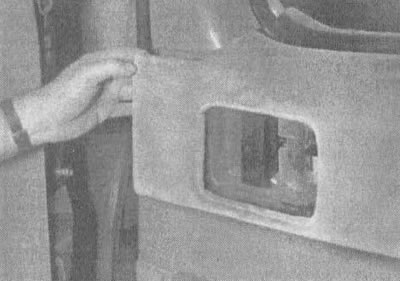


11.6. Carefully press and release the panel from the fastening parts

11.6. Carefully press and release the panel from the fastening parts


7. Pull out the bottom panel.

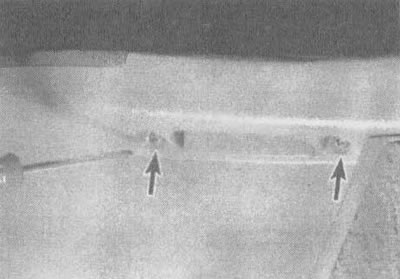
8. Carefully drill out the rivet that secures the upholstery (trim) to the frame; it is located in the lower left corner (see illustration).
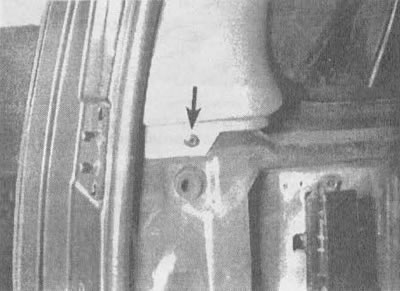
11.8 Drill out the rivet (indicated by the arrow). When installing, insert a new rivet using a hand…

11.8 Drill out the rivet (indicated by the arrow). When installing, insert a new rivet using a hand rivet setting tool


9. Carefully remove the upholstery (see illustration).
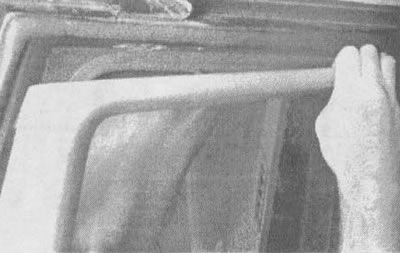
11.9 Starting from the top left corner, gently push and pull the panel out

11.9 Starting from the top left corner, gently push and pull the panel out


Installation


10. Installation is carried out in reverse order.

Rear door interior panel


Note: Due to the considerable weight and size of this panel, it is recommended that two people perform the described operations.


Removal


11. The sequence of actions is shown in illustrations 11.11a-e.
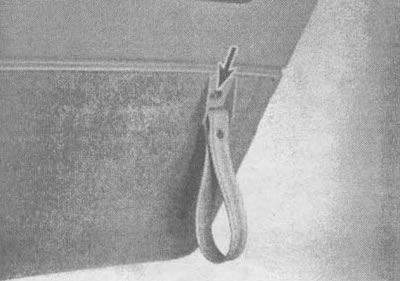
11.11a. To remove the rear door panel, start by removing this screw (indicated by the arrow) and…

11.11a. To remove the rear door panel, start by removing this screw (indicated by the arrow) and remove the handle
11.11b. Carefully press the speaker grilles...

11.11b. Carefully press the speaker grilles...

11.11v....and unscrew the screw located next to the speaker mounts

11.11v....and unscrew the screw located next to the speaker mounts
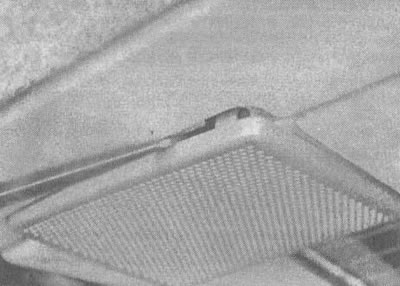
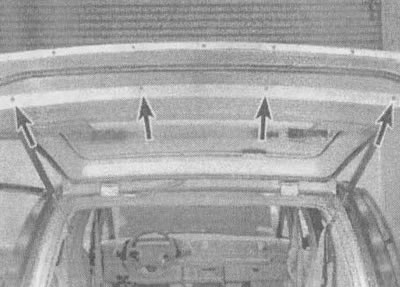
11.11. Loosen the panel screws located near the upper ends of the rear door pillar on both sides of…

11.11. Loosen the panel screws located near the upper ends of the rear door pillar on both sides of the vehicle

11.11d. Carefully pull off the panel surrounding the window, starting from the top

11.11d. Carefully pull off the panel surrounding the window, starting from the top
11.11e. Unscrew the four screws at the bottom of the door and release the panel

11.11e. Unscrew the four screws at the bottom of the door and release the panel

Installation


12. Installation is carried out in reverse order.

The article was checked: Vladimir Romannikov
This article is available at russian, bulgarian, belarusian, ukrainian, serbian, croatian, romanian, polish, slovak, hungarian

Share information:

Previous articles
Lumina 1: Doors, covers and windows
Next articles

Removal and installation the hood latch and cable
Removal, installation and adjustment of the hood
Replacement of windshield and fixed windows
Removal and installation the side panel
Removal and installation the outside mirror
Removal and installation the front door
Removal and installation a sliding door
Removal and installation the rear door


See similar articles on the topic of Chevrolet cars:
Front door interior lock handle Chevrolet Aveo T250 (2006-2011)
Door locks Chevrolet Captiva 1 (2006-2018)
Door locks and window lifters Chevrolet Cruze 1 (2008-2016)
Removal the front door trim Chevrolet Lacetti 1 (2002-2009)
Removal the front door trim Chevrolet Lanos T150 (2002-2009)
Interior heating Chevrolet Niva 1 (2002-2016)
Interior, door and engine compartment lighting (models before 1995) Chevrolet Tahoe 1 (1992-2000)
Link in different formats to this page


Visitor comments

No comments yet


How much will 40 + 30 =


Orlando 1 (2010-2018) 
  • General information
  • Introduction to manual
  • User manual
  • Maintenance
  • Troubleshooting
  • Power unit
  • Engine repair
  • Fuel and control system
  • Cooling and lubrication system
  • Ignition system
  • Transmission
  • Clutch
  • Gearbox
  • Drive shafts
  • Chassis
  • Car suspension
  • Steering
  • Brake system
  • Body
  • Exterior (external elements)
  • Doors, locks and windows
  • Electrical equipment
  • Equipment and devices
  • Windscreen wipers
  • Power devices
  • Electrical diagrams


Trailblazer 1 (2001-2008) 
  • General information
  • User manual
  • Troubleshooting
  • Maintenance
  • Power unit
  • Engine in a car
  • Engine overhaul
  • Cooling and heating
  • Fuel and exhaust system
  • Engine electrical equipment
  • Engine control
  • Transmission
  • Automatic gearbox
  • Transfer case
  • Drive shafts and cardan
  • Chassis
  • Brake system
  • Car suspension
  • Steering
  • Body
  • Exterior (external elements)
  • Interior (internal elements)
  • Doors, locks and windows
  • Electrical equipment
  • Equipment and devices
  • Electrical circuits


Lumina 1 (1989-1994) 
  • General information
  • Maintenance
  • Power unit
  • Engine 3.1L V6
  • Engine 3.8L V6
  • Engine overhaul
  • Cooling system
  • Power and exhaust system
  • Fuel injection
  • Engine electrical equipment
  • Reduced exhaust gas toxicity
  • Transmission
  • Automatic gearbox
  • Drive shafts
  • Chassis
  • Brake system
  • Car suspension
  • Steering
  • Body
  • Heating and air conditioning
  • Repair of body elements
  • Doors, covers and windows
  • Interior (internal elements)
  • Electrical equipment
  • Equipment and devices
  • Electrical circuits


ChevyMan.ru © 2017-2026 · Mobile version · Feedback · Site search · Interesting to read · Sitemap: EN BG BY UA RS HR RO PL SK HU

Aveo 2003-2008 · Aveo 2006-2011 · Aveo 2012-2018 · Captiva 2006-2018 · Cruze 2008-2016 · Lacetti 2002-2009 · Lanos 2002-2009 · Niva 2002-2016 · Tahoe 1992-2000 · Tahoe 2000-2014 · Lumina 1 1989-1994 · Trailblazer 1 2001-2008 · Orlando 1 2010-2018 ·
🛡️ For your security and to improve our service, this site uses cookies. You can disable them in your browser.