
Contents: Removal and installation ↧ Adjustment ↧
Note: At least two people are needed to perform the hood removal and installation operations, as it is inconvenient to do it alone.
Removal and installation
1. Disconnect the cable from the negative terminal of the battery (see note at the beginning of this chapter).
2. Open the hood and place mats on the fenders to protect them during removal.
3. Disconnect the "ground" wire (see illustration).
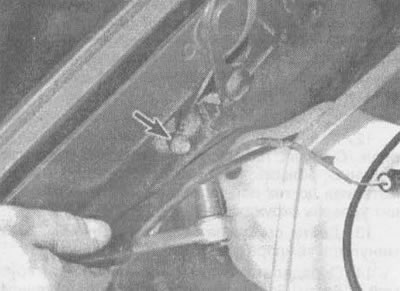
9.3. Loosen the bolt (indicated by the arrow), securing ground wire in engine compartment
4. Trace the hinge and hood mounting plate (see illustration).
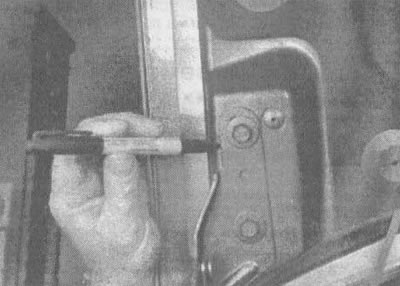
9.4. Clearly outline both hood hinge plates
5. Have your assistant lift the hood while you disconnect the hinge.
6. Loosen the hinge and hood mounting bolts and lift the hood.
7. Installation is carried out in reverse order.
Adjustment
8. The position of the hood is adjusted by moving the hood relative to the hinge plates after loosening the bolts or nuts securing the hinges to the hood.
9. Trace the entire hinge plate so that you can judge the amount of movement.
10. Loosen the bolts or nuts and move the hood in the desired direction. Tighten the hinge bolts, carefully lower the hood and check that everything is aligned correctly.
11. Finally, adjust the hood buffers on the support located on the radiator so that the hood is flush with the fenders when closed (see illustration).
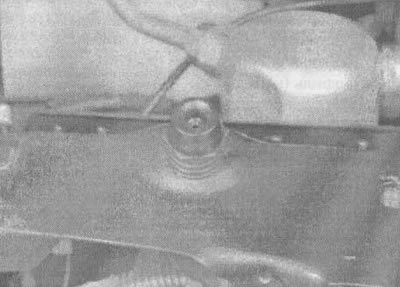
9.11. Loosen or tighten the hood buffers to adjust the hood level flush with the fenders
12. The hood latch assembly, like the hinges, must be periodically lubricated with white lithium-based grease to prevent sticking and wear.
[The source of the article is available on the website chevyman]