


Attention! Work is performed with an assistant.
1. Open the hood and cover the fenders and the air intake niche under the windshield with rags.
2. Outline the contours of the hood hinges (see photo).
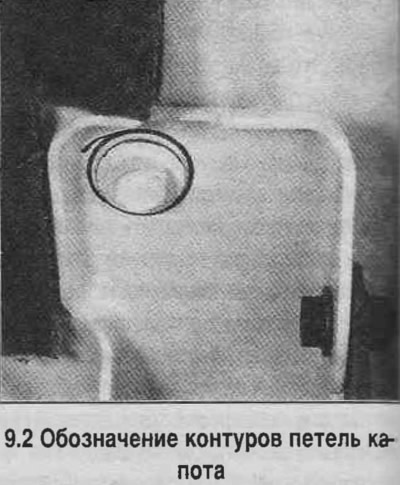
3. Disconnect all hoses, cables and wires that may interfere with the removal of the hood.
4. Working with an assistant, unscrew the hinge bolts and nuts and remove the hood.
5. The hood is installed in the reverse order. Install the hinges according to the contours outlined during disassembly.
6. After installation, adjust its position so that the hood* closes tightly and the hood surface is flush with the fenders. The hood is adjusted by moving it with the hinge bolts and nuts loosened.
7. Trace the contours of the hinges. Move the hood until it is in the correct position and tighten the bolts and nuts.
8. Outline the hood latch bolts (moves vertically). Loosen the bolts and move the latch to the desired position, then tighten the bolts.
9. Adjust the hood bumpers on the radiator strut so that the closed hood is flush with the fenders.