
Contents: Interior cladding panels ↧ Lock cylinder ↧ Bumper and handle of the window of… ↧ Window lock ↧ Drop Door Lock ↧ Support posts ↧ Rear tailgate bumper ↧
Interior cladding panels
1. Open the window, then remove the plastic pins that secure the top trim panel and lower it onto the tilt/drag window lock (see illustrations). Remove the wiring harness from the slot in the upper trim panel and set the panel aside.
22.1a. Disconnect the clamps, lift the trim panel and pull the wiring harness out of the slot
22.1b. Remove the rear hatch glass lock retaining pin; press the center pin of the release fastener down
2. Remove the auxiliary tape, then remove the plastic retainer located on the trim panel (see illustration 22.1b). First you need to remove the upper trim panel of the rear hatch (to ensure access), and then the lower (large) cladding panel.
22.2 Remove the Allen screws securing the auxiliary strip in the center of the lower trim panel
3. Installation is carried out in the reverse order of removal.
Lock cylinder
4. Remove the trim panel of the drop door (items 1 and 2).
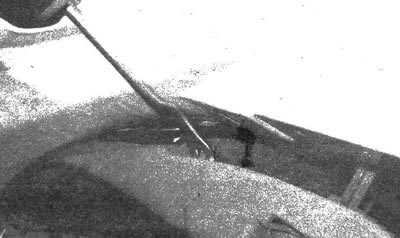
5. Open the latch and disconnect the latch rod from the lock cylinder lever (see illustration).
22.5 Remove the Allen screws securing the auxiliary strip in the center of the lower trim panel
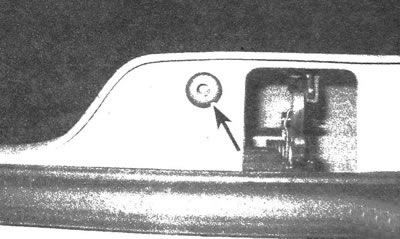
6. Remove the bracket, then remove the lock cylinder from the tailgate (see illustration).
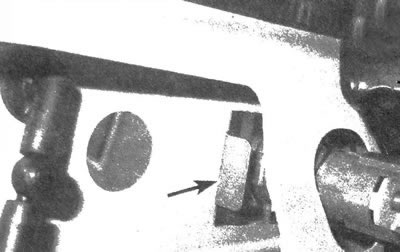
22.6. ...and remove the cylinder bracket
7. Installation is carried out in the reverse order of removal.
Bumper and handle of the window of the folding door
8. Open the rear hatch window.
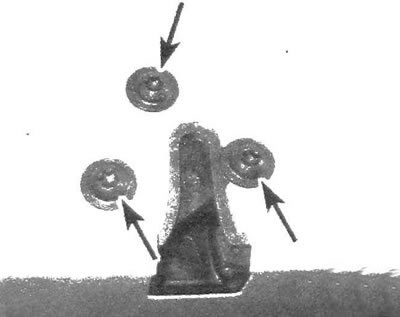
9. Unscrew the fastening nuts and detach the handle from the glass together with the bump stop (see illustration).
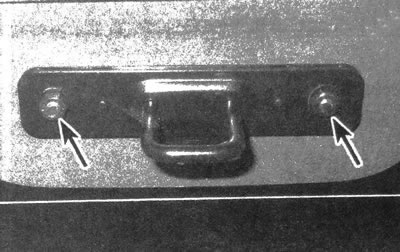
22.9. Unscrew the nuts securing the bump stop and window handle
10. Installation is carried out in the reverse order of removal. If the window is too tight to latch or has a loose fit when latched, place shims under or remove them from under the bumper.
Window lock
11. Remove the rear hatch inner trim panels (see points 1 and 2).
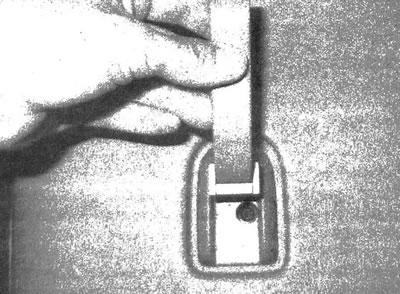
12. Remove the window lock bolts, then lift it up and disconnect the electrical connector (see illustration). Remove the lock completely.
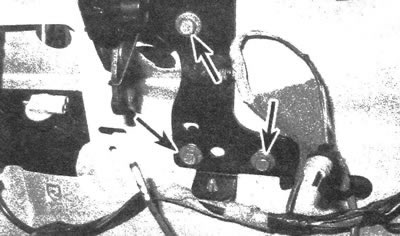
22.12. Unscrew the bolts securing the tilt door window lock
Drop Door Lock
13. Remove the rear hatch inner trim panels (see points 1 and 2).
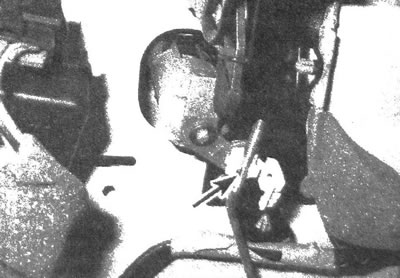
14. Disconnect the outer handle rod from the pawl, and also the pawl rod from the lock. Remove the bolts and disconnect the pawl from the lock (see illustration).
22.14. Disconnect the rods from the latch of the tailgate lock
15. Unscrew the mounting bolts and detach the door latch (see illustration). Disconnect the electrical connector and the lock cylinder rod, then remove the latch completely.
22.15. Remove the screws securing the rear tailgate latch
16. Installation is carried out in the reverse order of removal.
Support posts
17. The folding stand has two support posts, and its glass is also supported by two posts. Open the drop door fully (or her window) and securely fix it in this position.
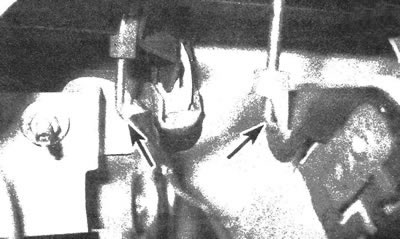
18. Remove the small clip located at each end of the strut, then pull it off the ball mount (see illustration).
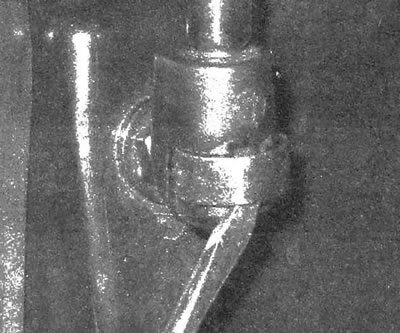
22.18. Disconnect each end of the support post;to do this, use a small screwdriver to pull out the locking ring and then pull the rack off the ball stud (shown on the drop-leaf door racks; its glass pillars have a similar design)
19. Installation is carried out in the reverse order of removal.
Rear tailgate bumper
20. The position of the closed drop door can be precisely adjusted by moving its stop
21. To gain access to the bumper, you need to open the drop door
22. Loosen the mounting bolts and adjust the position of the bump stop, tighten the bolts and close the tailgate to ensure that the adjustment is correct.
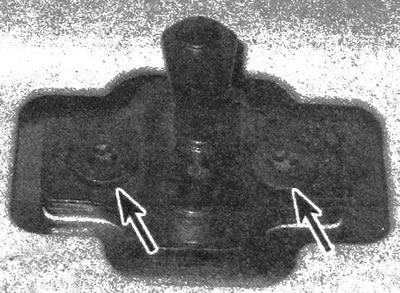
22.22. Bumper mounting bolts; before positioning during adjustment, it is necessary to outline the bump stop with a felt-tip pen