
Disconnect the wire terminal from the negative terminal of the battery.
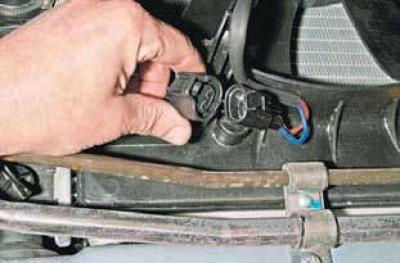
Disconnect the engine control system wiring harness connector from the fan motor wiring harness connector.

Using a 10 mm socket, unscrew one bolt of the lower mount of the fan casing to the radiator of the cooling system…
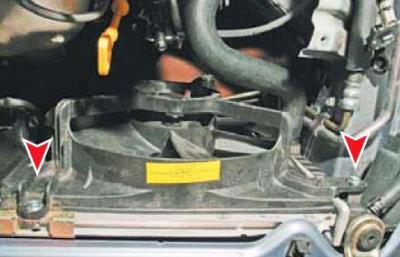
…and two top mounting bolts.
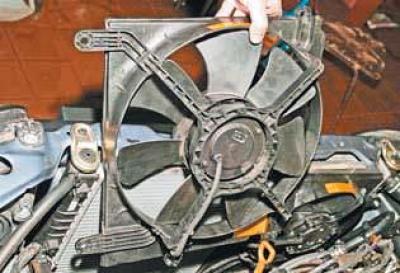
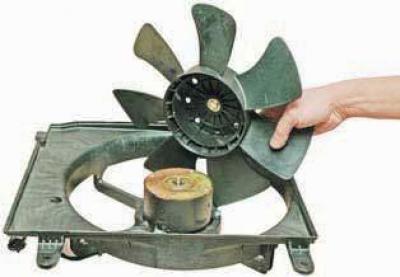
We remove the fan with the casing.
Additional fan (on vehicles with air conditioning) removed in the same way.
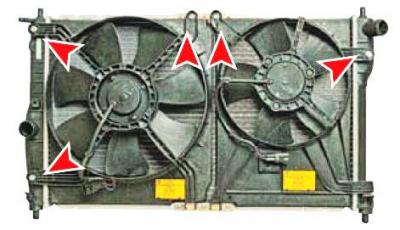
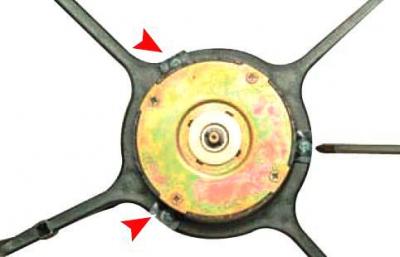
For clarity, the locations of the bolts for fastening the casings of the main (left) and additional electric fans are indicated by arrows on the dismantled radiator of the cooling system.
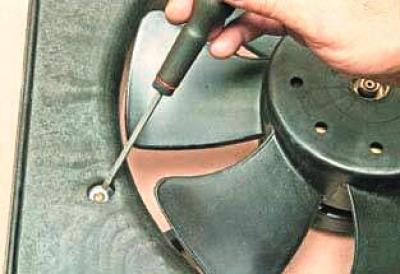
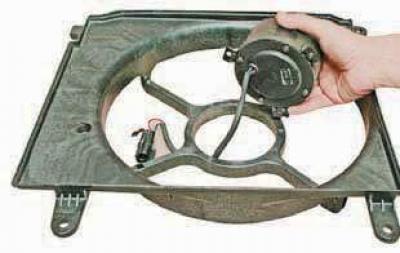
Using a slotted screwdriver, unscrew the screw securing the fan wiring harness block…
…and disconnect the block from the casing.
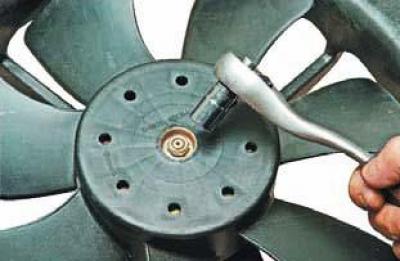
Using a 13 mm head, unscrew the nut securing the impeller to the fan motor shaft…
… and remove the impeller.
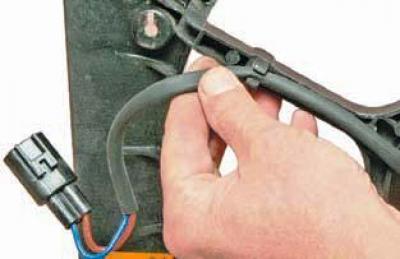
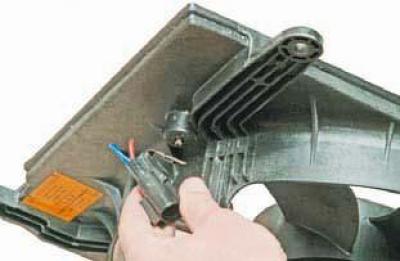
We remove the wiring harness casing from the holder.
Using a Phillips screwdriver, unscrew the three screws that secure the electric motor to the fan casing…
…and we remove the electric motor from the casing.
We assemble and install the radiator fan of the cooling system in the reverse order.
During installation, make sure that the slots in the impeller bushing align with the pin…
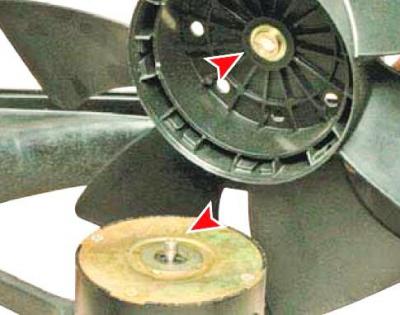
…located on the shaft of the electric motor.
(The article is reprinted from the website: ChevyMan.ru)