ChevyMan.ru
Mazda Mitsubishi Toyota Land Rover Honda Kia Nissan
English Русский
Български
Беларускі
Український
Српски
Hrvatski
Română
Polski
Slovenský
Magyar
|
Articles | Sitemap | Contacts |


Home   Aveo   Captiva   Cruze   Lacetti   Lanos   Niva   Tahoe   Others  
Orlando 1 (2010-2018) Trailblazer 1 (2001-2008, petrol) Lumina 1 (1989-1994)
  • Home
  • Chevrolet
  • Lumina 1
  • Power unit
  • Cooling system
  • Removal and installation the radiator

Removal and installation the radiator (Chevrolet Lumina 1)

            0

Contents: Disassembly ↧ Installation ↧
Note: Allow the engine to cool completely before beginning this procedure.


Disassembly


1. Disconnect the cable from the negative terminal of the battery.

2. Drain the cooling system (see chapter 1, section 29). If the coolant is relatively fresh, save it for later use.

3. Remove the rear fan (see section 4). On vehicles with a 3.8L engine, also remove the air filter intake (see chapter 4, section 8).

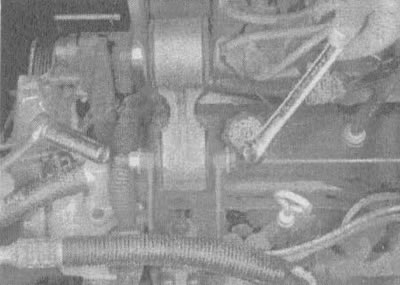
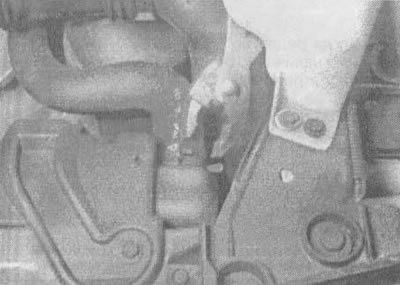
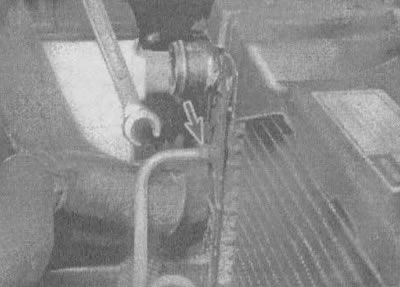
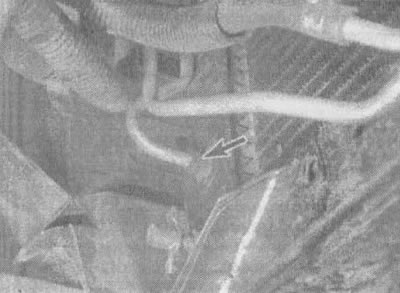
4. To remove the radiator, follow the steps shown in the series of photographs, paying attention to each signature.
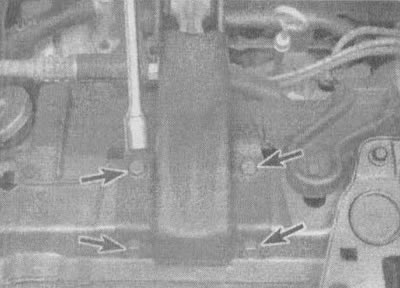
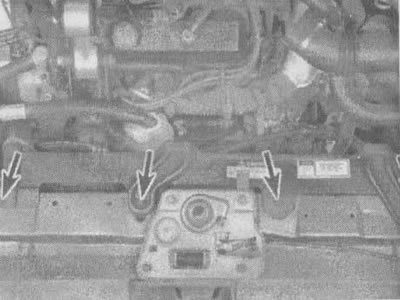
5.4a. Unscrew the bolts (indicated by arrows), detach the bracket on the radiator support

5.4a. Unscrew the bolts (indicated by arrows), detach the bracket on the radiator support
5.4b. Loosen the bolt securing the rubber bushing and unscrew the radiator bracket

5.4b. Loosen the bolt securing the rubber bushing and unscrew the radiator bracket


5.4v. Loosen the radiator hose clamps and remove the upper and lower radiator hoses. Use a special…

5.4v. Loosen the radiator hose clamps and remove the upper and lower radiator hoses. Use a special tray to catch spilled liquids. If the hoses are stuck to the fittings, grab the hose near the end with pliers and twist to break the seal, being careful not to deform the radiator fitting
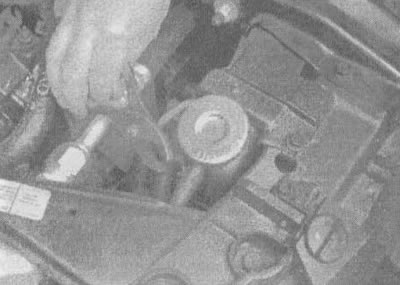
5.4g. Using a special wrench (if any), disconnect the pipes (one of them is indicated by an arrow)…

5.4g. Using a special wrench (if any), disconnect the pipes (one of them is indicated by an arrow) from the top...

5.4d....and the lower corners of the radiator (plug the holes to prevent excessive spillage and…

5.4d....and the lower corners of the radiator (plug the holes to prevent excessive spillage and contamination)
5.4e. Disconnect the expansion tank hose from the radiator neck

5.4e. Disconnect the expansion tank hose from the radiator neck


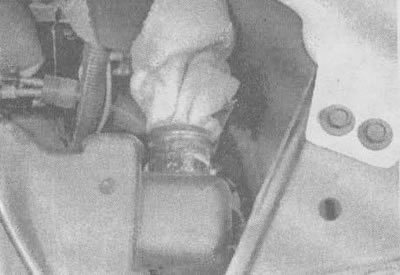
5.4g. Plug or cap pipes and fittings to prevent coolant or hydraulic fluid from spilling when…

5.4g. Plug or cap pipes and fittings to prevent coolant or hydraulic fluid from spilling when removing the radiator
5.4z. Unscrew the bolts from the radiator mounting panels (indicated by arrows),...

5.4z. Unscrew the bolts from the radiator mounting panels (indicated by arrows),...

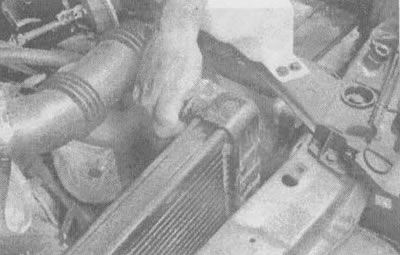
5.4i....then remove the mounting panel and carefully lift the radiator upwards. Be careful not to…

5.4i....then remove the mounting panel and carefully lift the radiator upwards. Be careful not to spill coolant on your vehicle or scratch the paintwork. Be careful not to displace or loosen the bottom cushions


5. Once the radiator is removed, it can be checked for leaks and damage. If it needs repair, have the work done at a specialist radiator repair shop or service shop, as this requires special equipment.

6. Dirt and stuck insect residue can be removed from the radiator using compressed air or a soft brush. Be careful not to bend the radiator fins when performing this procedure.

7. Check that the radiator fasteners are not worn out, and when installing the radiator, make sure that nothing gets into the fasteners.

Installation


8. Assembly is carried out in reverse order.

9. After installation, fill the cooling system (see section 2 and chapter 1, Section 4). Don't forget to remove air from the system (chapter 1, Section 29).

10. Start the engine and check for leaks. Allow the engine to warm up to normal operating temperature, indicated by the upper radiator hose becoming warm (it will get hot). Recheck the coolant level and top up if necessary.

11. Check and, if necessary, top up the hydraulic fluid in the gearbox (see chapter 1, section 6).

The original article is on the website chevyman

The article was checked: Vladimir Romannikov
This article is available at russian, bulgarian, belarusian, ukrainian, serbian, croatian, romanian, polish, slovak, hungarian

Share information:

Previous articles
Lumina 1: Cooling system
Next articles

Replacing the engine cooling fan motor
Replacing the engine cooling fan
Troubleshooting the Cooling Fan Control Circuit
Checking the engine cooling fan motor
Checking and replacing the thermostat
Removal and installation the coolant reservoir
Checking the coolant pump
Removal and installation the coolant pump
Checking and replacing the coolant temperature sensor


See similar articles on the topic of Chevrolet cars:
Removal and installation of the electric fan of the radiator of the engine cooling system in assembly with the casing Chevrolet Aveo T300 (2012-2018)
Engine oil filter and radiator Chevrolet Captiva 1 (2006-2018)
Removal and installation the electric fan of the radiator of the cooling system Chevrolet Cruze 1 (2008-2016)
Removal the radiator fan Chevrolet Lacetti 1 (2002-2009)
Removal the radiator fans Chevrolet Lanos T150 (2002-2009)
Radiator — removal and inspection Chevrolet Niva 1 (2002-2016)
Radiator — removal and installation Chevrolet Tahoe 1 (1992-2000)
Link in different formats to this page


Visitor comments

No comments yet


How much will 25 + 27 =


Orlando 1 (2010-2018) 
  • General information
  • Introduction to manual
  • User manual
  • Maintenance
  • Troubleshooting
  • Power unit
  • Engine repair
  • Fuel and control system
  • Cooling and lubrication system
  • Ignition system
  • Transmission
  • Clutch
  • Gearbox
  • Drive shafts
  • Chassis
  • Car suspension
  • Steering
  • Brake system
  • Body
  • Exterior (external elements)
  • Doors, locks and windows
  • Electrical equipment
  • Equipment and devices
  • Windscreen wipers
  • Power devices
  • Electrical diagrams


Trailblazer 1 (2001-2008) 
  • General information
  • User manual
  • Troubleshooting
  • Maintenance
  • Power unit
  • Engine in a car
  • Engine overhaul
  • Cooling and heating
  • Fuel and exhaust system
  • Engine electrical equipment
  • Engine control
  • Transmission
  • Automatic gearbox
  • Transfer case
  • Drive shafts and cardan
  • Chassis
  • Brake system
  • Car suspension
  • Steering
  • Body
  • Exterior (external elements)
  • Interior (internal elements)
  • Doors, locks and windows
  • Electrical equipment
  • Equipment and devices
  • Electrical circuits


Lumina 1 (1989-1994) 
  • General information
  • Maintenance
  • Power unit
  • Engine 3.1L V6
  • Engine 3.8L V6
  • Engine overhaul
  • Cooling system
  • Power and exhaust system
  • Fuel injection
  • Engine electrical equipment
  • Reduced exhaust gas toxicity
  • Transmission
  • Automatic gearbox
  • Drive shafts
  • Chassis
  • Brake system
  • Car suspension
  • Steering
  • Body
  • Heating and air conditioning
  • Repair of body elements
  • Doors, covers and windows
  • Interior (internal elements)
  • Electrical equipment
  • Equipment and devices
  • Electrical circuits


ChevyMan.ru © 2017-2026 · Mobile version · Feedback · Site search · Interesting to read · Sitemap: EN BG BY UA RS HR RO PL SK HU

Aveo 2003-2008 · Aveo 2006-2011 · Aveo 2012-2018 · Captiva 2006-2018 · Cruze 2008-2016 · Lacetti 2002-2009 · Lanos 2002-2009 · Niva 2002-2016 · Tahoe 1992-2000 · Tahoe 2000-2014 · Lumina 1 1989-1994 · Trailblazer 1 2001-2008 · Orlando 1 2010-2018 ·
🛡️ For your security and to improve our service, this site uses cookies. You can disable them in your browser.