
Contents: Front fan ↧ Rear fan ↧
Front fan
41. Disconnect the cable from the negative battery terminal.
42. Remove the air filter (see chapter 4, section 8).
43. To remove the front fan, follow the sequence shown in the illustrations, having studied all accompanying inscriptions (see illustrations). Proceed with execution if necessary item 47, to replace the electric motor. Installation is carried out in reverse order.
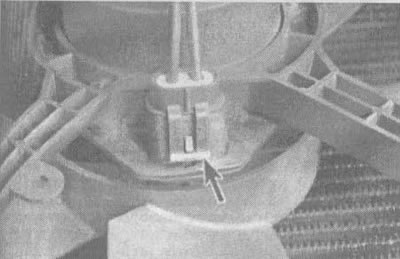
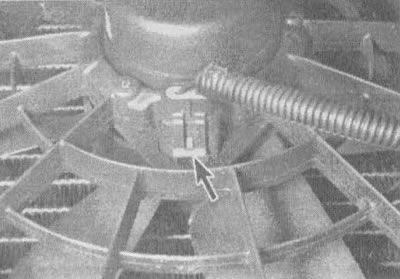
4.43a. Disconnect the electrical connector by inserting a small screwdriver under the connector (indicated by the arrow) and freeing him. The connector is located below the fan motor on the 3.1L engine... |
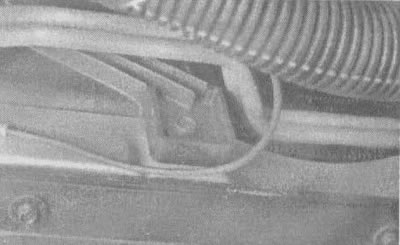
4.43b....and to the left of the fan on the 3.8 l engine (the connector is indicated by an arrow) |
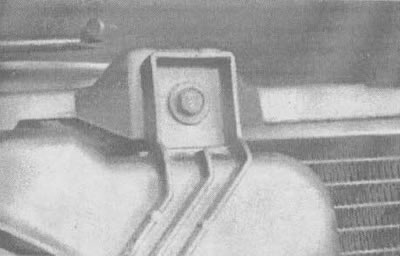
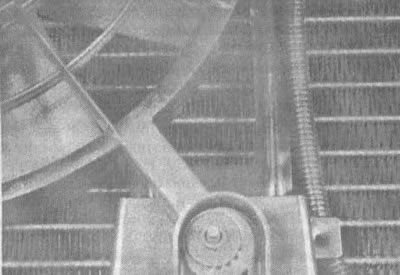
4.43v. Unscrew the bolts located in the upper corners... |
4.43g....and the lower corners of the fan, then carefully pull it out |
Rear fan
44. Disconnect the cable from the negative terminal of the battery.
45. Perform disassembly in accordance with the order indicated in the series of photographs. Don't forget to study all the signatures. If it is necessary to replace the fan motor, perform the operations starting with item 47.
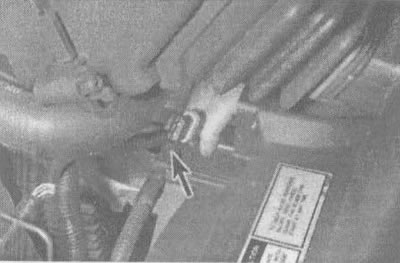
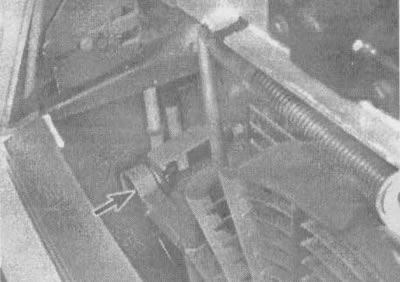
4.45a. The rear fan electrical connector is located under the fan motor (bottom view). Disconnect it by pressing the connector tab (indicated by the arrow) |
4.45b. Remove the lower... |
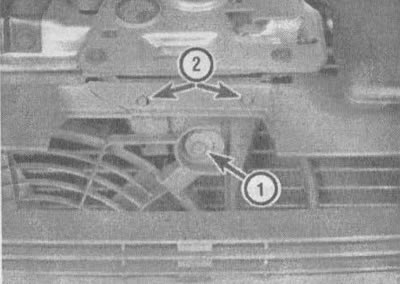
4.45v....and the upper fan mounting bolts; to make it easier to access the middle bolt, unscrew the fan cover bolts, pull the cover forward and remove,... 1 - fan bolt, 2 - fan cover bolts |
4.45g....then unscrew the middle bolt and remove the fan |
46. Installation is carried out in reverse order.
The original material is located on the website «chevyman.ru»