


Contents: Removal ↧ Assembly ↧
Caution: Wait until the engine has cooled completely before starting this work.
Removal
1. Disconnect the cable from the negative terminal of the battery.
2. Drain the coolant (see chapter 1, section 29). If the coolant is relatively fresh or in good condition, store it for later use. Remove the drive belt (see chapter 1, section 21).
3. To carry out disassembly, proceed as shown in the series of photographs, trying not to miss anything and reading all the accompanying captions to the photographs.
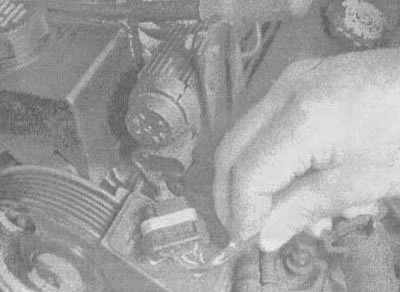
8.3a. Disconnect the electrical connector above the drive belt cover for easier access |
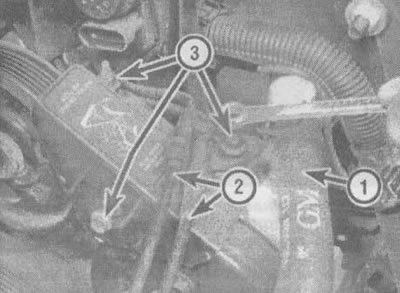
8.3b. Remove the upper radiator hose, vacuum tubes;unbolt the drive belt cover and remove the cover (3.1L engine shown; on the 3.8 l engine the device is similar): 1 - upper radiator hose, 2 - vacuum tubes, 3 - pulley bolts |
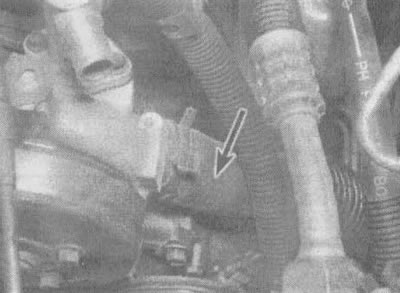
8.3v. Clamp the hose clamp, slide it back on the hose and separate the lower radiator hose from the coolant pump |
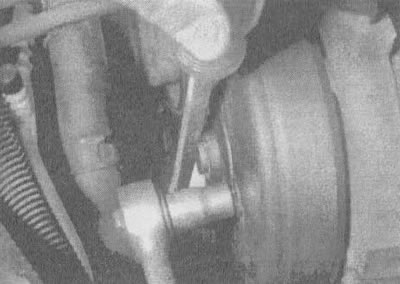
8.3g. Prevent the pulley from turning by wedging a screwdriver between the hub and one of the pulley bolts, then loosen the pulley bolts one by one. When all the bolts are loosened, remove them and remove the pulley (the photo shows an example with a 3.1L engine) |
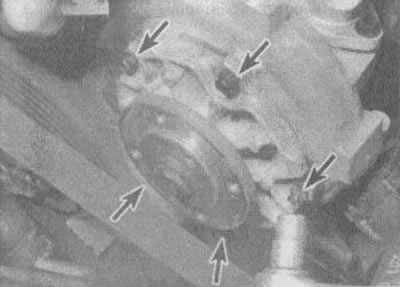
8.3d. Unscrew the fastening bolts located around the perimeter of the pump (3.1L engine shown) |
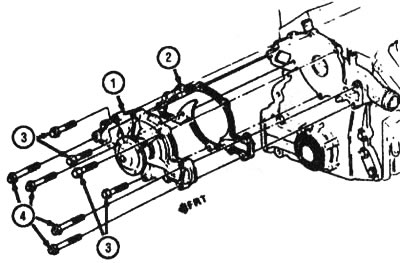
8.Ze. Coolant pump mounting parts (3.8L engine): 1 - coolant pump, 2 - gasket, 3 - short bolts, 4 - long bolts |
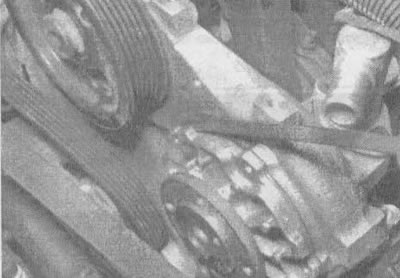
8.3g. Remove the coolant pump. If it is "burned", carefully pry it out using a screwdriver or pry bar placed between the casing and the cast protrusion on the pump. Do not lean on the sealing surfaces, otherwise there will be a leak in this place later
4. Clean the threads of fasteners and all threaded holes in the engine, removing traces of corrosion and seals.
5. To ensure that the old and new pumps are identical, compare them.
6. Remove all traces of old gasket material from the engine using a scraper.
7. Clean the mating surfaces of the engine and coolant pump with paint thinner or acetone.
Assembly
8. Apply a thin layer of room temperature curing sealant to the new engine side gasket.
9. Apply a thin coat of room temperature curing sealant to the gasket contact surface of the new coolant pump, then carefully align the gasket and pump. Insert a couple of bolts through the pump mounting holes to hold the gasket in place (see illustration).
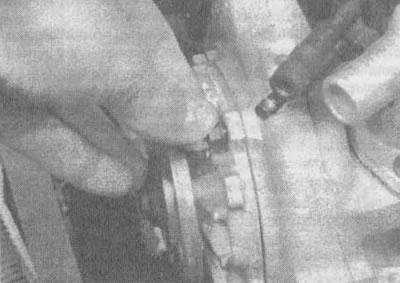
8.9 Insert a pair of bolts through the pump mounting holes to hold the new gasket in place while reassembling the pump
10. Carefully connect the pump and gasket to the engine and begin tightening the bolts and nuts by hand.
11. Tighten the bolts in 1/4 turn increments until the torque specified in the Technical Data section at the beginning of the chapter is reached. Do not overtighten the bolts to avoid damaging the pump.
12. Reinstall all parts removed to gain access to the pump.
13. Fill the system with coolant (see chapter 1, section 29). Start the engine, let it run and check for leaks.