
The work on replacing the air conditioning filter must be carried out in accordance with the maintenance plan after 45 thousand km or once every 24 months, whichever comes first.
When operating the vehicle in a dusty area, the filter may become clogged much earlier. Under such conditions, it should be replaced as it becomes dirty. We carry out the work in the following order:
1. We prepare the car for maintenance and repair.
Note: Be careful not to damage the appearance of interior parts during disassembly and assembly.
2. To provide access to the filter, it is necessary to completely fold down the glove compartment. To do this, we open it to gain access to the glove compartment opening limiters.
3. Press the side walls of the glove compartment away from the walls of the instrument panel (the photo shows the left side of the box), removing the limiters from the grooves.
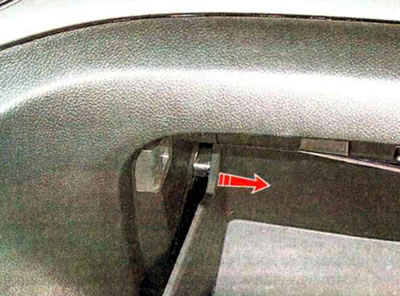
We lower the box and gain access to the air conditioning filter housing cover.
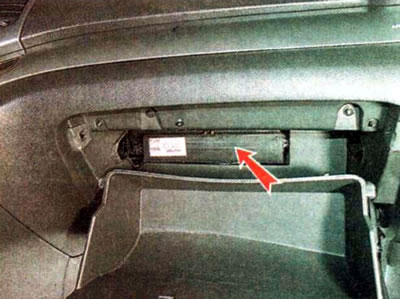
4. Press the three filter cover latches.
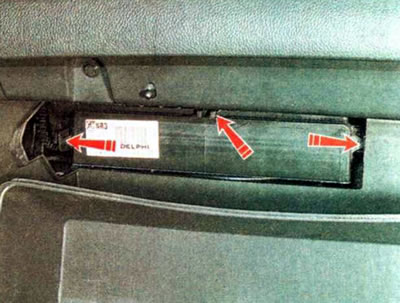
...and open the lid.
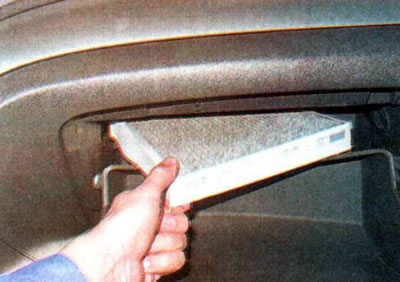
5. Remove the filter element.
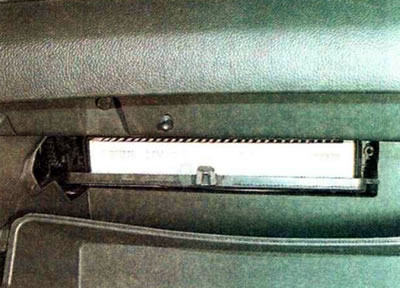
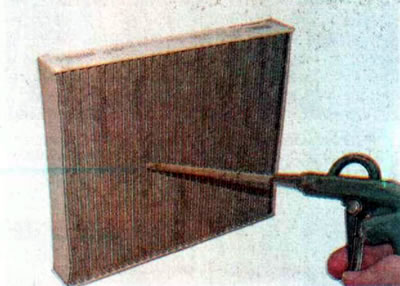
6. Replace the paper filter element or, if it is not very dirty, blow it out with compressed air.
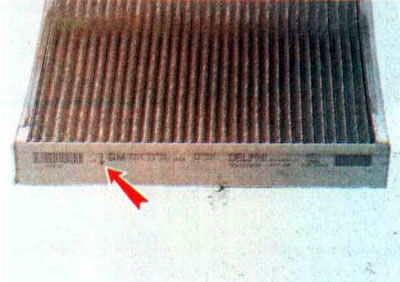
7. Install the parts in reverse order. In this case, make sure that the arrow on the side of the filter is pointing downwards.
For details, visit the website: chevyman.ru