


The dashboard frame is equipped with a large number of wiring harnesses for various vehicle systems. A significant number of wiring harness blocks that need to be disconnected from the system devices and connectors require the performer to have special qualifications as an auto electrician. If you do not have sufficient skills to perform such work, contact a specialized service center if you need to remove the dashboard frame.
For removal decorative instrument panel perform the following operations.
1. Disconnect the wire from the negative terminal of the battery.
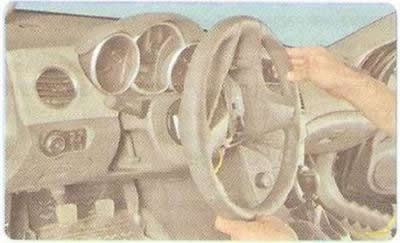
2. Remove the steering wheel (see "Removal and installation the steering wheel").
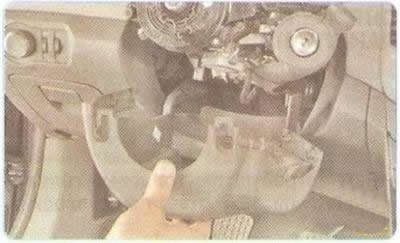
3. Remove the steering column cover (see "Removal and installation the steering column cover").
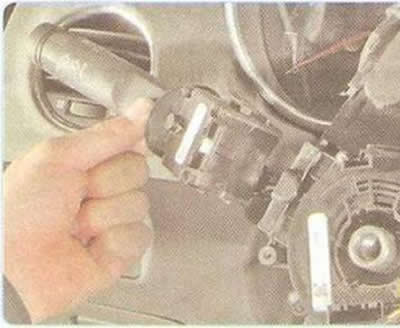
4. Remove the steering column switches (see "Replacing steering column switches").
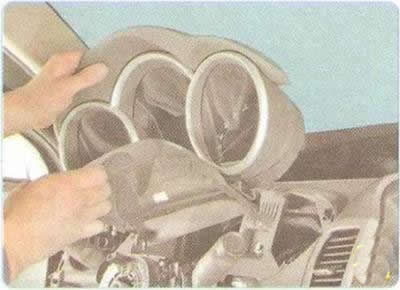
5. Remove the instrument cluster (see "Removal and installation the instrument cluster").
During the process of removing the steering column, the lower instrument panel trim was removed (see "Removal and installation the steering column").
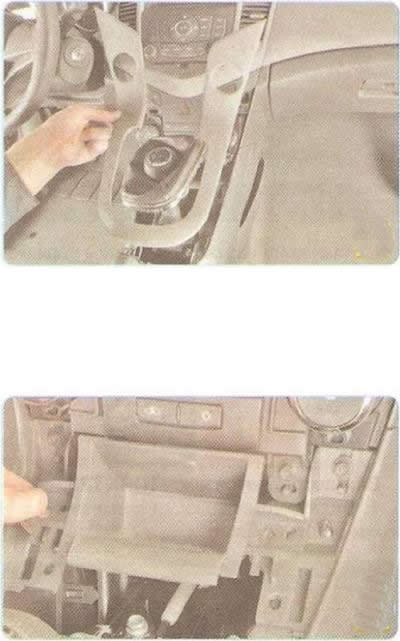
6. Remove the decorative floor tunnel trim, overcoming the resistance of its clips (see "Removal and installation the floor tunnel lining").
7. Remove the ashtray (see "Removal and installation the floor tunnel lining").
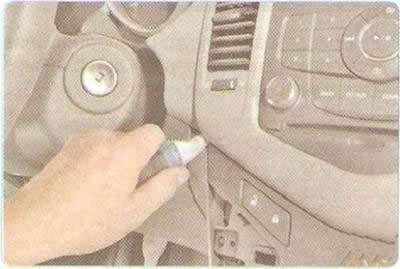
8. Using a screwdriver, pry up the edges of the central trim of the instrument panel...
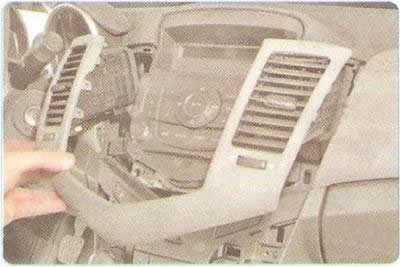
9. ... remove the cover, overcoming the elastic resistance of its spring holders.
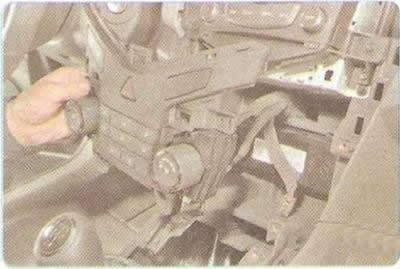
10. Remove the heating, air conditioning and ventilation control panel (see "Removal and installation the control unit for the heating, air conditioning and ventilation system").
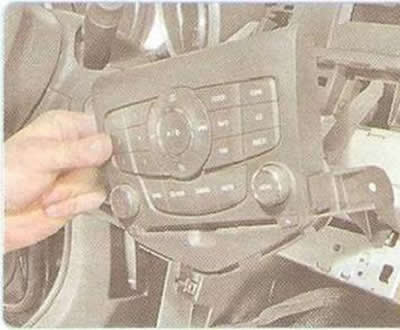
11. Remove the audio control panel (see "Removal and installation the head unit of the audio system").
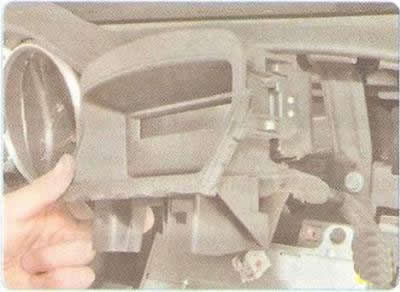
12. Remove the information display (see "Removal and installation the head unit of the audio system").
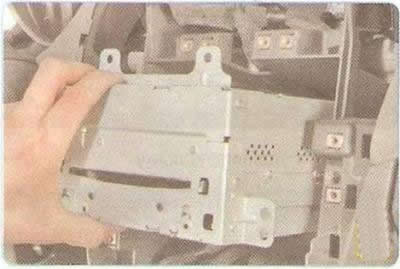
13. Remove the audio system head unit (see "Removal and installation the head unit of the audio system").
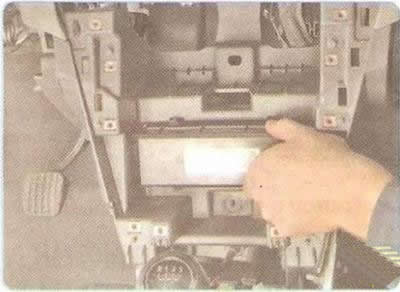
14. Remove the control unit for the interior heating, air conditioning and ventilation system...
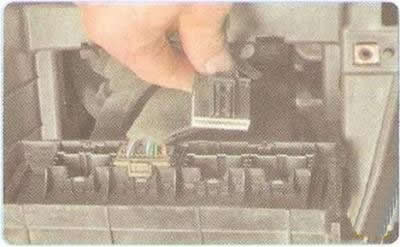
15. ...disconnect the wiring harness connectors from the unit and remove the unit.
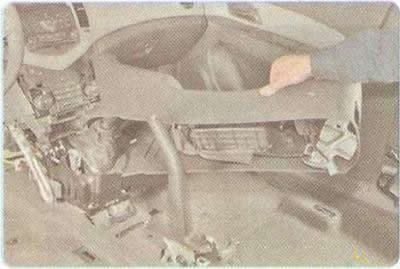
16. Remove the floor tunnel lining (see "Removal and installation the floor tunnel lining").
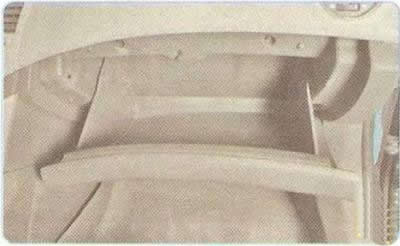
17. Open the glove compartment.
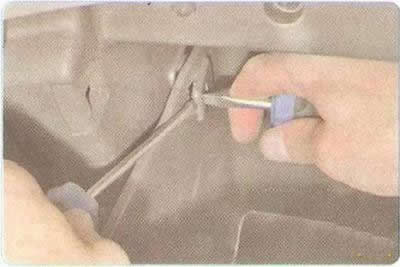
18. Using two screwdrivers, disengage the glove compartment opening limiters from the stops on the instrument panel.
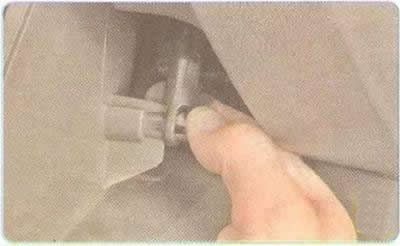
19. Squeeze the latch to release the lower end of the glove box damper.
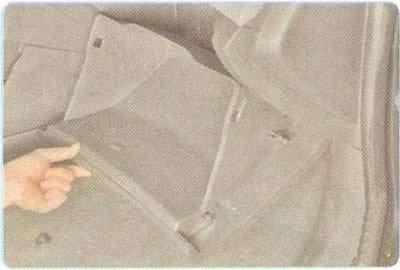
20. Lower the glove box down.
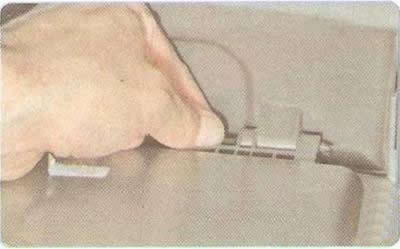
21. Remove the axles of the two glove box hinges...
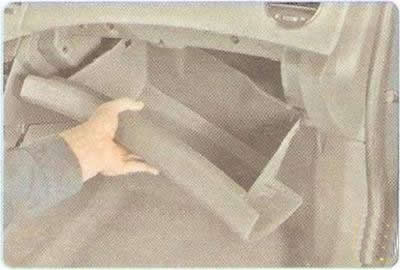
22. ...and remove the glove box.
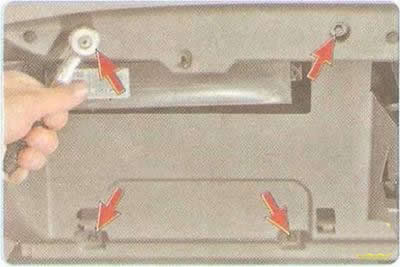
23. Remove the four bolts securing the glove box housing at the bottom of the instrument panel.
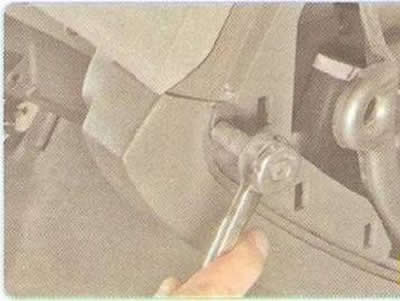
24. Unscrew the bolt securing the glove compartment housing at the end of the instrument panel...
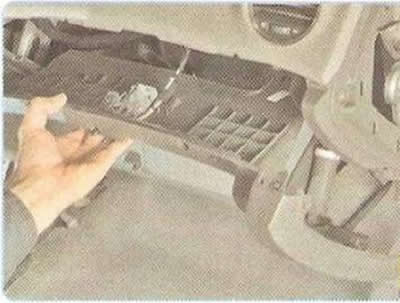
25. ...and move the glove box body away from the instrument panel.
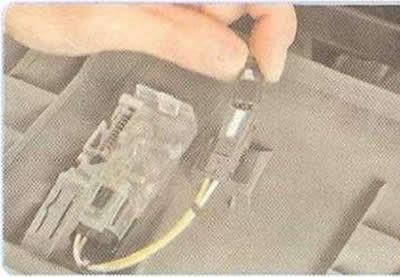
26. After pressing the lock, disconnect the connectors of the glove compartment lighting wiring harness...
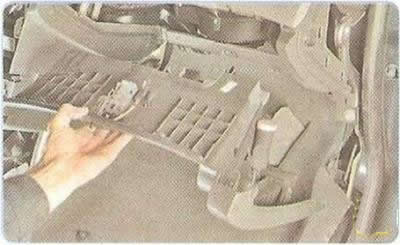
27. ...and remove the glove box housing.
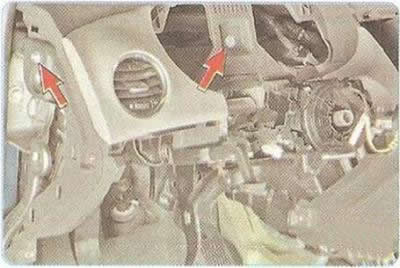
28. Unscrew the two instrument panel mounting bolts at its left end and in the instrument cluster recess.
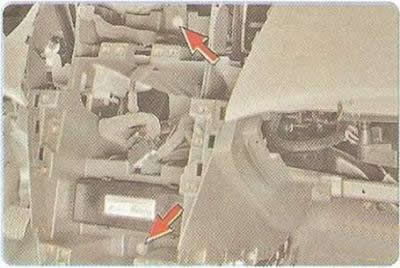
29. Remove the two instrument panel mounting bolts under the center console.
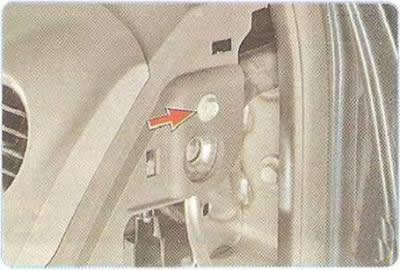
30. Unscrew the instrument panel mounting bolt at the right end of the panel.
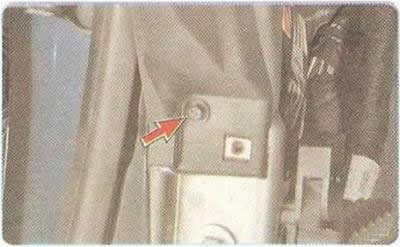
31. Unscrew one bolt of the lower fastening of the instrument panel to the frame on the left...
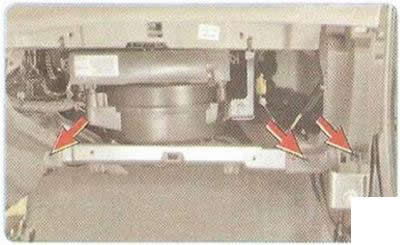
32. ...three lower mounting bolts on the right under the glove compartment body.
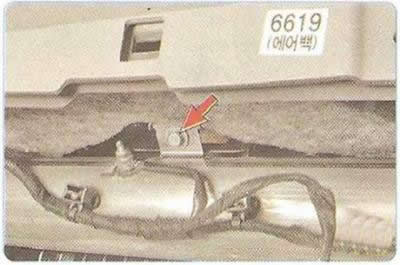
33. Remove one bolt from the upper instrument panel mount behind the glove box housing.
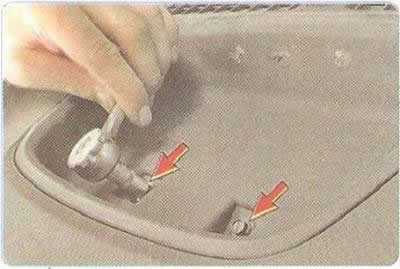
34. Remove the two upper instrument panel mounting bolts.
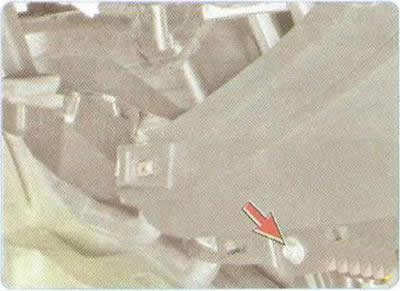
35. Unscrew the two lower bolts securing the central part of the panel on the left and right.
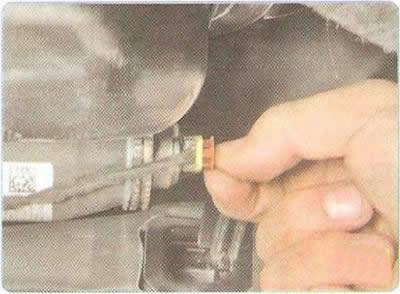
36. Slide the front passenger airbag module wiring harness connector retainer...
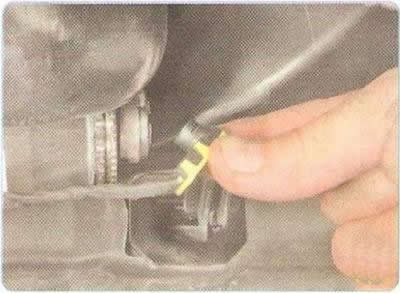
37. ...and disconnect the connector.
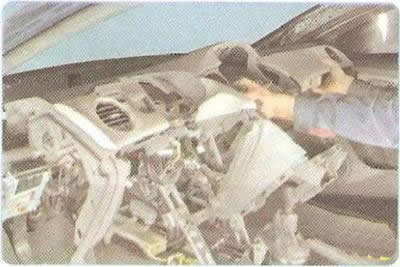
38. Make sure all wires are disconnected from the instrument panel trim panel and remove the instrument panel.
39. Install all removed parts in the reverse order of removal.
(Original version of the article on the website «chevyman.ru»)