


The work is shown on a car with a hatchback body. We remove the mudguards of the engine compartment (see Removal the engine compartment mudguards) and radiator trim (see Removal the radiator grille). We remove the headlights (Removal the headlight) and mudguards (or detach their front parts - see. Removal the front wheel arch liners). Disconnect the wiring harness connectors from the fog lights (see Removal the fog light).
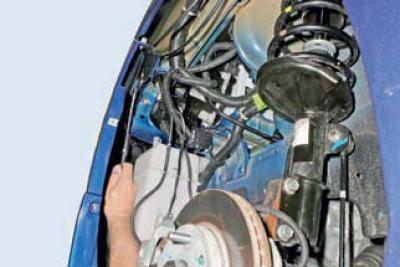
Using a 7 mm socket with an extension, unscrew the two screws securing the bumper trim to the front wing.
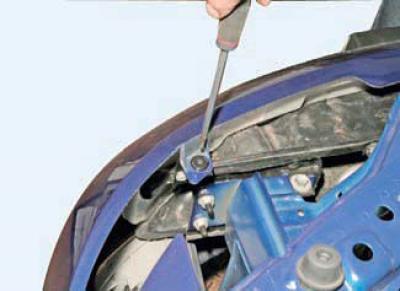
Using a Phillips screwdriver, unscrew the retainer of the piston securing the front bumper trim to the bracket of the energy-absorbing bumper beam.
We perform similar operations on the other side of the car.
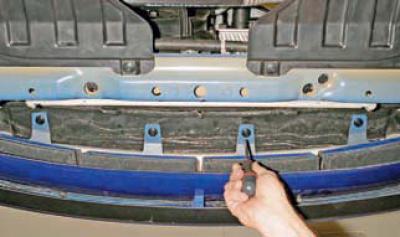
From underneath the car, use a Phillips screwdriver to unscrew the fasteners of the four pins that secure the bumper trim to the energy-absorbing bumper beam.
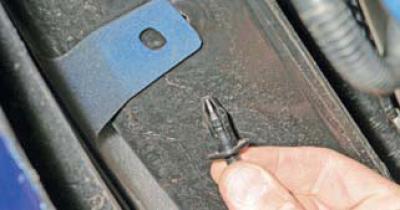
We take out the pistons.
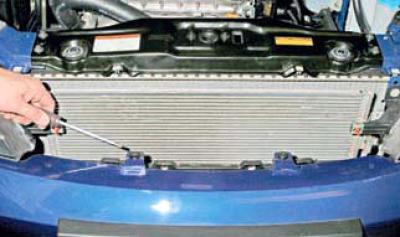
Using a Phillips screwdriver, unscrew the fasteners of the two pins securing the bumper trim to the energy-absorbing bumper beam and remove the pins.
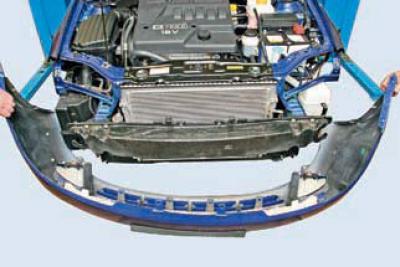
We remove the bumper trim together with the foam insert and fog lights.
Remove the fog lights (see Removal the fog light).
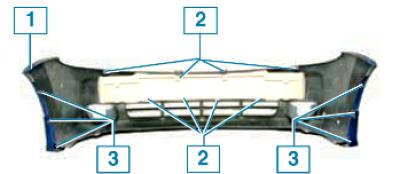
Bumper trim attachment points: 1 - to the wing; 2 - to the energy-absorbing beam; 3 - to the mudguard
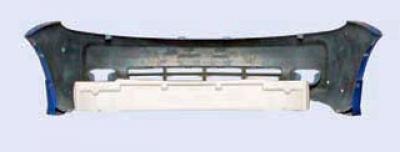
The foam insert can be easily removed from the bumper.
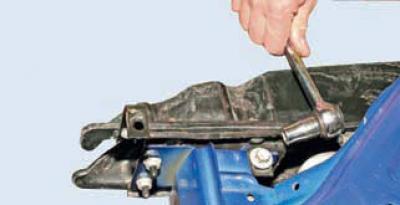
To remove the energy-absorbing beam, use a 14 mm head to unscrew the bolt and two nuts securing the beam bracket to the body.
We perform similar operations on the other side of the car.
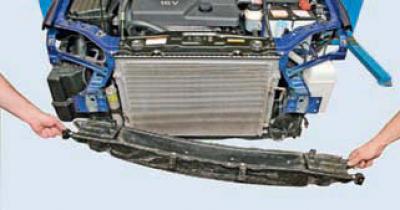
We remove the energy-absorbing beam.
The front bumper trim can be removed together with its energy-absorbing beam.
To do this, you need to detach the bumper trim from the fenders and mudguards, detach the energy-absorbing beam from the body, and do not remove the pins connecting the trim and the beam.
We install the front bumper elements in the reverse order and check the reliability of its fastening.
[The text of the article was obtained from the website «CHEVYMAN.RU»]