
We show the operations for dismantling the lever on the right side of the car. We hang up and remove the wheel from the side of the lever being dismantled.
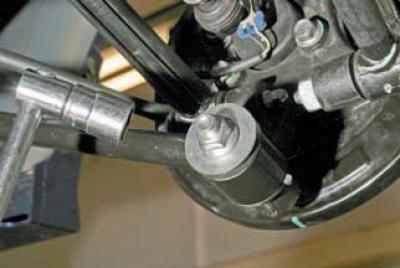
Using a 19 mm socket, unscrew the nut securing the lever to the rear suspension knuckle.
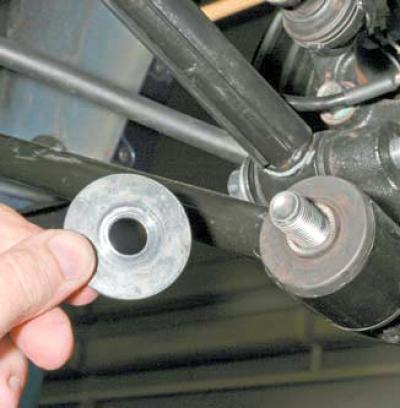
We remove the thrust washer from the knuckle.
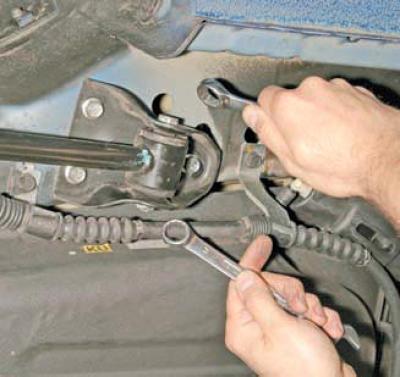
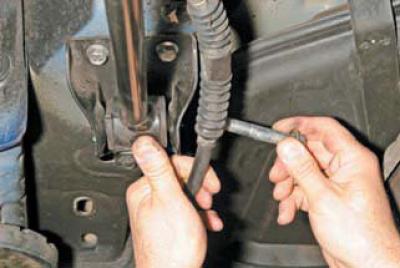
Using a 17 mm open-end wrench, unscrew the nut of the bolt securing the lever to the bracket, holding the bolt from turning with a wrench of the same size.
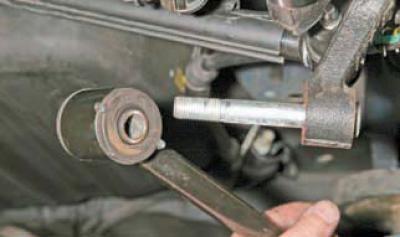
To disconnect the lever from the bracket, you need to remove the bolt, but for the right longitudinal lever this will not be possible, because the bolt will rest against the body threshold.
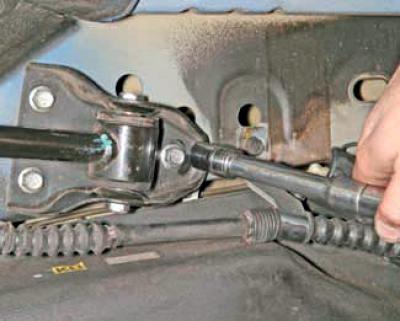
Therefore, using a 14 mm socket head, we unscrew the three bolts securing the bracket to the body…
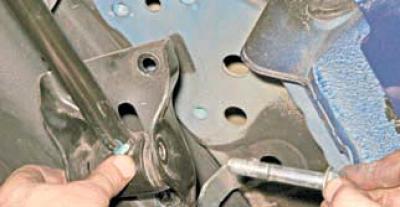
…and, lowering the bracket with the lever, we remove the bolt.
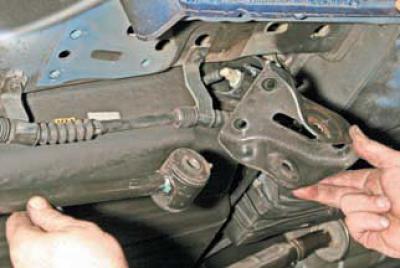
We remove the bracket.
On the left side of the car, the bolt that secures the trailing arm to the bracket comes out freely and there is no need to remove the bracket.
We remove the lever from the knuckle.
We install the longitudinal lever in the reverse order.
Tighten the bolts securing the bracket to the body to the specified torque (see Appendices).
The nuts securing the lever to the knuckle and bracket are finally tightened to the prescribed torques (see Appendices) in the "car on wheels" position.