
We show the operations for replacing the lever on the right side of the car. On the left side of the car, we replace the lever in a similar way. We hang up and remove the wheel from the side of the lever being removed.
Remove the ABS wheel speed sensor wiring harness cover from the front wishbone and disconnect the wiring harness connector from the speed sensor (see Removal the wheel hub).
To avoid changing the wheel toe angle during assembly, before unscrewing the nut securing the lever to the subframe..
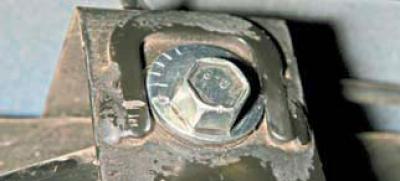
…we use a chisel to mark the position of the bolt relative to the subframe.
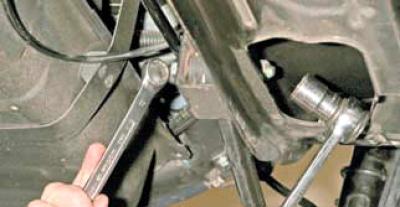
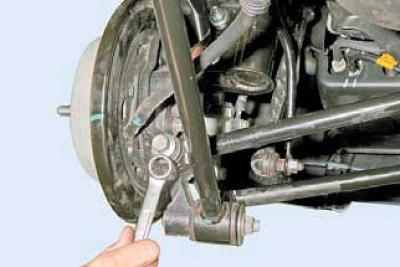
Using a 17 mm head, unscrew the nut of the bolt securing the lever to the subframe, holding the bolt from turning with an open-end wrench of the same size.
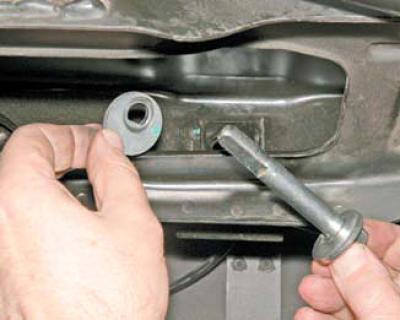
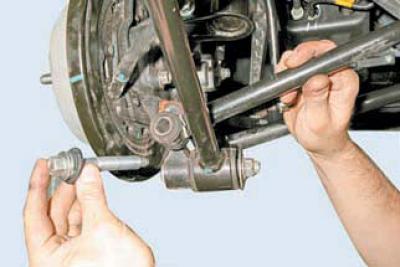
We remove the eccentric washer from the bolt rod and take out the bolt.
Using a 17 mm open-end wrench, unscrew the bolt securing the lever to the rear suspension knuckle…
…and we take out the bolt.
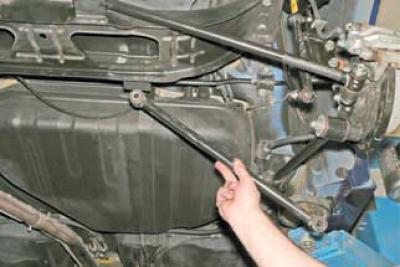
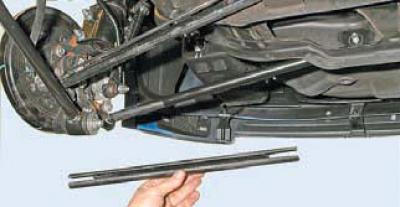
Remove the front wishbone.
We install the lever in the reverse order..
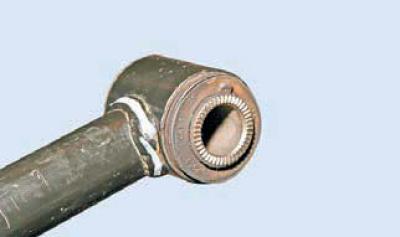
...orienting it so that the silent block with the notch on the end surface of the metal bushing is facing the knuckle.
We tighten, but do not completely tighten, the bolt that attaches the lever to the knuckle and the nut that attaches the bolt that attaches the lever to the subframe. In this case, we install the bolt that attaches the lever to the subframe according to the previously applied marks and hold it in this position while tightening the nut.
We orient the nut of the bolt that secures the lever to the subframe with the flange towards the rear of the car.
Finally tighten to the prescribed torques (see Appendices) the bolt for fastening the lever to the knuckle and the nut for fastening the bolt for fastening the lever to the subframe in the "car on wheels" position. After installing the lever, we check and, if necessary, adjust the toe-in angles of the rear wheels at the service station.
The original source of the article is the website «chevyman»