
2. Note how the cuff is installed - the new one should be installed to the same depth and oriented in exactly the same way as the old one. Carefully remove the cuff from the front cover using a puller or screwdriver. When performing this procedure, be extremely careful not to bend the cover or scratch the crankshaft surface!
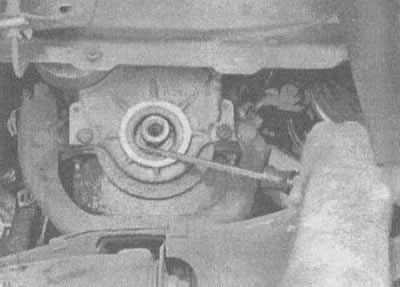
12.2. Carefully remove the old seal from the timing chain cover, being careful not to damage the crankshaft
3. After applying a coat of clean motor oil or multi-purpose grease to the edges of the new seal, install the seal into the cover, orienting it so that the sealing edge (from the spring side) was turned inward. Press the seal into place using a special tool or a large socket head and hammer (if you don't have a socket head, a piece of pipe of a suitable diameter will do). Make sure the cuff fits into the hole without distortion and stop pressing when the face of the cuff reaches the desired depth.
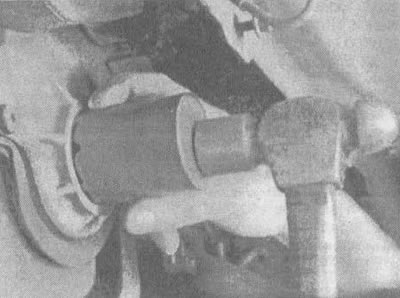
12.3. A new seal can be pressed in using a large socket head and a hammer
4. Install an anti-vibrator.