
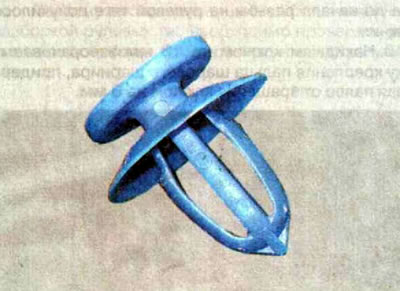
Recommendation. Before you begin, purchase spare door trim holders, as the holders often break during dismantling.
Front door trim
1. We prepare the car for maintenance and repair.
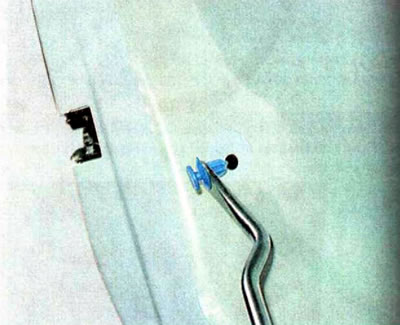
2. Using a thin slotted screwdriver, pry off the decorative plug of the inner door opening handle...
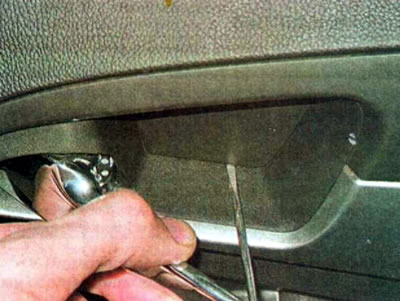
...and carefully remove it.
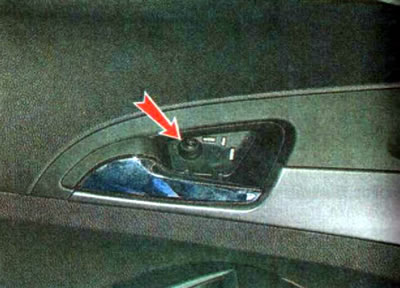
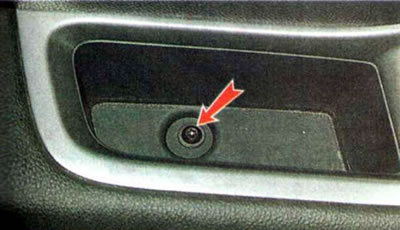
3. Using a TORX T20 key, unscrew the door trim mounting screw located in the inner cavity of the handle.
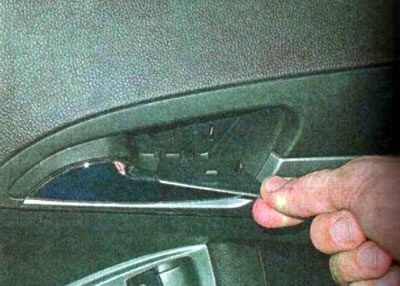
4. Similarly, remove the insert from the door armrest...
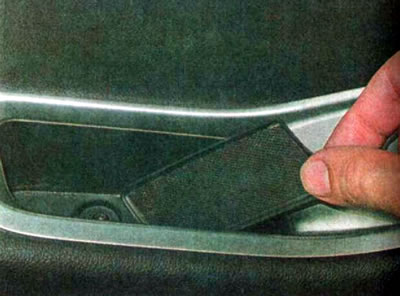
... and unscrew the upholstery mounting screw located underneath it.
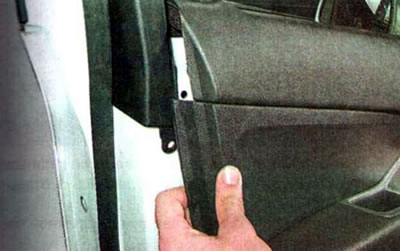
5. Pull the door trim by the lower edge towards you until all its holders come out of the door panel.
6. Lift the top edge and move the upholstery slightly to the side.
7. From the inside of the door trim, disconnect the wiring harness connectors from the electric mirror control unit...
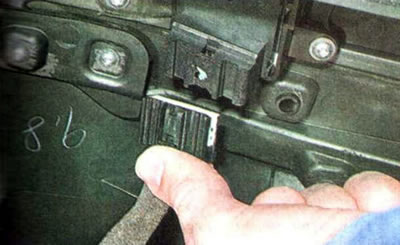
... and the electric window control unit (when removing the left door trim) or power window control keys (when removing the right door trim).
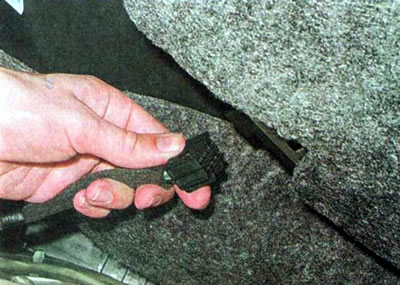
8. Disconnect the cable holder and remove the tip from the inner door opening handle.
9. Remove the upholstery.
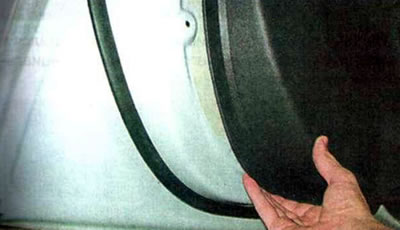
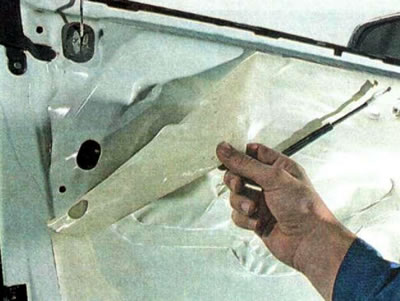
10. The door is covered with a protective film that prevents dust and moisture from entering the interior, and also serves to soundproof the interior.
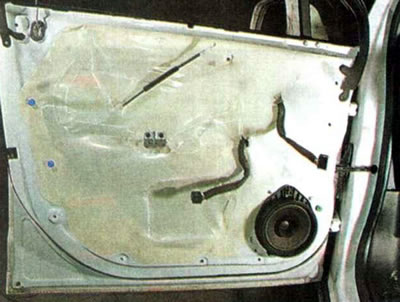
11. To access the door elements, you can peel off part of the film or remove it completely from the door.
To do this, use a TORX T20 key to unscrew two screws, remove the bracket...
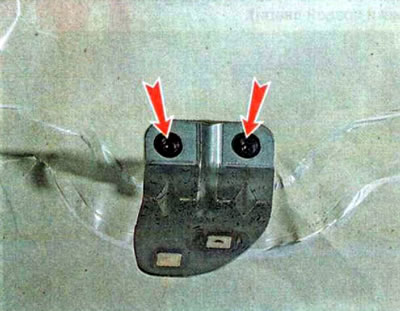
...and carefully peel off the protective film from the door panel.
Recommendation. During installation, if the film does not adhere well to the door panel, we fix it using silicone sealant.
12. Before installing the upholstery, check the condition of its holders.
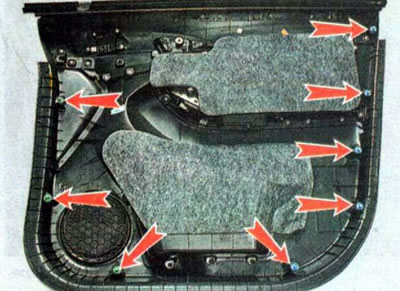
We replace broken and damaged holders.
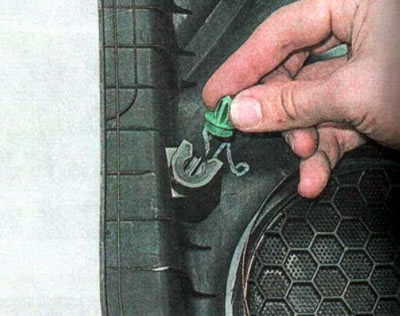
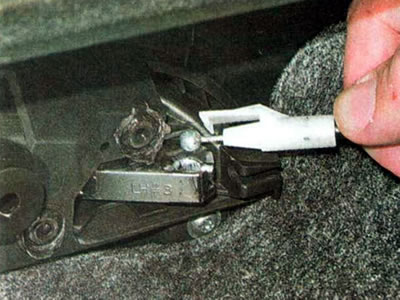
13. If the holder remains in the door panel when removing the trim, remove it using a special puller and replace it with a new one.
14. When installing the upholstery, press it against the door panel so that the holders are fixed in the holes.
15. We carry out further assembly in the reverse order.
The original text can be found on the website «ChevyMan»