
Contents: Rear door trim ↧ Trunk door trim ↧
Rear door trim
The work of removing and installing the rear door trim is carried out similarly to the front (see above). The difference lies in the number and location of the trim holders. Also, depending on the configuration, it may be necessary to remove the window lift handle.
Trunk door trim
1. We prepare the car for maintenance and repair.
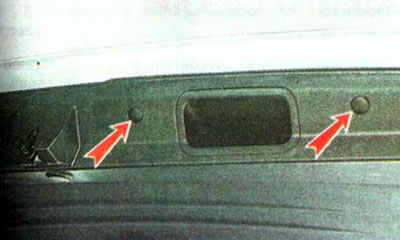
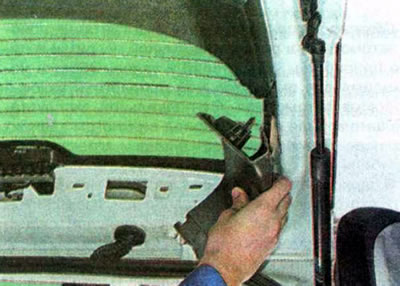
2. Disconnect the two holders of the lower part of the trunk door trim.
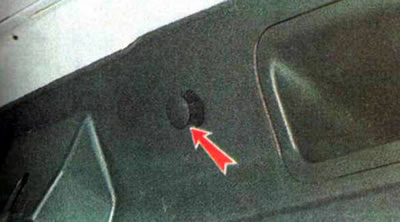
Note: To remove the holder, use a thin slotted screwdriver to push out the retainer...
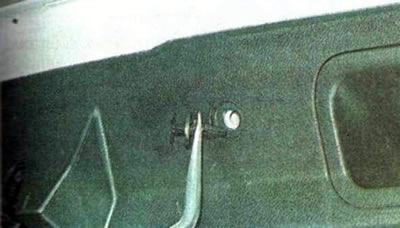
...and remove the holder from the door trim using a special puller.
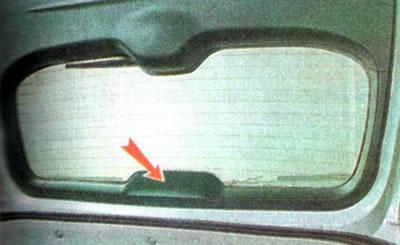
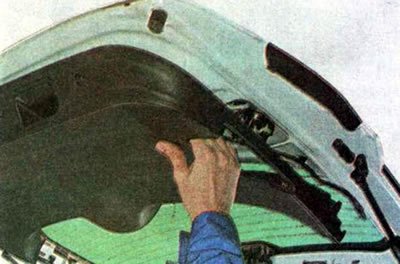
3. Overcoming the resistance of the clamps, remove the upper part of the upholstery.
4. Similarly, we detach the side parts on the right and left sides.
5. Pull the lower part of the trim towards you until all its holders come out of the door panel and remove the trim.
6. Before installing the upholstery, check the condition of its holders. We replace broken and damaged holders.
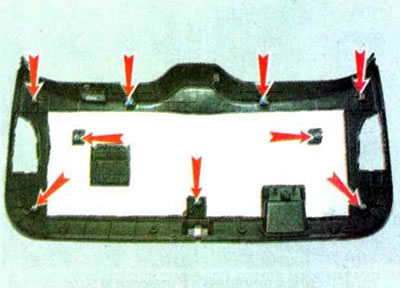
7. If the holder remains in the door panel when removing the trim, remove it using a special puller and replace it with a new one.
8. When installing the upholstery, press it against the door panel so that the holders are fixed in the holes.
9. We carry out further assembly in the reverse order.