
To extend the service life and to avoid jamming of the lock, it is necessary to periodically lubricate its mechanical part. This procedure is described in detail in the section "Lubrication of body locks and hinges". The replacement of the lock is shown using the example of the front door. The rear door lock is distinguished by the absence of a switch (cylinder) and its drive, and also by the fact that it is secured with two screws.
Replacing the front door lock
1. We prepare the car for maintenance and repair.
2. Raise the glass completely.
3. Remove the front door trim.
Recommendation. To avoid having to adjust the length of the door handle rod when assembling the door lock, use a marker to mark the position of the rod in the holder.
4. Remove the retainer of the door handle rod holder...
...and disconnect the rod from the lock.
5. Remove the plug from the end of the door.
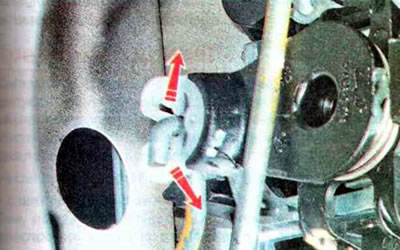
6. Having moved the clamps in the directions indicated by the arrows, we disconnect the drive rod from the switch holder (cylinder) of the lock.
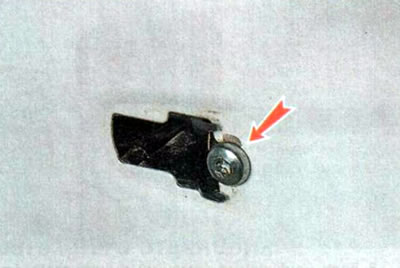
7. Using a TORX T20 key, turn the screw clockwise until it stops...

...and we remove the cover with the switch (cylinder) of the lock.
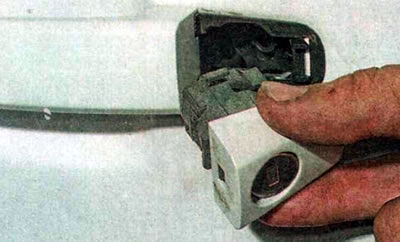
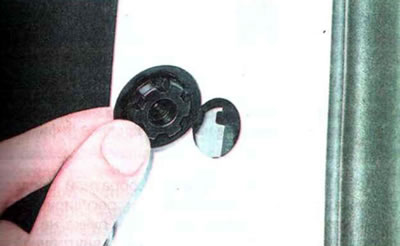
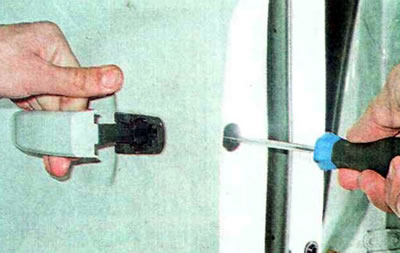
8. If it is necessary to replace the switch (cylinder) of the lock, remove the cover plate by alternately pressing the fasteners with a slotted screwdriver...
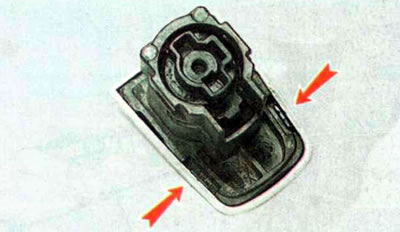
...and the edge of the overlay in the area of the protrusion A.

9. Using a TORX T20 key, turn the screw counterclockwise until it stops and remove the handle.

10. Using a TORX T20 key, unscrew the fastening screw...
...and remove the inner part of the door handle.
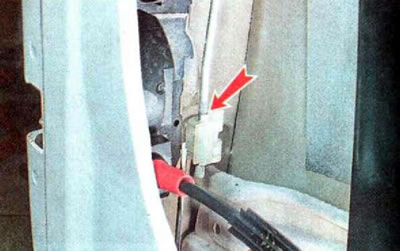
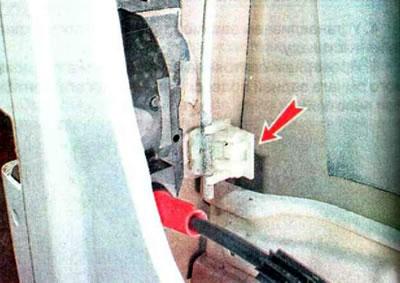
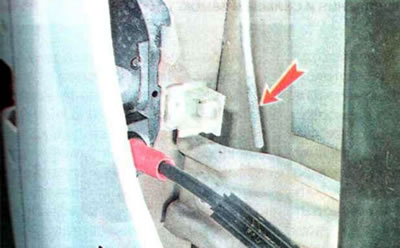
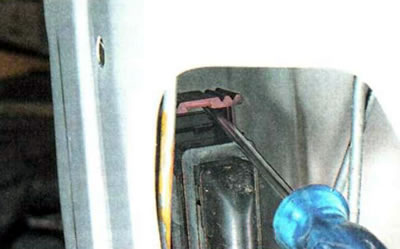
11. Pull out the wiring harness connector retainer...
...and disconnect it from the lock.
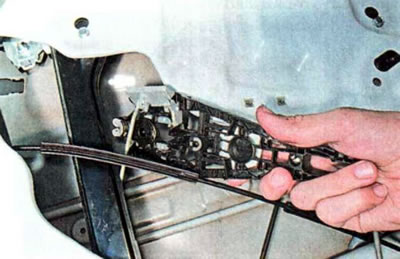
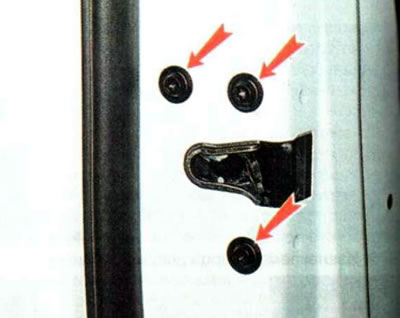
12. Using a TORX T30 key, unscrew the three mounting screws and remove the lock.
Recommendation. When installing the lock, lubricate its mechanism with plastic grease and apply thread lock to the mounting screws.
13. Install the parts in reverse order. If necessary, adjust the door opening handle rod so that the handle has no play. We tighten the screw that secures the inner part of the handle to the prescribed torque of 2.5 Nm, and the screws that secure the lock to 10 Nm.
The article was reprinted from the website «chevyman.ru»