
1. We prepare the car for maintenance and repair.
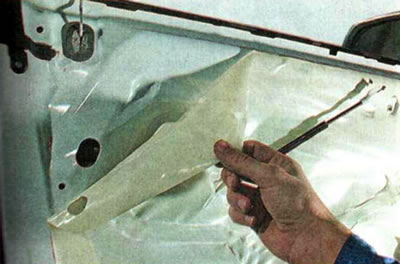
2. Remove the door trim and carefully peel off the protective film from the door.
3. Using a thin slotted screwdriver, disconnect the clamps...
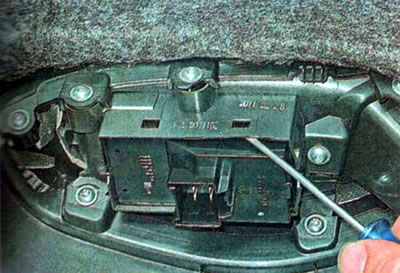
...and disconnect the power window control unit from the door trim.
4. Connect the electric window control unit to the connector...
... and install the glass in such a way that there is free access to the glass mounting bolts through the technological holes.
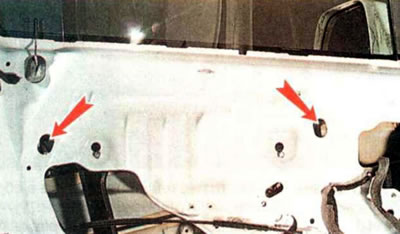
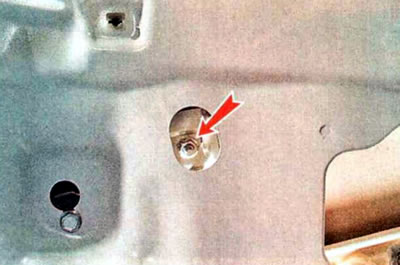
5. Using a 10 mm socket wrench, unscrew the two nuts securing the glass to the guides.
6. Raise the glass up and secure it with masking tape.
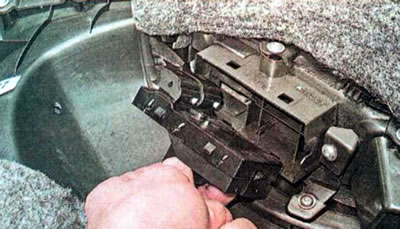
7. Press the lock and disconnect the wiring harness connector from the gearmotor.
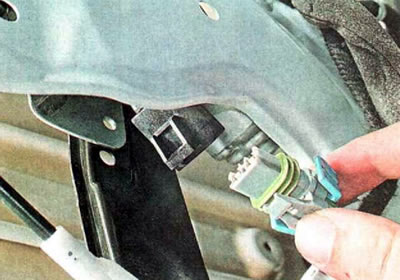
We check the condition of the terminals of the wiring block; if oxides are found, we treat them with a special agent for cleaning and protecting electrical contacts.
8. Using a 10 mm wrench, unscrew the five bolts securing the gear motor and glass guides to the door.
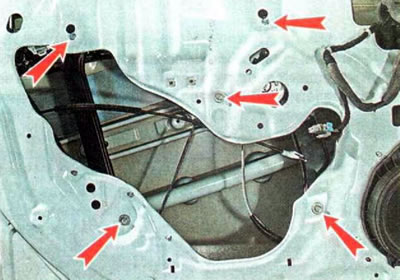
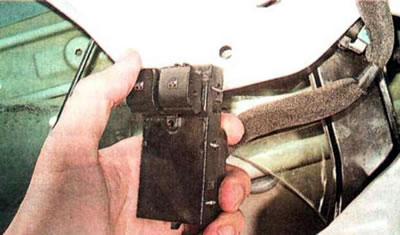
9. Remove the window lift mechanism as a whole through the technological opening in the door.
10. Install the parts in reverse order.
The text of the article was obtained from the website «chevyman»