
The vehicles are equipped with a fuel gauge and a low fuel level warning light located on the instrument panel.
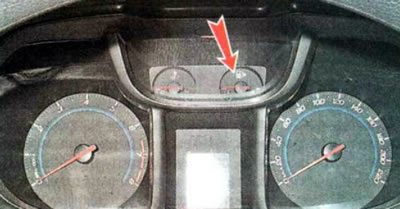
The indicator light comes on when there is about 5-8 liters of fuel left in the vehicle's fuel tank (no more than 80 km of run). The fuel tank capacity is 64 liters.
Recommendation. Try not to operate the vehicle with the fuel tank less than ¼ full, as this can cause the electric fuel pump to overheat and fail prematurely. If there is not enough fuel, the engine may run rough and this may damage the catalytic converter.
When choosing a gas station, be guided by public opinion, because, as a rule, each gas station has its own history and reputation, use well-known brands. Do not fill up anywhere - fuel at different gas stations may differ significantly in quality and not meet the standard, this can lead to rapid failure of the engine and fuel system. Find a few gas stations and in the future only fill up at them.
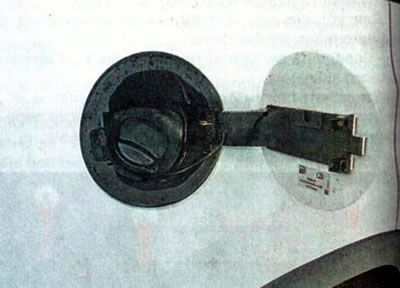
The fuel filler neck is located behind the hinged access cover on the right rear fender.
To access the filler cap, press on the cap at the rear...
...and, pulling it towards you, fix it in the open position.
Comment.
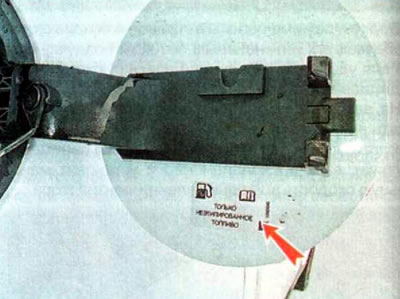
- The inscription on the fuel filler cap warns that only unleaded petrol is intended for filling the vehicle!
- Use gasoline with an octane rating of 95; in emergency cases, it is permissible to briefly use gasoline with a lower octane rating, but not less than 91.
We unscrew the fuel tank filler cap counterclockwise and secure it in a special holder on the inside of the hatch cover.
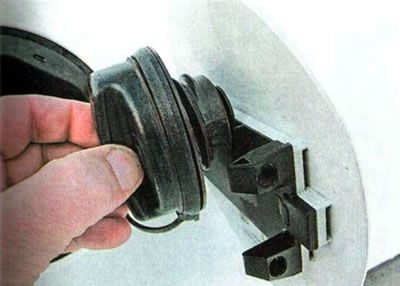
The fuel tank neck has a shut-off valve 1 that prevents the release of gasoline vapors.

The plug has a torque limiter; after filling, tighten the plug until it clicks and close the filler neck tightly.
Note: After refueling, the indicator will show the correct fuel level in the tank 15-20 seconds after the ignition is turned on.