


Contents: Removal procedure ↧ Installation procedure ↧
Removal procedure
1. Disconnect the cable from the negative battery terminal.
2. Remove the front and rear floor console. See Section 9G "Interior trim".
3. Remove the audio system. See section 9F, "Audio Systems".
4. Remove the instrument cluster light/headlamp leveling/mirror control switch assembly. See "Instrument cluster lighting/headlamp leveling/mirror control switch" in this section.
5. Remove the instrument panel shield.
6. Remove the automatic temperature controller assembly. See Section 7D, Automatic Temperature Control, Heating, Ventilation and Air Conditioning System.
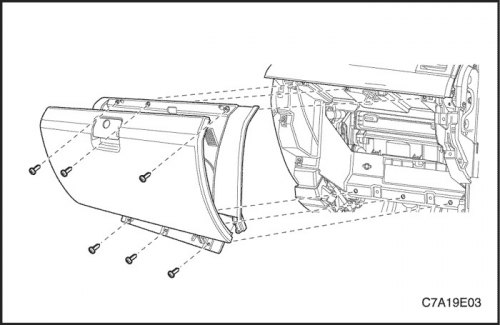
7. Remove the instrument panel. See "Instrument cluster" in this section.
8. Remove the fuse panels.
9. Remove the instrument panel compartment. See "Instrument panel compartment" in this section.
10. Disconnect the electrical connectors from the instrument panel compartment.
11. Remove the knee bolster.
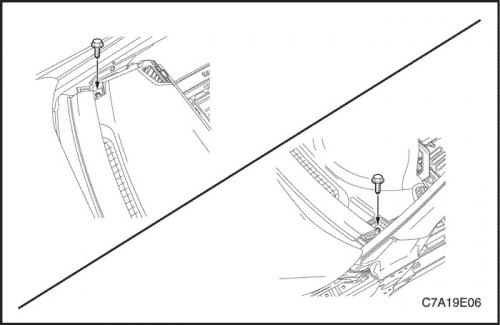
12. Remove the side covers of the instrument panel.
13. Remove the body controller. See Section 9V, "Body Controller".
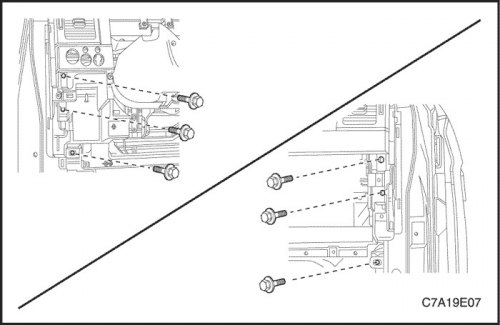
14. Remove the nuts and bolts securing the steering column.
15. Disconnect the steering column electrical connector.
16. Lower the steering column.
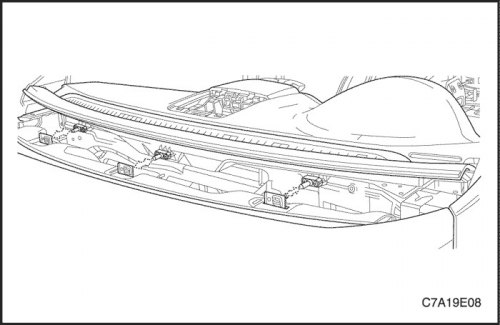
17. Remove the instrument panel bolts under the windshield.
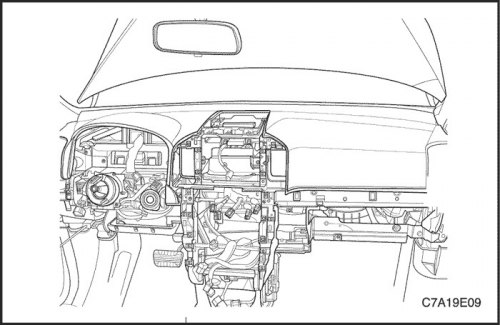
18. Remove the mounting screws securing the instrument panel.
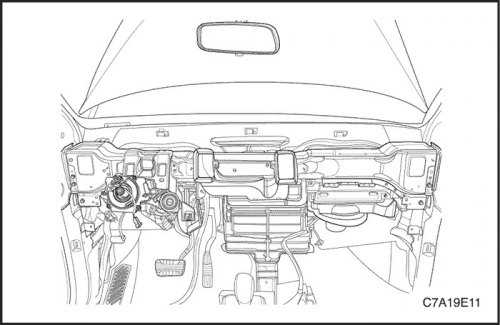
19. Remove the bolts securing the instrument panel sides to the body.
20. Disconnect the electrical connectors from the instrument panel.
21. Remove the instrument panel.
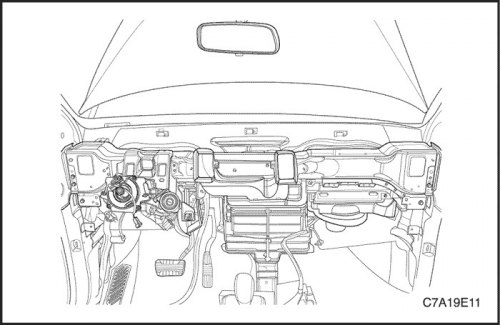
Installation procedure
1. Place the instrument panel in the car.
2. Connect the electrical connectors of the instrument panel.
Note: Direct contact of dissimilar metals may result in rapid corrosion. Use proper fasteners to avoid premature corrosion.
3. Install the bolts securing the side panels of the instrument panel to the body.
Tighten
Tighten the bolts securing the instrument panel to the body to 23 N·m (17 lb-ft).
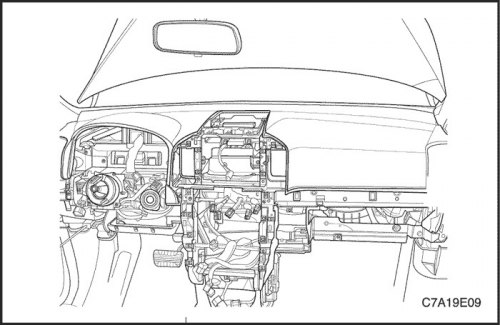
4. Install the mounting screws securing the instrument panel.
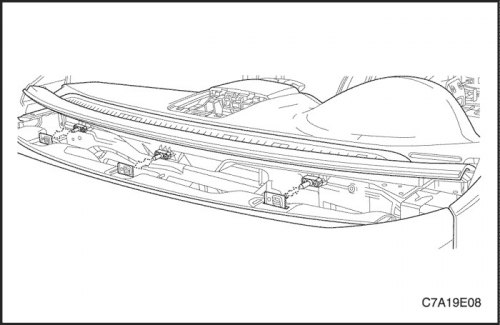
5. Install the instrument panel bolts under the windshield.
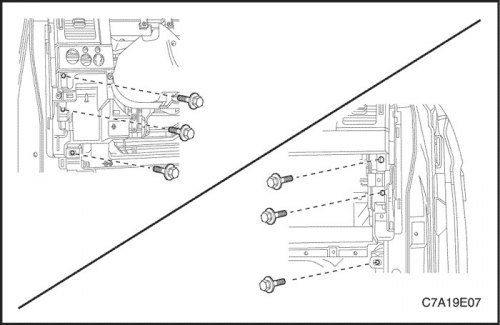
6. Raise the steering column.
7. Connect the steering column electrical connector.
8. Install the nuts and bolts securing the steering column.
Tighten
Tighten the steering column nuts to 22 N·m (16 lb-ft).
Tighten the steering column bolts to 22 N·m (16 lb-ft).
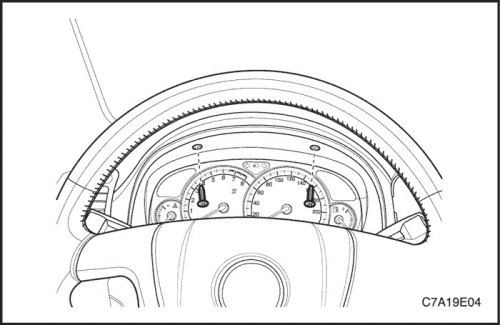
9. Install the body controller. See Section 9V, "Body Controller".
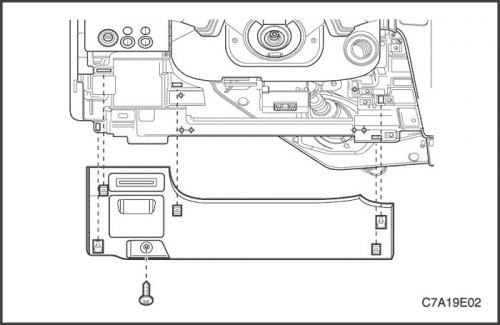
10. Install knee buffers.
11. Connect the electrical connectors of the instrument panel compartment.
12. Install the instrument panel compartment. See "Instrument panel compartment" in this section.
13. Install fuse panels.
14. Set the instrument cluster. See "Instrument cluster" in this section.
15. Install the automatic temperature controller assembly. See Section 7D, Automatic Temperature Control, Heating, Ventilation and Air Conditioning System.
16. Install the instrument panel shield.
17. Install the instrument cluster light/headlamp leveling/mirror control switch assembly. See "Instrument cluster lighting control switch" in this section.
18. Install audio system. See section 9F, "Audio Systems".
19. Install the sun sensor and automatic temperature controller unit. See Section 7D, Automatic Temperature Control, Heating, Ventilation and Air Conditioning System.
20. Install the floor console. See Section 9G "Interior trim".
21. Connect the cable to the negative terminal of the battery.