
When removing fuses and relays, be sure to disconnect the wire terminal from the negative terminal of the battery.
To access the fuses and relays located in the engine compartment mounting block…
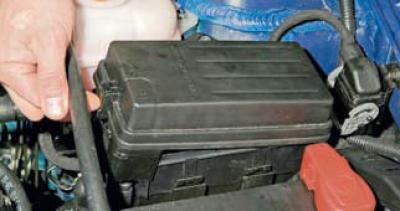
…by pressing the plastic latch, we remove the cover of the mounting block.
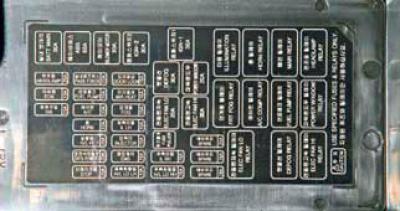
On the back of the cover there is a diagram of the location of the fuses and relays and their purpose is indicated.
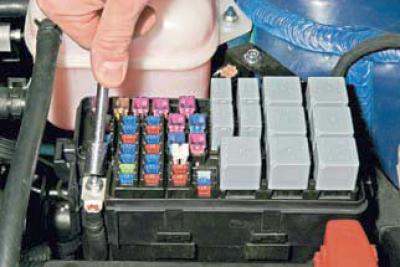
A faulty fuse can be identified by a burnt-out jumper.
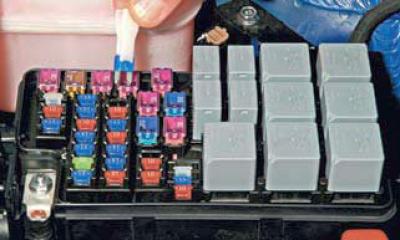
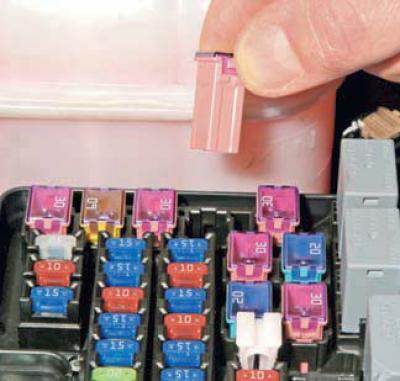
We remove the fuse with tweezers.
We replace the blown fuse with a new one.
We remove the large fuse from the block by hand.
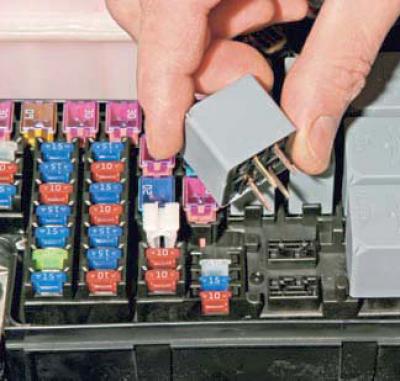
We remove the relay from the block by hand.
To access the fuses in the fuse box inside the car, open the left front door.
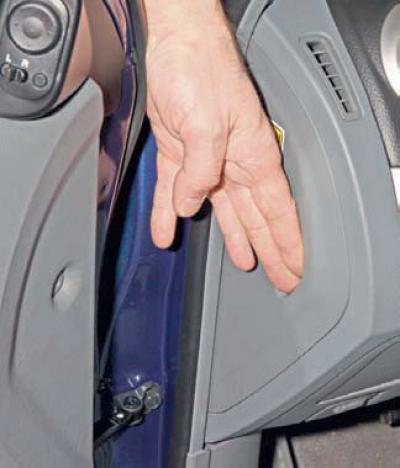
Pulling the handle, overcoming the resistance of the latches..
…remove the cover at the left end of the instrument panel.
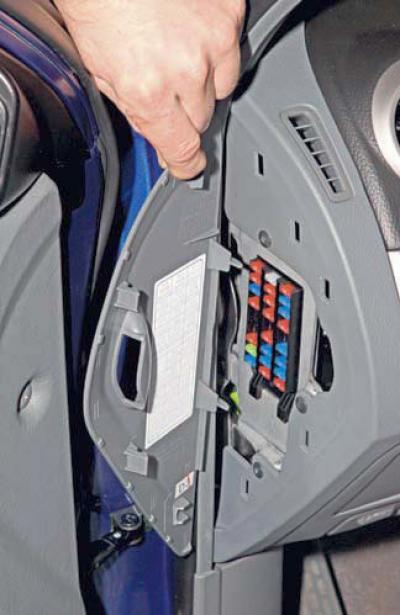
Using tweezers from the fuse box in the engine compartment, replace the blown fuse with a new one.
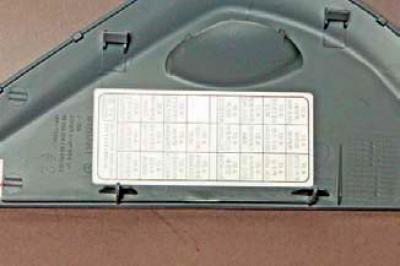
On the back of the cover there is a diagram of the location of the fuses and their purpose
A new relay or fuse should be installed instead of the failed one only after the cause of the malfunction has been identified and eliminated. Only standard fuses rated for a certain nominal current are allowed to be used (the rated current value of the fuse is indicated on its body).
If it is necessary to remove the mounting block in the engine compartment…
…we unscrew the nut using a 10 mm socket head.
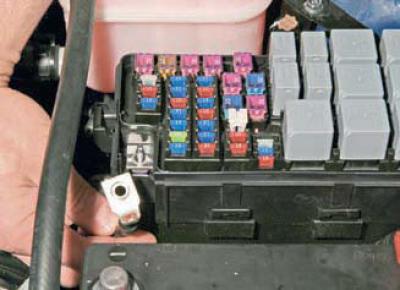
We remove the wire tip from the pin.
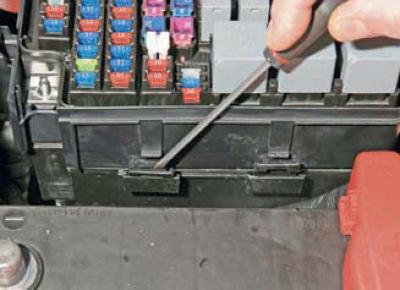
Using a screwdriver, press down two clamps on one side of the block and two on the other…
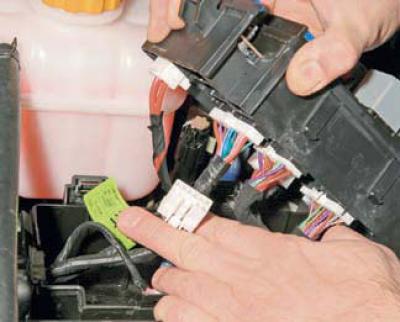
…and lifting the block, we disconnect the wire blocks from it.
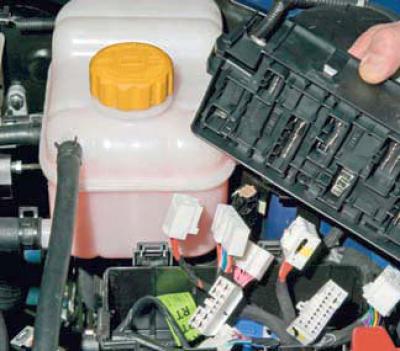
We remove the mounting block.
We install the mounting block in the reverse order.
To replace the relays located under the instrument panel, remove the lower trim of the instrument panel (see Removal the lower instrument panel trim).
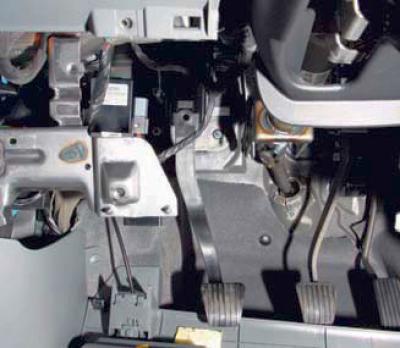
The relays are mounted on a bracket secured to the instrument panel frame.
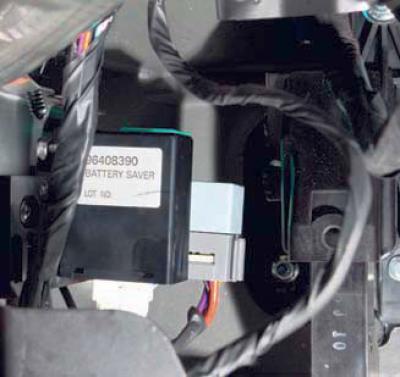
We take out the faulty relay by hand and replace it with a new one.
We install the lower trim of the instrument panel.
For details, visit the website: CHEVYMAN.RU