
Warning. Before replacing a fuse, you must determine and eliminate the cause of its blown fuse. To avoid failure of electrical equipment, fuses with increased ratings or homemade ones must not be installed.
1. We prepare the car for maintenance and repair.
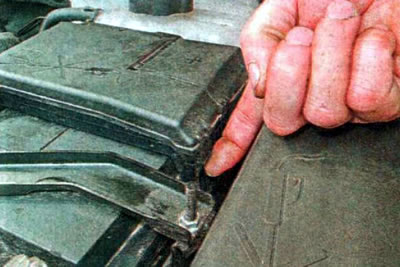
2. To access the fuses and relays in the engine compartment, release...
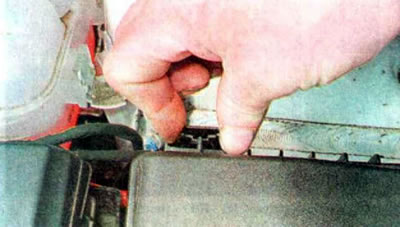
...three clamps...
...and remove the block cover.

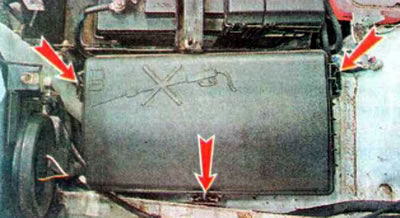
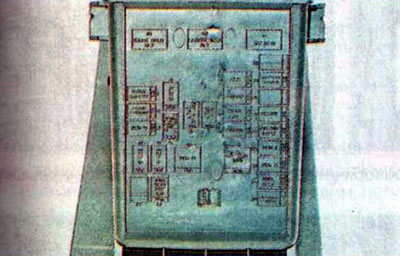
The fuse and relay designations are shown on the inside of the unit cover.
3. To access the fuses in the passenger compartment, open the glove compartment.
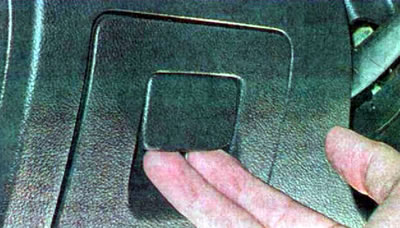
...we disengage the two drawer limiters...
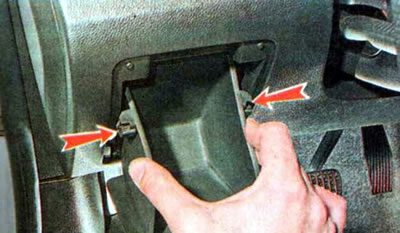
...we turn the box down.
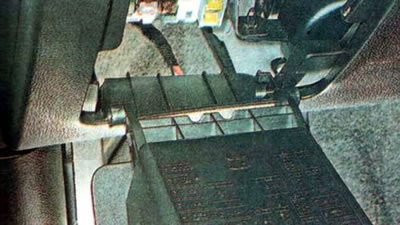
The fuse designations are located on the rear wall of the box.
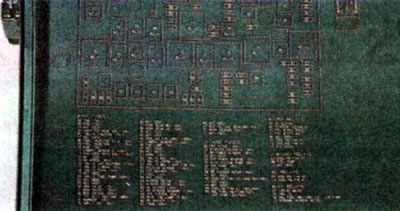
4. Using the diagrams on the block covers and the tables (see above), we find the fuse or fusible link of the faulty circuit.
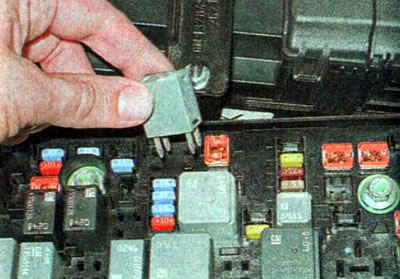
5. With a special double-sided tweezers, which are located in the fuse and relay box in the engine compartment...
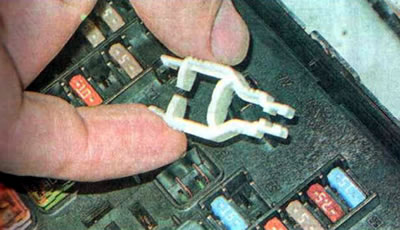
...we remove the fuse...
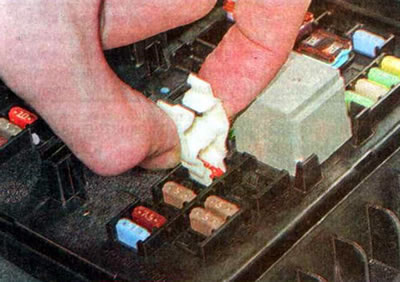
...or a housing fuse link.
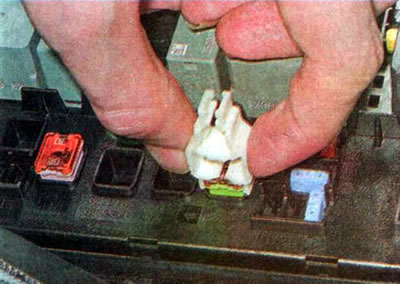
5. Faulty fuse...
...or a faulty fuse link...
... we determine by the burnt thread.
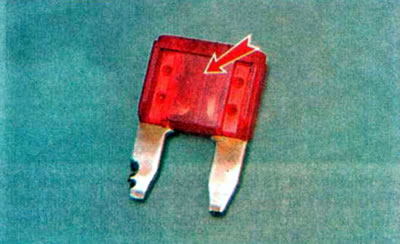
Recommendation. Sometimes the fuse thread remains intact while its connection inside the fuse is broken. It is impossible to visually identify such a malfunction. In this case, you can assess the condition of the fuse using a multimeter in ohmmeter mode.
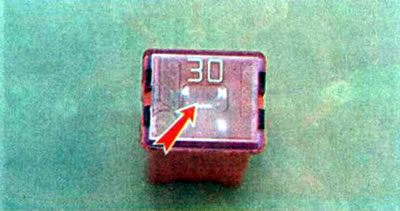
6. Install a new fuse of the appropriate rating.
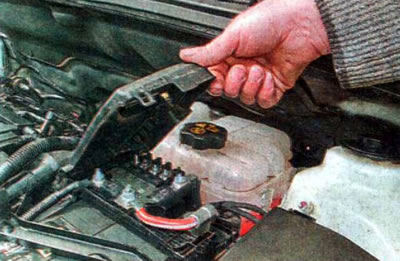
7. To replace the fuse block on the battery, disconnect the wire terminal from its negative terminal.
8. Release the retainer...
...and open the block cover.
9. Using a 13 mm wrench, unscrew the three nuts; using an 8 mm wrench, unscrew the three nuts. 2. Disconnect the wire ends. We press the clamps 3 and remove the fuse block.
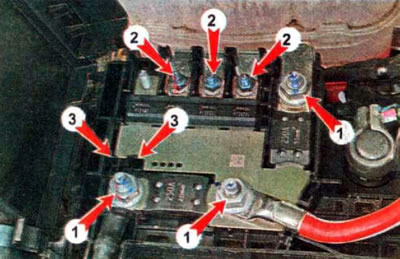
10. Install the fuse block in the reverse order. Tighten the fastening nuts to a torque of 12 Nm.
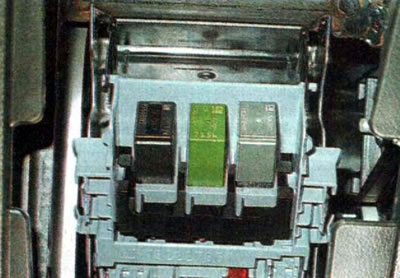
11. To replace the relay, pull it out of the unit.
To access the relays located in the passenger compartment, press two clamps...
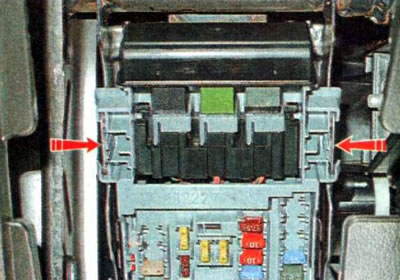
...we turn the block towards ourselves and open the relay cover.
Recommendation. You can verify that the relay is faulty by checking it or installing another one in its place that is known to be working.