
ChevyMan.ru
Mazda Mitsubishi Toyota Land Rover Honda Kia Nissan
English Русский
Български
Беларускі
Український
Српски
Hrvatski
Română
Polski
Slovenský
Magyar
|
Articles | Sitemap | Contacts |


Home   Aveo   Captiva   Cruze   Lacetti   Lanos   Niva   Tahoe   Others  
Lanos T150 (2002-2009)
  • Home
  • Lanos
  • T150 (2002-2009)
  • Chassis
  • Front suspension
  • Removal the shock absorber strut and disassembling it

Removal the shock absorber strut and disassembling it (Chevrolet Lanos T150)

            0

We remove and disassemble the shock absorber strut when it is necessary to replace its upper support, spring, compression buffer or shock absorber.

In the engine compartment…
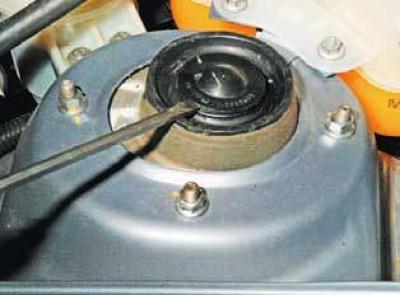
…we use a screwdriver to pry off the cover of the upper support…
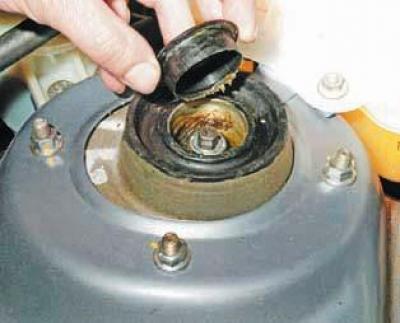

…we use a screwdriver to pry off the cover of the upper support…

…and we take it off.

…and we take it off.

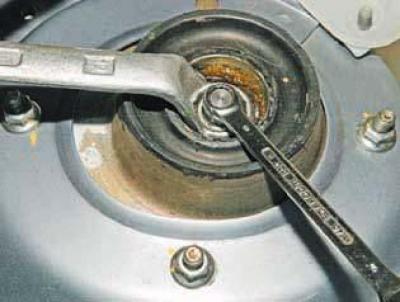
Holding the shock absorber rod with a 9 mm open-end wrench, loosen the rod nut with a 19 mm…


Holding the shock absorber rod with a 9 mm open-end wrench, loosen the rod nut with a 19 mm Z-wrench.


Disconnect the ball joint of the front suspension arm from the steering knuckle (see Removal the lever).

We remove the tailpiece of the outer joint of the wheel drive from the wheel hub (see Removal the front wheel drives).

Disconnect the outer end of the steering rod from the shock absorber strut pivot arm (see Replacing the outer tie rod end).

Subsequent operations to remove the shock absorber strut can be performed in two ways.

So, with the first method, the shock absorber strut can be dismantled without removing the brake pad guide and brake disc.

In this case, we remove only the front wheel brake caliper (see Replacing the protective cover and sealing ring of the front wheel brake piston) and tie it with wire or cord to the brake pipe mounting bracket.

In the second method, remove the brake pad guide with the caliper, tie them with wire or cord to the brake pipe mounting bracket and remove the brake disc (see Replacing the front wheel brake disc).

Do not press the brake pedal after removing the pad guide and caliper, as the piston may come out of the cylinder completely.
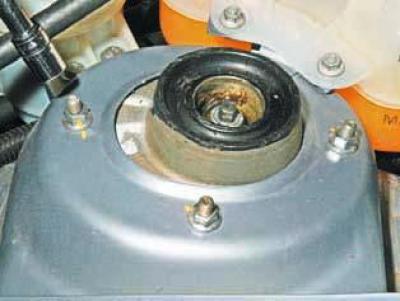

Using a 12 mm socket, unscrew the three nuts securing the upper support of the shock absorber strut…


Using a 12 mm socket, unscrew the three nuts securing the upper support of the shock absorber strut to the body cup…
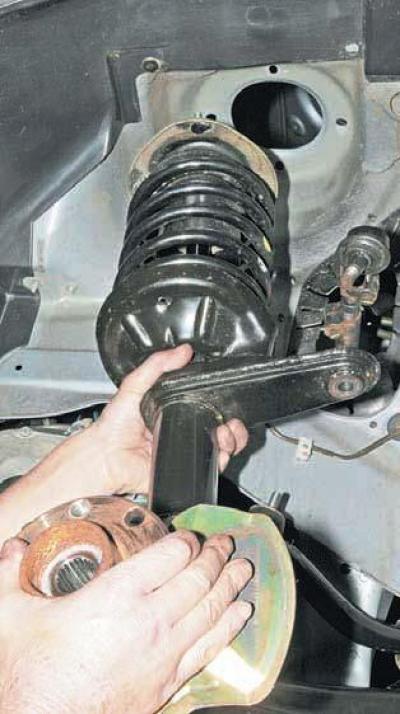


…and remove the rack.

…and remove the rack.

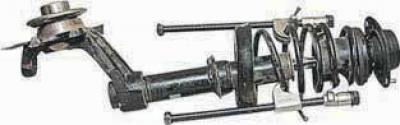
We compress the spring with two clamps located diametrically opposite to each other.


We compress the spring with two clamps located diametrically opposite to each other.

After the spring stops pressing on the upper support cup, completely unscrew the rod nut.
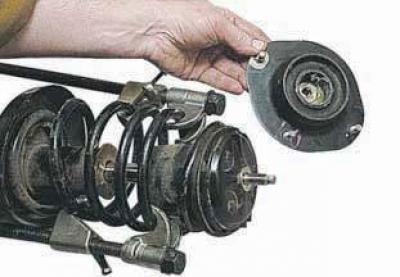
We remove the upper support of the rack from the rod.

We remove the upper support of the rack from the rod.

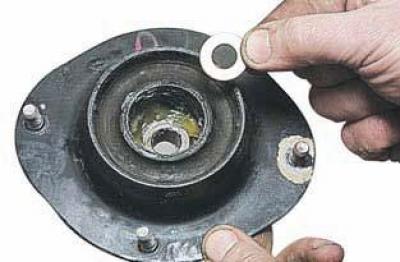
We remove the flat washer from the recess in the upper part of the support.
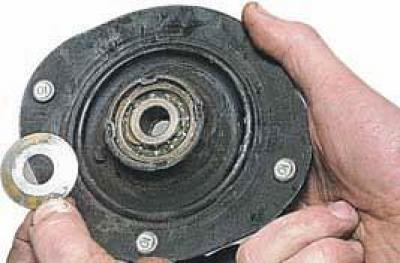

We remove the flat washer from the recess in the upper part of the support.


A disc washer is installed at the bottom with the convex side facing downwards.
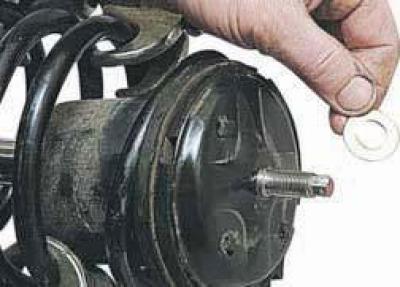

A disc washer is installed at the bottom with the convex side facing downwards.

Remove the flat washer from the shock absorber rod.
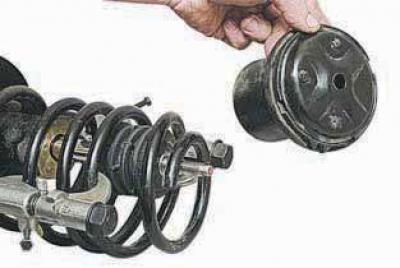

Remove the flat washer from the shock absorber rod.

We remove the upper support cup of the spring with the cover.
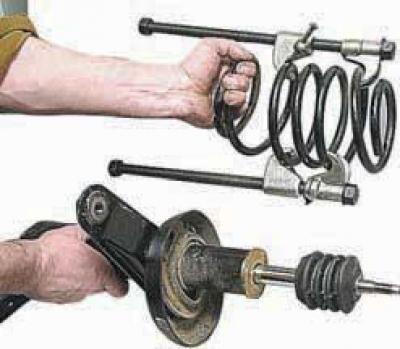

We remove the upper support cup of the spring with the cover.

We remove the spring with clamps..
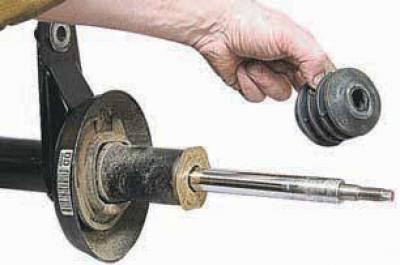

We remove the spring with clamps..


…and a compression stroke buffer.
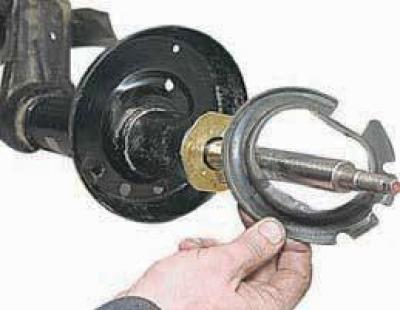

…and a compression stroke buffer.

We remove the rubber gasket from the lower support cup of the spring.
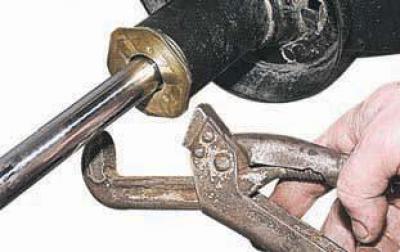

We remove the rubber gasket from the lower support cup of the spring.

Using a pipe wrench, unscrew the strut housing nut (you can also clamp the nut in a vice and turn…


Using a pipe wrench, unscrew the strut housing nut (you can also clamp the nut in a vice and turn the rack)…
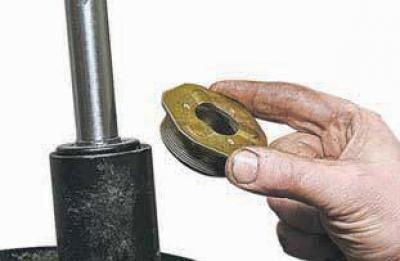
…and remove the nut.
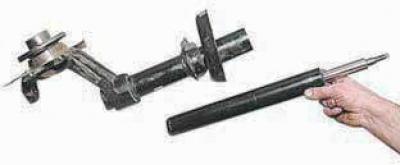

…and remove the nut.


We remove the shock absorber from the strut housing.


We remove the shock absorber from the strut housing.

We assemble and install the rack in the reverse order.

We install a new shock absorber into the strut housing.

We replace the rack housing nut with a new one.

We replace the worn upper support bearing together with the support.

We install the disc washer under the upper support bearing with the concave side facing up.
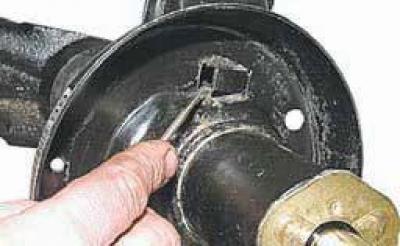
When installing the spring, the end of its lower coil should rest against the protrusion of the…


When installing the spring, the end of its lower coil should rest against the protrusion of the lower support cup of the strut..
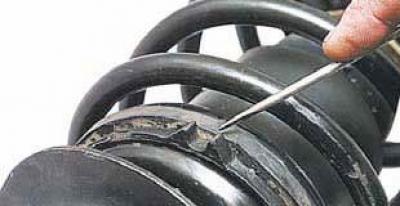
...and the shaped protrusion of the upper support cup of the spring should be directed towards the…


...and the shaped protrusion of the upper support cup of the spring should be directed towards the pivot arm of the right strut and in the direction opposite to the arm of the left strut.

The source of the article is available on the website «CHEVYMAN.ru»

The article was checked: Vladimir Romannikov
This article is available at russian, bulgarian, belarusian, ukrainian, serbian, croatian, romanian, polish, slovak, hungarian

Share information:

Previous articles
Lanos T150: Front suspension
Next articles

Front suspension device
Replacement of anti-roll bar elements
Removal the lever
Replacing the silent block and cushion of the front suspension arm
Replacing the front wheel hub bearing


See similar articles on the topic of Chevrolet cars:
Replacing the upper support of the front suspension shock absorber strut Chevrolet Aveo T300 (2012-2018)
Front shock absorber fault diagnostics Chevrolet Captiva 1 (2006-2018)
Replacing the upper support of the front suspension shock absorber strut Chevrolet Cruze 1 (2008-2016)
Removal the shock absorber strut and disassembling it Chevrolet Lacetti 1 (2002-2009)
Shock absorber device Chevrolet Niva 1 (2002-2016)
Front suspension shock absorber — removal and installation Chevrolet Tahoe 1 (1992-2000)
Removal and installation the shock absorber strut Chevrolet Lumina 1 (1989-1994)
Link in different formats to this page


Visitor comments

No comments yet


How much will 16 + 25 =


Lanos T150 (2002-2009) 
  • General information
  • User manual
  • Maintenance
  • Troubleshooting
  • Power unit
  • Engine repair
  • Control system
  • Supply system
  • Cooling system
  • Exhaust system
  • Transmission
  • Clutch
  • Car gearbox
  • Front wheel drives
  • Chassis
  • Front suspension
  • Rear suspension
  • Steering
  • Brake system
  • Body
  • Repair of body elements
  • Heating and air conditioning
  • Electrical equipment
  • Engine electrics
  • Lighting and lamps
  • Equipment and devices
  • Electrical circuits


ChevyMan.ru © 2017-2026 · Mobile version · Feedback · Site search · Interesting to read · Sitemap: EN BG BY UA RS HR RO PL SK HU

Aveo 2003-2008 · Aveo 2006-2011 · Aveo 2012-2018 · Captiva 2006-2018 · Cruze 2008-2016 · Lacetti 2002-2009 · Lanos 2002-2009 · Niva 2002-2016 · Tahoe 1992-2000 · Tahoe 2000-2014 · Lumina 1 1989-1994 · Trailblazer 1 2001-2008 · Orlando 1 2010-2018 ·
🛡️ For your security and to improve our service, this site uses cookies. You can disable them in your browser.