


If a strut or spring is faulty, both struts or springs should be replaced to ensure that the shock absorber characteristics on both sides of the vehicle are the same.
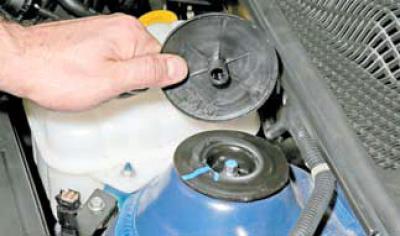
In the engine compartment, remove the cover of the upper strut mount.
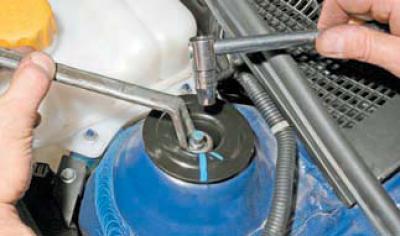
Holding the shock absorber rod with a 9 mm head, loosen the upper strut mount nut with a 17 mm Z-key.
We hang up and remove the wheel.
Securely fix the car on the factory-made stand. Disconnect the ball joint of the anti-roll bar from the bracket on the shock absorber housing (see Removal the anti-roll bar).
Remove the bracket securing the front wheel brake hose coupling to the bracket on the shock absorber housing and remove the coupling from the bracket hole (see Replacing the front brake hose).
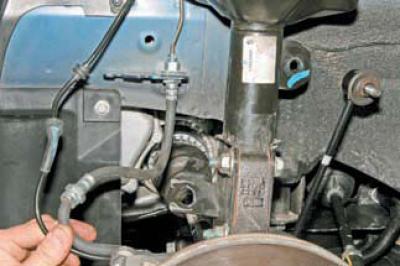
We remove the rubber bushing of the wheel speed sensor wiring harness from the hole in the bracket on the shock absorber strut body.
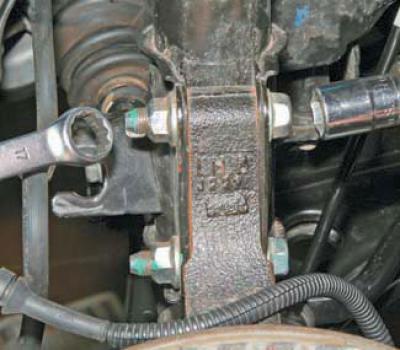
Using a 17 mm head, unscrew the nut of the bolt securing the strut housing to the steering knuckle, holding the bolt from turning with a spanner of the same size.
We unscrew the nut of the other bolt in the same way.
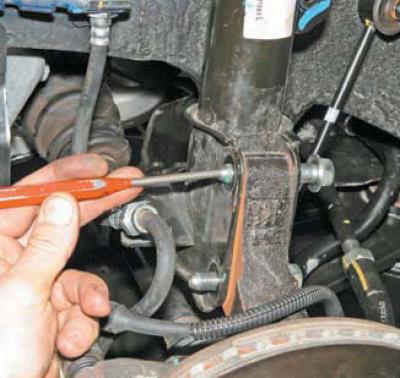
Using a punch, we knock out the bolts.
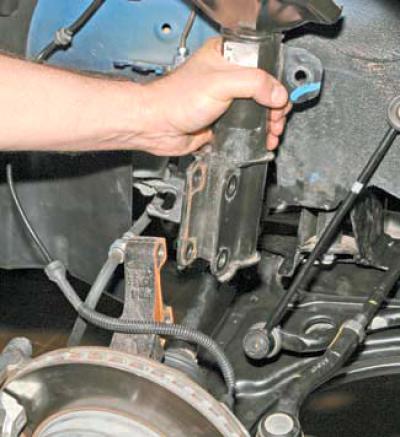
We remove the steering knuckle from the strut housing bracket.
Completely unscrew the nut that secures the upper strut to the body..
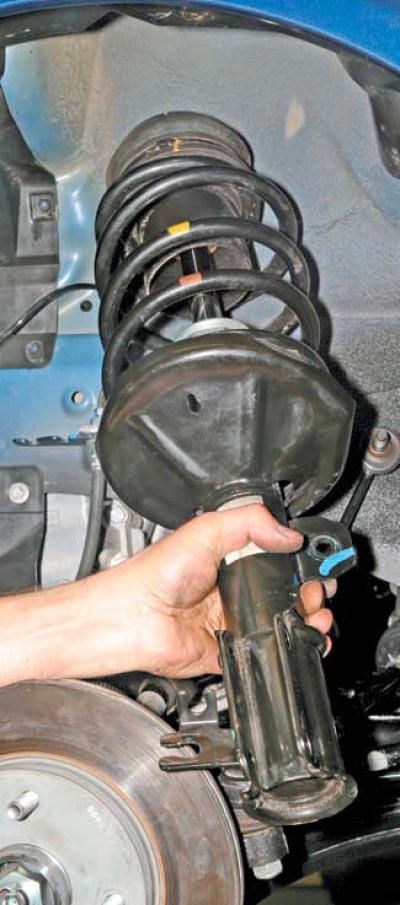
…and remove the rack.
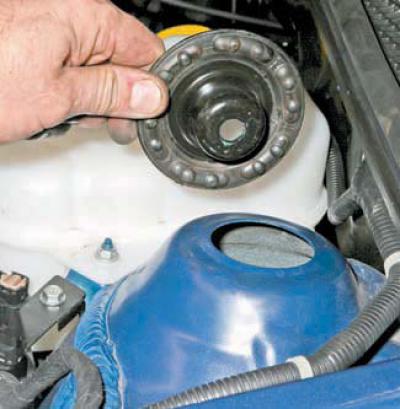
Remove the thrust washer from the mudguard cup.
To disassemble the rack, we clamp it by the bracket in a vice.
We install two clamps on the spring diametrically opposite each other so that they tighten at least four turns of the spring.
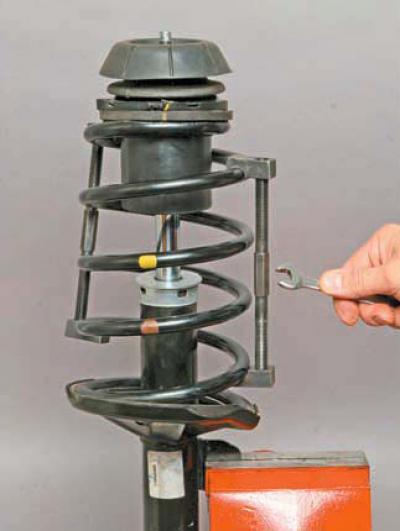
By uniformly rotating the tie rod screws, we compress the spring until its lower and upper coils stop pressing on the support cups.
When performing this operation, it is necessary to control the reliability of the grip of the spring coils by the ties, since if the tie breaks, the spring will be released abruptly and with great force, which can lead to injury.
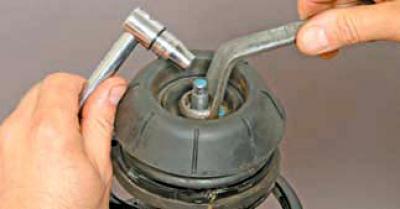
Using a 17 mm Z-key, unscrew the nut securing the upper support of the strut, holding the shock absorber rod from turning with a 9 mm head.
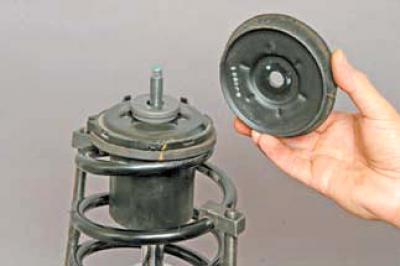
We remove the upper support of the rack..
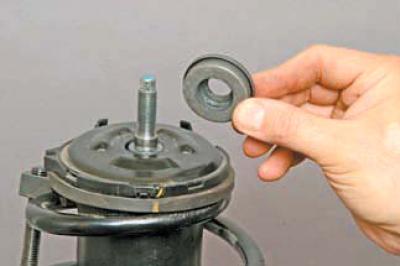
… thrust bearing…
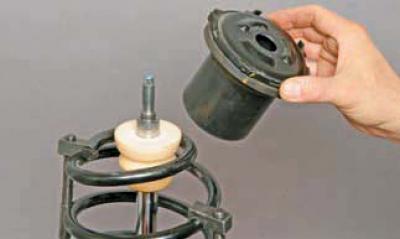
…and the centering sleeve assembled with the upper support cup of the spring.
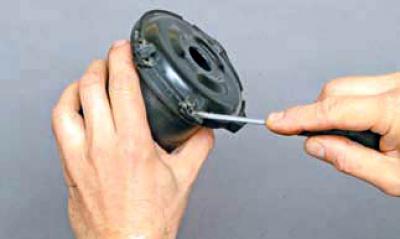
By pressing the two fasteners with a screwdriver..
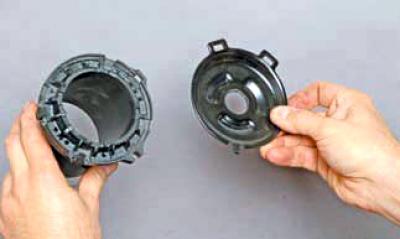
…remove the upper spring support cup…
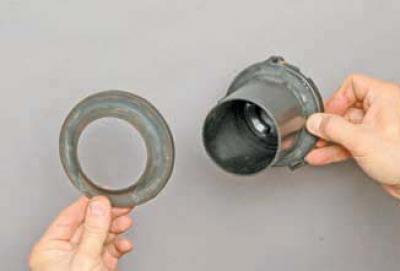
We remove the upper rubber gasket from the centering sleeve.
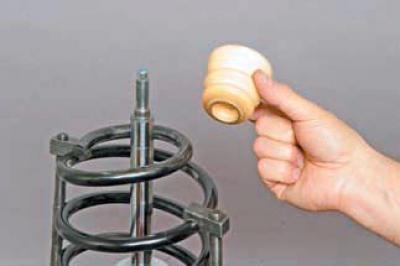
We remove the compression stroke buffer from the shock absorber rod.
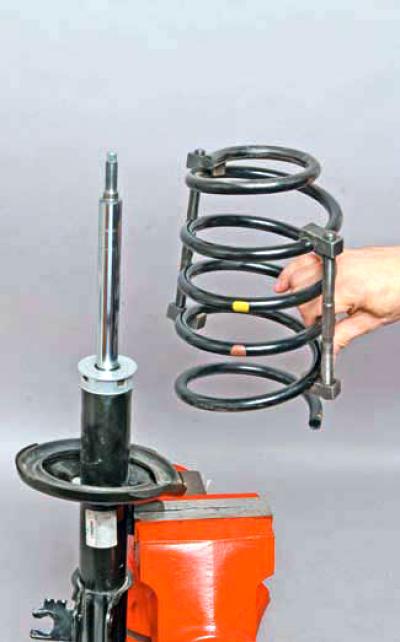
We remove the spring with clamps..
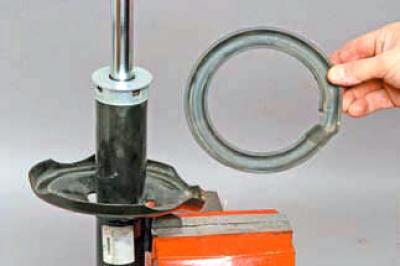
…and the bottom rubber gasket.
We check the condition of the telescopic rack by fully extending and retracting the rod. If there are dips, jams or jerks when moving the rod, then the rack must be replaced. Significant leakage of liquid and damage to the chrome coating layer of the rod are also not allowed.
We replace damaged and worn parts with new ones and assemble and install the shock absorber strut in the reverse order.
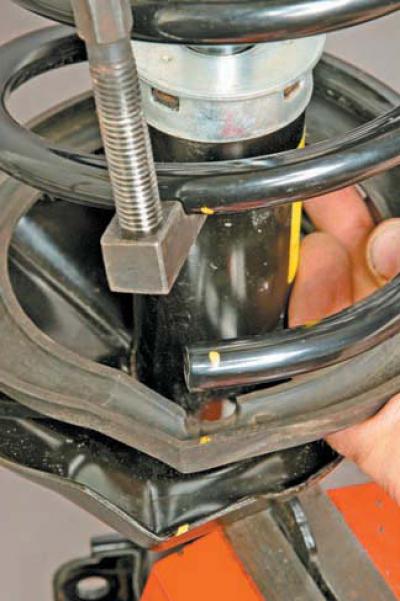
When installing the spring on the rack, orient the support cup, gasket and lower coil of the spring as shown in the photo.
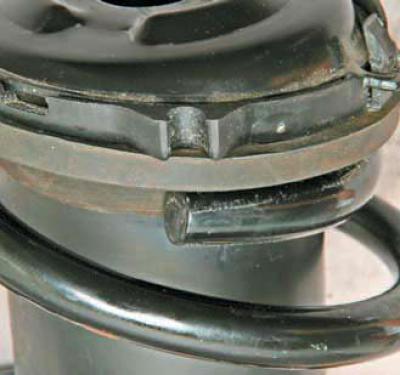
When installing the centering sleeve, we orient it so that the end of the upper coil of the spring is located opposite the protrusion with a slot on the upper support cup of the spring.
Tighten the nuts securing the upper support of the shock absorber strut and the strut to the body, as well as the nuts securing the bolts of the strut to the steering knuckle to the prescribed torques (see Appendices).