
2. Raise the vehicle and support it securely on stands. Remove the front wheels.
3. Mark the relative positions of the strut and steering knuckle (see illustration).
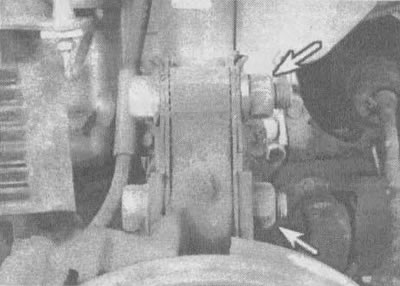
2.3 Scratch or paint a mark between the strut and the steering knuckle to ensure proper assembly, then remove the two large bolts and nuts securing the strut to the steering knuckle (indicated by arrows)
4. Loosen and remove the nuts, bolts and washers securing the strut to the steering knuckle.
5. Disconnect the brake hose mounting bracket from the strut (see illustration).
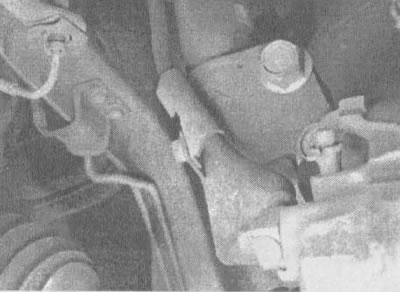
2.5. Loosen the brake hose mounting bolt (indicated by the arrow) and remove the brake hose mounting bracket from the strut assembly
6. Unscrew the upper mounting nuts (see illustration), disconnect the strut from the steering knuckle and remove it from the vehicle.
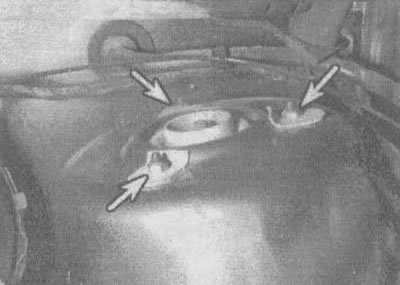
2.6. Unscrew the three nuts of the upper rack mount (indicated by arrows) from the support (cup) of the rack and remove the rack from the car. Do not loosen the central nut!
7. Check the strut and coil spring for damage, dents, fluid leaks and corrosion. If the rack is damaged, see section 3.
8. To install the rack, position it so that the studs come out through the rack support (cup). Tighten the nuts and tighten them to the torque specified in the specifications of this chapter.
9. Connect the strut to the steering knuckle, then insert the bolts and washer that secure the strut to the steering knuckle.
10. Align the marks you made on your fist and the stand. Fit the nuts onto the strut-to-steering knuckle mounting bolts and tighten them to the torque specified in the specifications of this chapter.
11. Connect the brake hose bracket to the rack.
12. Install the wheels and lower the vehicle. Tighten the wheel nuts to the torque specified in the specifications chapters 1.