


We hang up and remove the wheel from the side of the tip being replaced.
Turn the steering wheel all the way in the direction opposite to the tip being removed.
Shows removal of the left tie rod outer end.
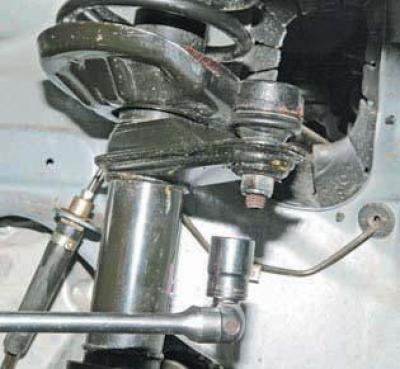
Using a 19 mm head, unscrew the nut securing the ball joint pin of the outer end to the shock absorber strut pivot arm.
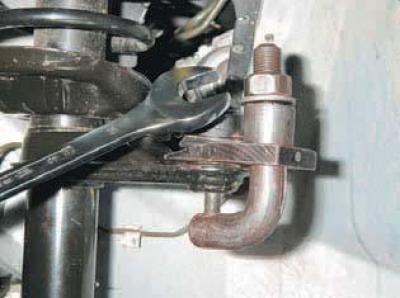
Using a puller, we press the ball joint pin out of the lever…
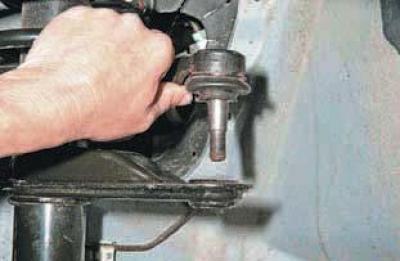
…and move the tip to the side.
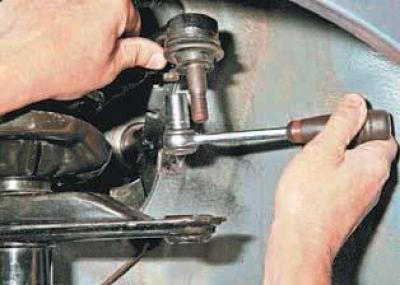
Using a 12 mm socket, loosen the bolt securing the terminal connection of the steering rod end.
Using a screwdriver, we loosen the groove of the terminal connection of the tip.
Before removing the outer tip, use a marker to mark its position relative to the adjusting screw or count the number of turns when unscrewing the tip.
This is necessary so that when installing a new tip, the length of the steering rod remains the same, which will allow the wheel alignment angle to be approximately maintained.
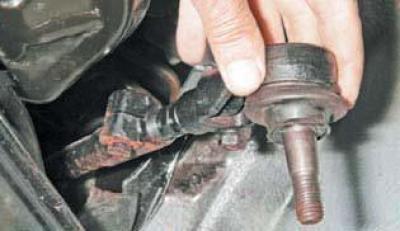
By turning, we unscrew the outer tip from the adjusting screw (the thread on the right outer tip is left-hand, and on the left one it is right-hand).
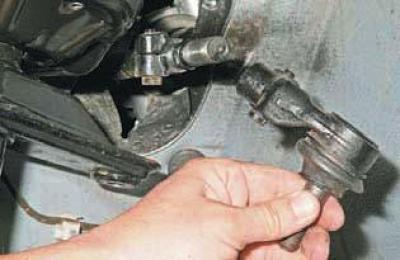
We remove the outer end of the steering rod.
We remove the outer end of the right steering rod in the same way.
The outer ends of the right and left steering rods are not interchangeable.
We install the outer tie rod end in the reverse order.
We screw the new tip onto the adjusting screw to the marked position or count the number of turns determined when removing the old tip.
Tighten the clamping bolt of the terminal connection of the tip to the prescribed torque (see "Applications").
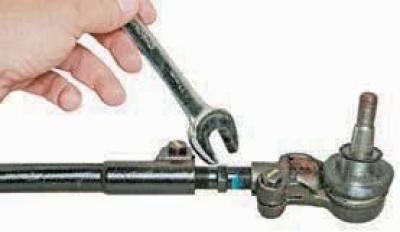
The wheel alignment angle is adjusted by turning the adjusting screw with a 17 mm wrench while loosening the bolts of the tie rod end terminal connections (for clarity, shown with the rod removed).
After installing the steering rod end, it is necessary to check and, if necessary, adjust the wheel alignment on a special stand at a service station.
The lengths of the steering rods must be the same.
[The original text can be found on the website: ChevyMan]