ChevyMan.ru
Mazda Mitsubishi Toyota Land Rover Honda Kia Nissan
English Русский
Български
Беларускі
Український
Српски
Hrvatski
Română
Polski
Slovenský
Magyar
|
Articles | Sitemap | Contacts |


Home   Aveo   Captiva   Cruze   Lacetti   Lanos   Niva   Tahoe   Others  
Orlando 1 (2010-2018) Trailblazer 1 (2001-2008, petrol) Lumina 1 (1989-1994)
  • Home
  • Chevrolet
  • Lumina 1
  • Transmission
  • Drive shafts
  • Internal constant velocity joint

Internal constant velocity joint (Chevrolet Lumina 1)

            0

3. Referring to the illustrations provided here, repair the inner constant velocity joint and install the protective boot (see illustrations 3.3a-3.3u).

3.3a. Cut the clamps securing the protective covers, use nippers or a chisel and a hammer

3.3a. Cut the clamps securing the protective covers, use nippers or a chisel and a hammer
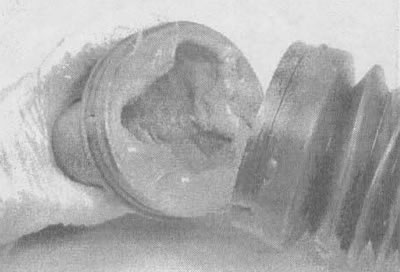
3.3b. Remove the cover from the hinge

3.3b. Remove the cover from the hinge

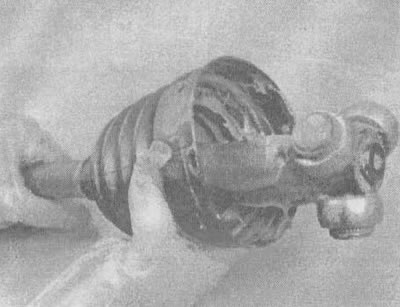
3.3v. Move the protective cover to the center of the axle shaft

3.3v. Move the protective cover to the center of the axle shaft
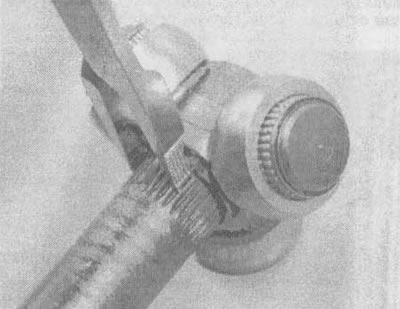
3.3g. Spread the crosspiece retaining ring and move it towards the center of the shaft

3.3g. Spread the crosspiece retaining ring and move it towards the center of the shaft


3.3d. Slide the crosspiece back, exposing the front retaining ring, and remove it

3.3d. Slide the crosspiece back, exposing the front retaining ring, and remove it
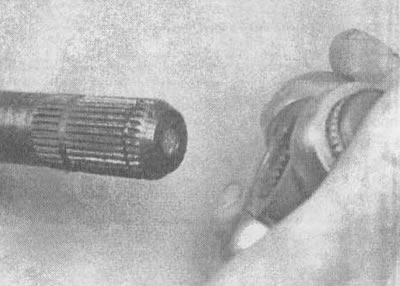
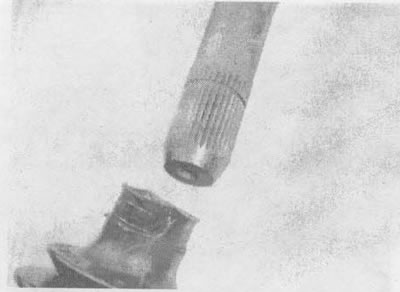
3.3e. Remove the crosspiece from the axle shaft, leaving the rollers in place (it is recommended to…

3.3e. Remove the crosspiece from the axle shaft, leaving the rollers in place (it is recommended to use cloth or tape to wrap the cross bearing assembly to secure it in place)

3.3g. Remove the retaining ring and protective cover from the axle shaft

3.3g. Remove the retaining ring and protective cover from the axle shaft
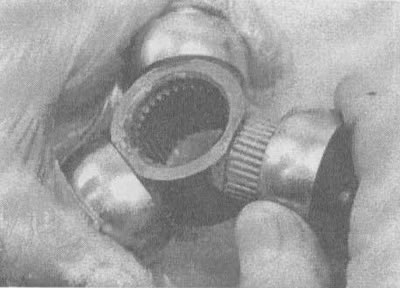
3.3z. Clean the housing and crosspiece assembly from old grease, then remove the rollers one by one

3.3z. Clean the housing and crosspiece assembly from old grease, then remove the rollers one by one


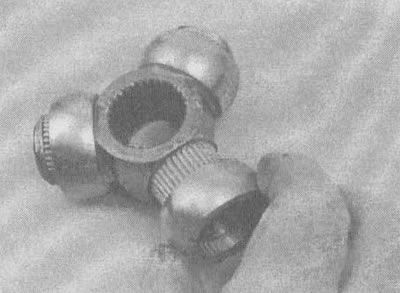
3.3i. Carefully disassemble each section of the spider assembly, clean the needle bearings with…

3.3i. Carefully disassemble each section of the spider assembly, clean the needle bearings with solvent and inspect the rollers, spider, rollers and housing for scratches, grooves and other signs of abnormal wear
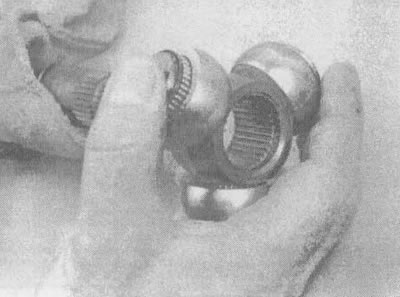
3.3k Apply a coat of constant velocity joint grease to the surface of the inner roller to hold the…

3.3k Apply a coat of constant velocity joint grease to the surface of the inner roller to hold the needle bearings in place and slide the roller onto them

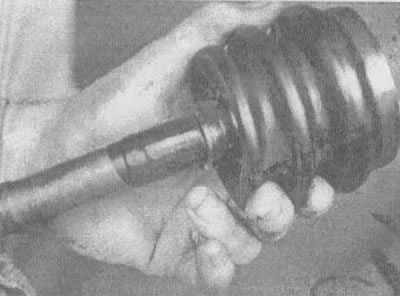
3.3L To avoid damaging the protective boot, wrap the splines of the axle shaft with tape, then put…

3.3L To avoid damaging the protective boot, wrap the splines of the axle shaft with tape, then put the protective boot on the axle shaft
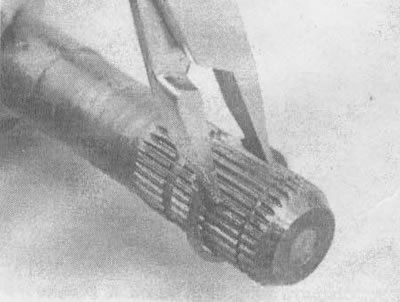
3.3m. Slide the crosspiece retaining ring onto the axle shaft, bypassing the groove in which it is…

3.3m. Slide the crosspiece retaining ring onto the axle shaft, bypassing the groove in which it is seated


3.3n. Install the roller so that the recess in the bored hole (hole processed by counterbore) was…

3.3n. Install the roller so that the recess in the bored hole (hole processed by counterbore) was facing the end of the axle shaft
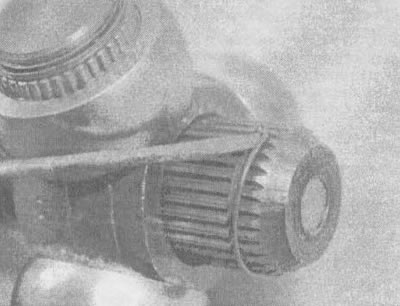
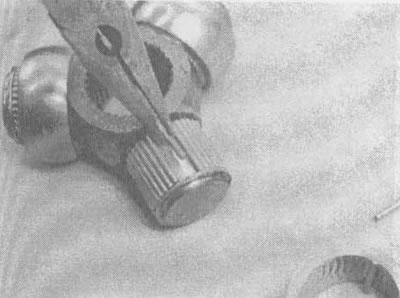
3.3o. Using a screwdriver, put on the outer retaining ring, then slide the crosspiece onto it and…

3.3o. Using a screwdriver, put on the outer retaining ring, then slide the crosspiece onto it and insert the thrust ring into its groove

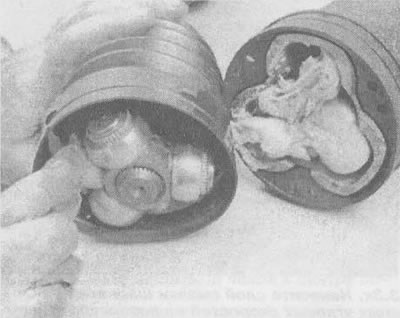
3.3p. Put half of the grease prepared for the new protective cover into the casing, and place the…

3.3p. Put half of the grease prepared for the new protective cover into the casing, and place the rest into the protective cover
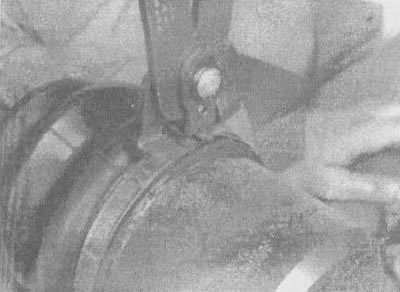
3.3p. Put on, but do not tighten the clamps, install the casing

3.3p. Put on, but do not tighten the clamps, install the casing


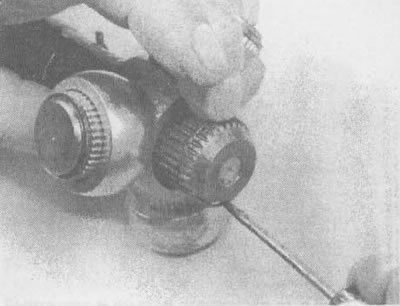
3.3c. Place the protective cover on the casing and in the seal grooves of the axle shaft. To do…

3.3c. Place the protective cover on the casing and in the seal grooves of the axle shaft. To do this job, you can use a small screwdriver (be careful not to warp or pull out the protective cover)
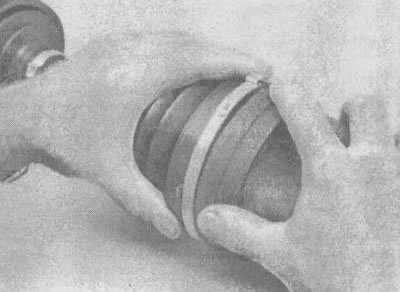
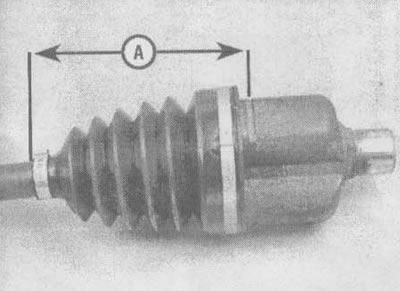
3.3t. Before tightening the clamps, adjust the size of the hinges in the compressed state «A» (from…

3.3t. Before tightening the clamps, adjust the size of the hinges in the compressed state "A" (from the small end of the protective cover to the groove on the casing) by the amount of the size specified in the section "Technical characteristics and specifications" at the beginning of this chapter

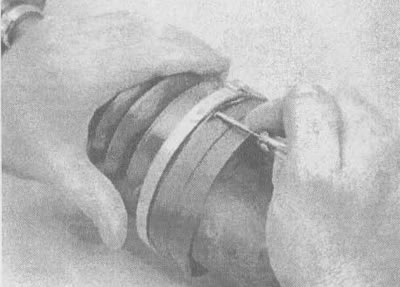
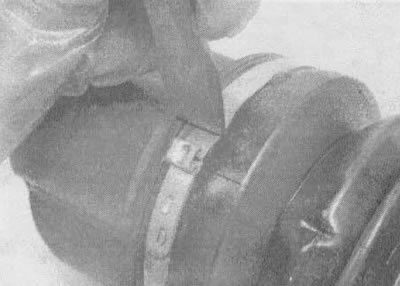
3.3u. With special tongs (they are available in auto parts stores) secure the clamps of the…

3.3u. With special tongs (they are available in auto parts stores) secure the clamps of the protective covers

The article was checked: Vladimir Romannikov
This article is available at russian, bulgarian, belarusian, ukrainian, serbian, croatian, romanian, polish, slovak, hungarian

Share information:

Previous articles
Lumina 1: Drive shafts
Next articles

Replacement of protective covers of drive axle shafts and repair of CV joints
Removal and installation axle shafts
General information about drive shafts
Technical data of drive shafts
External constant velocity joint


See similar articles on the topic of Chevrolet cars:
Constant velocity joint (CV joint) device Chevrolet Aveo T250 (2006-2011)
Ball joint of the front suspension arm Chevrolet Captiva 1 (2006-2018)
Replacement of constant velocity joints Chevrolet Cruze 1 (2008-2016)
Removal the inner joint Chevrolet Lacetti 1 (2002-2009)
Removal and disassembling the inner joint Chevrolet Lanos T150 (2002-2009)
Cardan joint — disassembly and assembly Chevrolet Tahoe 2 and 3 (2000-2014)
Link in different formats to this page


Visitor comments

No comments yet


How much will 49 + 32 =


Orlando 1 (2010-2018) 
  • General information
  • Introduction to manual
  • User manual
  • Maintenance
  • Troubleshooting
  • Power unit
  • Engine repair
  • Fuel and control system
  • Cooling and lubrication system
  • Ignition system
  • Transmission
  • Clutch
  • Gearbox
  • Drive shafts
  • Chassis
  • Car suspension
  • Steering
  • Brake system
  • Body
  • Exterior (external elements)
  • Doors, locks and windows
  • Electrical equipment
  • Equipment and devices
  • Windscreen wipers
  • Power devices
  • Electrical diagrams


Trailblazer 1 (2001-2008) 
  • General information
  • User manual
  • Troubleshooting
  • Maintenance
  • Power unit
  • Engine in a car
  • Engine overhaul
  • Cooling and heating
  • Fuel and exhaust system
  • Engine electrical equipment
  • Engine control
  • Transmission
  • Automatic gearbox
  • Transfer case
  • Drive shafts and cardan
  • Chassis
  • Brake system
  • Car suspension
  • Steering
  • Body
  • Exterior (external elements)
  • Interior (internal elements)
  • Doors, locks and windows
  • Electrical equipment
  • Equipment and devices
  • Electrical circuits


Lumina 1 (1989-1994) 
  • General information
  • Maintenance
  • Power unit
  • Engine 3.1L V6
  • Engine 3.8L V6
  • Engine overhaul
  • Cooling system
  • Power and exhaust system
  • Fuel injection
  • Engine electrical equipment
  • Reduced exhaust gas toxicity
  • Transmission
  • Automatic gearbox
  • Drive shafts
  • Chassis
  • Brake system
  • Car suspension
  • Steering
  • Body
  • Heating and air conditioning
  • Repair of body elements
  • Doors, covers and windows
  • Interior (internal elements)
  • Electrical equipment
  • Equipment and devices
  • Electrical circuits


ChevyMan.ru © 2017-2026 · Mobile version · Feedback · Site search · Interesting to read · Sitemap: EN BG BY UA RS HR RO PL SK HU

Aveo 2003-2008 · Aveo 2006-2011 · Aveo 2012-2018 · Captiva 2006-2018 · Cruze 2008-2016 · Lacetti 2002-2009 · Lanos 2002-2009 · Niva 2002-2016 · Tahoe 1992-2000 · Tahoe 2000-2014 · Lumina 1 1989-1994 · Trailblazer 1 2001-2008 · Orlando 1 2010-2018 ·
🛡️ For your security and to improve our service, this site uses cookies. You can disable them in your browser.