


Contents: Disassembly procedure ↧ Assembly order ↧
Disassembly procedure
1. Remove the lower control arm. See section in this section "Front suspension arm".
2. Place the control arm in a vice or suitable clamping fixture.
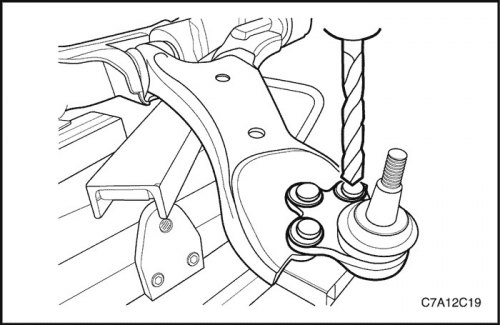
3. Remove the ball joint rivets using a drill.
4. To drill out the rivets, use an 8mm drill bit (5/16 inch).
5. To enlarge the hole, use a 12mm drill bit (31/64 inches).
6. Remove any remaining lint from the control arm.
7. Remove the ball joint from the control arm. Note the position of the ball joint for reassembly.
Assembly order
Important: The suspension arm must be clean and free of dirt.
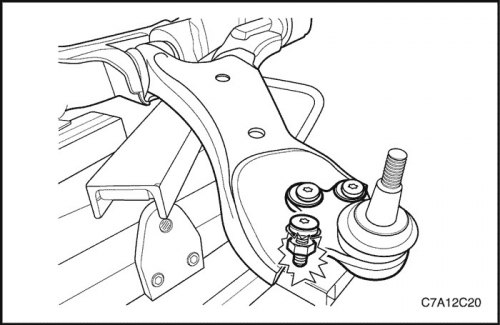
1. Install the ball joint onto the suspension arm in its original position.
Important:
- Use only the hardware supplied with the new ball joint.
- The bolts must be installed so that the bolt heads are on top of the ball joint.
2. Install the ball joint mounting bolts to the suspension arm.
Tighten
Tighten the bolts and nuts to 68 Nm (50 ft·lbs).
3. Install the front suspension arm. See section in this section "Front suspension arm".
For details, visit the website: chevyman.ru