


Contents: Removal the outer section of the… ↧ Replacing the side light bulb and… ↧ Replacement of fog light, reversing… ↧
The car is equipped with combination lights. Each consists of two sections: external ones - located on the rear wings and internal ones - on the luggage compartment door. They contain the parking light, brake light and direction indicator lamps. In addition, on the rear landing gear there is an additional rear light with fog lights and reversing lights.
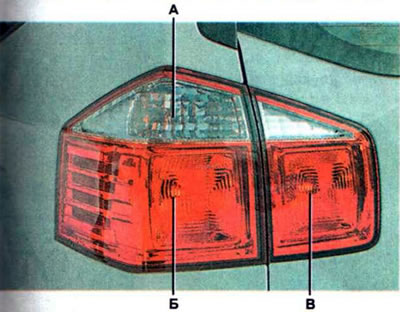
Location of lamps in the rear light sections: A - direction indicator pin PY21W; B — brake light/side light bulb P21 /5W; B — side light lamp P21/5W (only 5W filament is used)
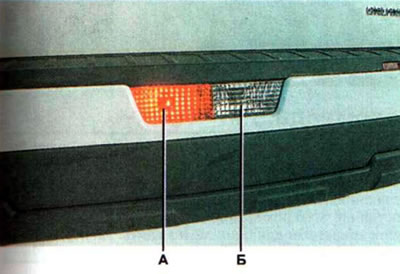
Location of lamps in the additional rear light: A - fog light bulb P21W; B - reverse light bulb P21W
Removal the outer section of the rear light and replacing the brake light/side light bulb, turn signal
1. We prepare the car for maintenance and repair.
2. Using a thin slotted screwdriver, pry off the plugs covering the two screws that secure the rear light...
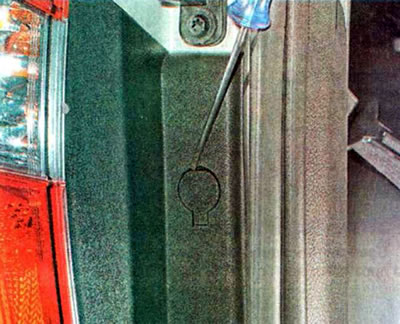
...and unscrew the screws with a Phillips screwdriver.
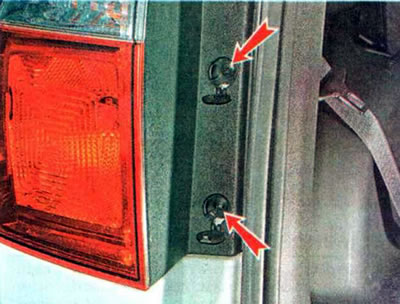
3. Remove the outer section of the lantern by sliding it back.
4. If it is necessary to replace the brake light/side light bulb 1 or the turn signal bulb 2, turn the socket of the faulty bulb counterclockwise...
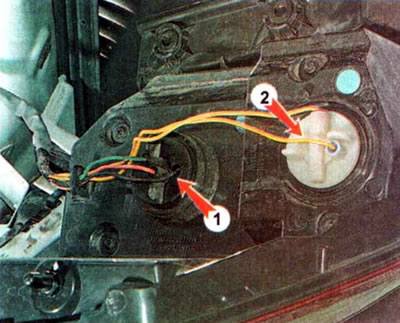
...and remove it from the flashlight housing.
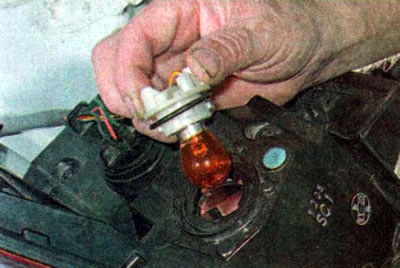
Slightly press the lamp into the socket, turn it counterclockwise and remove it.
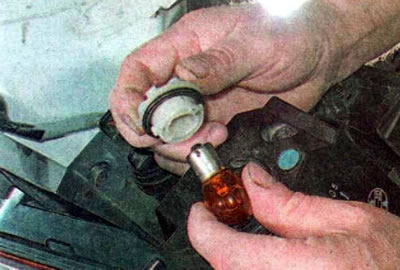
Recommendation. While doing the work, make sure that the lamp filament is burnt out. There are cases when the lamp does not work due to oxidized contacts in the electrical connections. When replacing faulty lamps, check the condition of the contacts. If necessary, treat them with a cleaner and protector for electrical contacts.
5. If it is necessary to replace the outer section of the flashlight, remove both sockets from it.
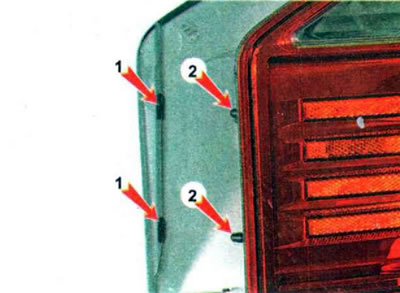
6. Install the parts in reverse order. We make sure that the holders of the lamp section 2 enter the bushings 1 on the rear wing.
Replacing the side light bulb and the inner section of the rear light
1. We prepare the car for maintenance and repair.
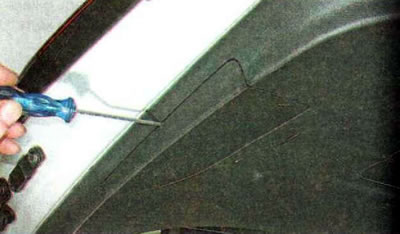
2. Using a slotted screwdriver, pry off the hatch cover in the trunk door trim...
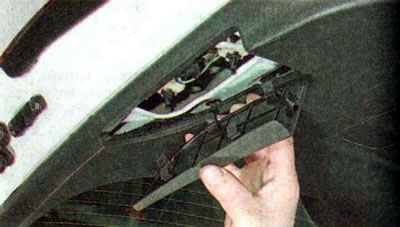
...we remove it and gain access to the inside of the lantern.
Recommendation. While doing the work, make sure that the lamp filament is burnt out. There are cases when the lamp does not work due to oxidized contacts in the electrical connections. When replacing faulty lamps, check the condition of the contacts. If necessary, treat them with a cleaner and protector for electrical contacts.
3. If it is necessary to replace the lamp, turn its socket counterclockwise and remove it from the flashlight housing.
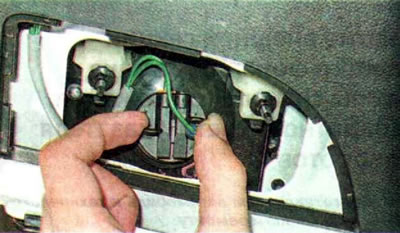
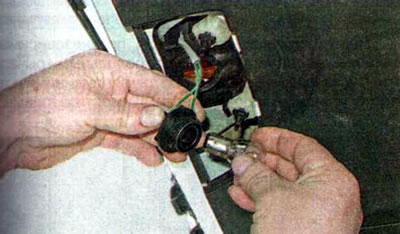
Slightly press the lamp into the socket, turn it counterclockwise and remove it.
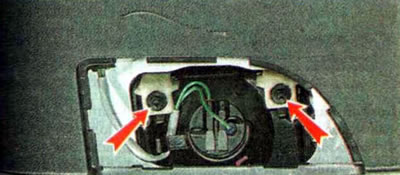
4. If it is necessary to replace the lamp, loosen the fastening by unscrewing the two nuts with an 8 mm socket wrench to the end of the stud thread.
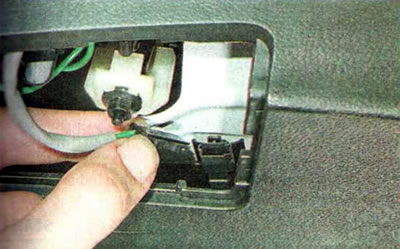
By pressing the lock, we disconnect the wiring harness block.
We remove the lantern.
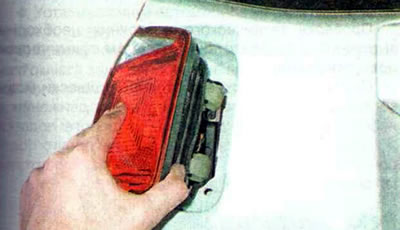
5. Install the parts in reverse order.
Replacement of fog light, reversing light and additional rear light bulbs
1. We prepare the car for maintenance and repair.
Note: The additional light bulbs can be accessed from the inside of the rear bumper without removing it. It is more convenient to perform this work by placing the car on an inspection ditch or overpass.
Recommendation. While doing the work, make sure that the lamp filament is burnt out. There are cases when the lamp does not work due to oxidized contacts in the electrical connections. When replacing faulty lamps, check the condition of the contacts. If necessary, treat them with a cleaner and protector for electrical contacts.
2. If it is necessary to change the reversing light bulb 1 or the fog light bulb 2...
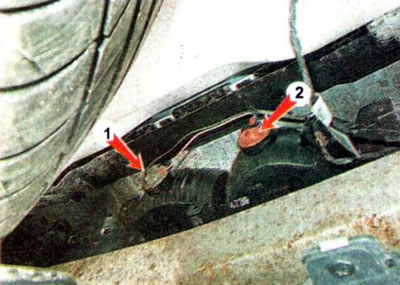
...by turning the socket of the faulty lamp counterclockwise, we remove it from the body of the flashlight.
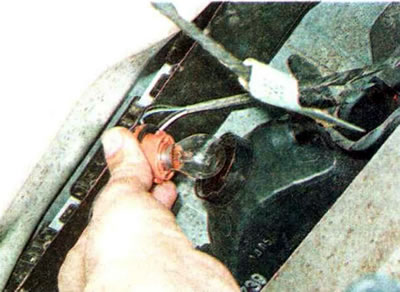
We slightly push the lamp into the socket and, turning it counterclockwise, remove it.
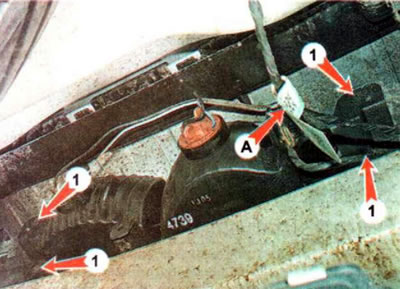
3. If it is necessary to replace the lamp, press the lock, disconnect the connectors of the wiring harness A. Using a Phillips screwdriver, unscrew the four mounting screws 1 and remove the lamp.
4. Install the parts in reverse order.