
The heating switch with a built-in LED indicator is located on the climate control unit.
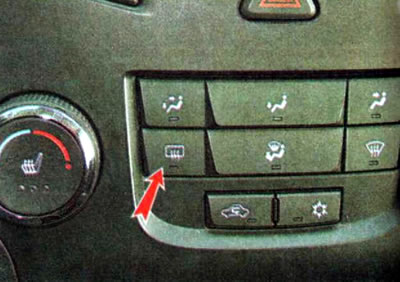
Note: The rear window heating only operates when the engine is running.
When the rear window heating is switched on, the outside mirror heating is automatically switched on. The heating is switched off by pressing the switch again or automatically after a while.
Electrically heated rear window is necessary to ensure road safety. When the rear window is icy or fogged up, rear visibility is greatly reduced. Of course, if you have solid truck driving skills and can navigate only by the side rear-view mirrors, then the condition of the rear window is not so important. But for most drivers, the reduced visibility through the rear window is a significant inconvenience.
There are two possible failure modes for the rear window heating, and the repair methods are different in each case:
Electric heating does not work at all
1. In this case, check fuse Ef28 (40 A) in the fuse and relay box located in the engine compartment. We replace the blown fuse. If the fuse blows again, there is a short circuit in the electrical circuit, which must be found and repaired using the diagram described in the chapter "Electrical equipment".
2. Check the rear window heating relay Er17 in the engine compartment fuse and relay box.
3. Check the electric heating circuit.
One or more electric heating threads are not working
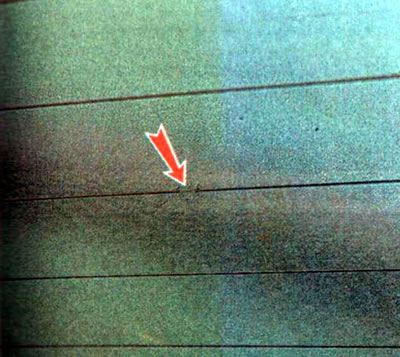
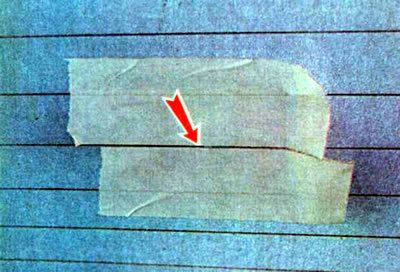
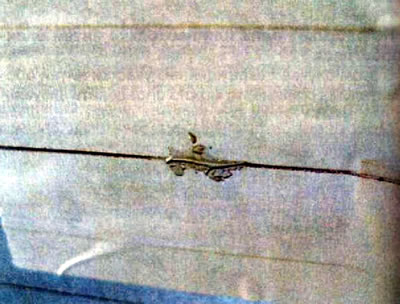
In this case, damaged areas of the heating element threads can be identified visually...
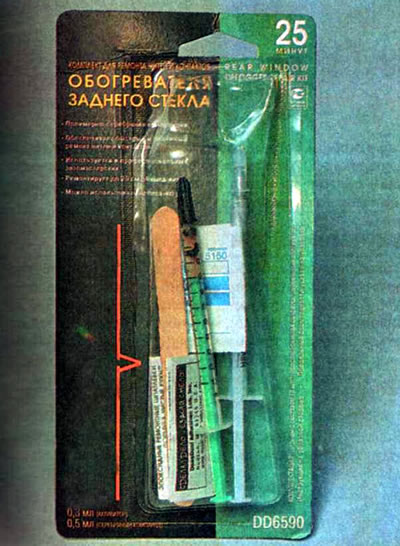
...or using a multimeter in ohmmeter mode. To repair such damage you will need a special kit...
...masking tape and a metal or plastic sheet with a clean surface for mixing the components of the repair compound.
We carry out the work in the following order.
1. We prepare the car for maintenance and repair.
2. Using a clean soft cloth soaked in solvent or an alcohol-soaked napkin from the kit, clean and degrease the glass at the site of damage to the heater thread.
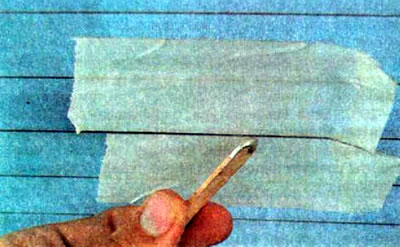
3. Cut two strips of masking tape. The length of the strips should exceed the length of the damaged area by 5-6 mm. Parallel to the damaged thread, we glue strips of scotch tape above and below it at a distance of 1 mm from each other so that the damaged area is located between them in the center.
Note: Each syringe has a scale with division value corresponding to 0.01 ml. To restore 1 cm of heating element thread, 0.024 ml of silver compound and 0.014 ml of activator are required. After mixing the components, the composition must be used within 20-25 minutes, at a temperature of 18-20°C. If the ambient temperature is significantly higher, the shelf life of the composition for use will be shorter. Therefore, the components should be mixed immediately before applying to the glass.
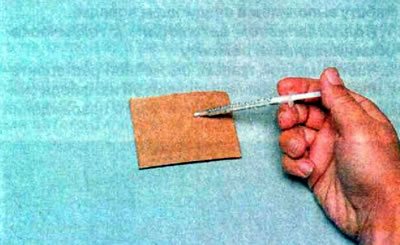
4. From a syringe with a white piston, squeeze out the cardboard silver compound in the amount necessary to restore the damaged section of the heating element thread.
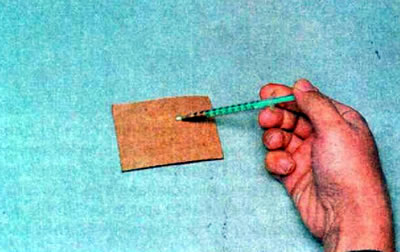
5. Using a syringe with a green piston, add the appropriate amount of activator to the compound...
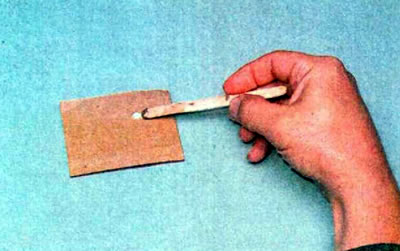
...and mix thoroughly.
6. Apply the prepared composition to the glass at the place where the thread breaks.
7. We distribute the composition so that it goes onto the undamaged sections of the thread by 5 mm from the break, and the main thickness of the composition is located above the break and is not thinner than the thickness of the tape.
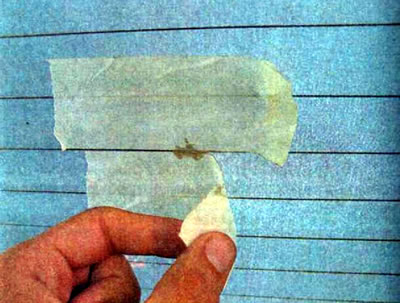
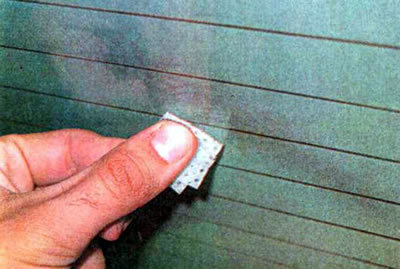
8. After waiting 30 minutes, carefully remove the tape.
Note. The time for complete polymerization of the composition at an air temperature of +20°C is about 24 hours. When turning on the rear window heater, the polymerization time can be reduced to 20 minutes.
Recommendation. This kit can be used to repair a broken heating element lead. To do this, apply the composition to the location where the terminal is attached. We press the part of the output tightly against the glass. We also apply the composition on top of the pressed part of the output. The wire tip can be connected to the glued terminal only after the composition has completely polymerized.
9. Turn on the heater and make sure it is working properly. If necessary, we will similarly eliminate other damage to the heater.
(The original material is located on the website «chevyman.ru»)